Lenovo N23 Chromebook Wi-Fi Card Replacement
ID: 141896
Description: If your Lenovo N23 Chromebook won't connect to...
Steps:
- Before starting, make sure that the laptop is powered off and completely unplugged from the charger.
- Remove the eight 6.0 mm screws holding the back cover into place using a Phillips #0 screwdriver.
- Flip the device over.
- Slide a plastic opening tool between the back cover and keyboard.
- Carefully pry upwards until you hear a click.
- Following the seam, slide the opening tool all the way around the front cover, prying upwards occasionally until the keyboard and trackpad are loose from the back cover.
- Lift the keyboard panel up to reveal the internals.
- Don't lift the keyboard panel too violently, as there is still a cable attachment to the motherboard.
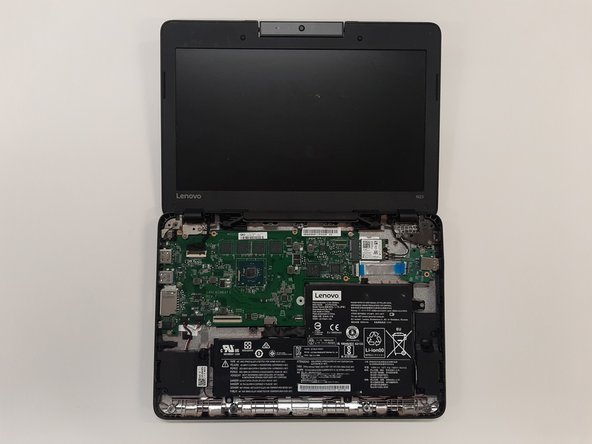
- You can now access the internals of the computer.
- Disconnect the two ribbon cables that connect from the motherboard to the front cover.
- Using the iFixit opening tool, flip up the black tab holding the keyboard ribbon cable and then pull the cable out.
- Using the opening tool, flip the white tab holding the mouse ribbon cable and then pull the cable out.
- Lift the keyboard panel from the case and fully remove it from the device.
- Using the Phillips #0 screwdriver, remove the two 3 mm screws holding the battery in place.
- Disconnect the battery cable using a plastic opening tool by pulling on the black plastic lip.
- Lift the battery out of the laptop.
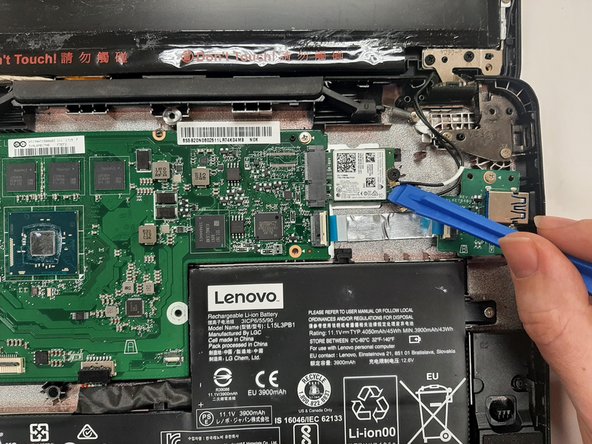
- Use a plastic opening tool to disconnect the two coaxial cables from the Wi-Fi card.
- Tuck the two wires out of the way.
- Remove the single 3.0 mm screw holding the Wi-Fi card using a Phillips #1 screwdriver.
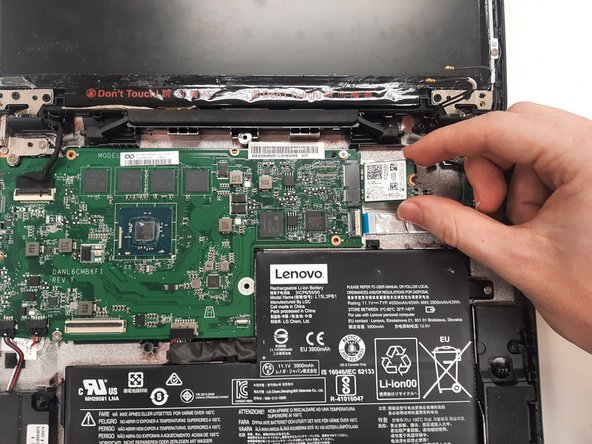
- Using your hands, carefully pull the Wi-Fi card sideways out of the port on the motherboard.