2013 Chevrolet Sonic Oil Filter Replacement
ID: 141905
Description: This guide instructs users on how to replace...
Steps:
- Pop the hood of the car and prop open with a prop rod.
- Automotive ramps are not needed and gloves are recommended.
- Locate the oil filter cap.
- Place a bucket or drain pan underneath the car, lined up with the location of the filter, to catch excess oil in.
- Using a ratchet and 15/16 mm socket, remove the cap for the oil filter.
- Carefully remove the cap, letting excess oil drip into the bucket below.
- The internal rod should remain intact.
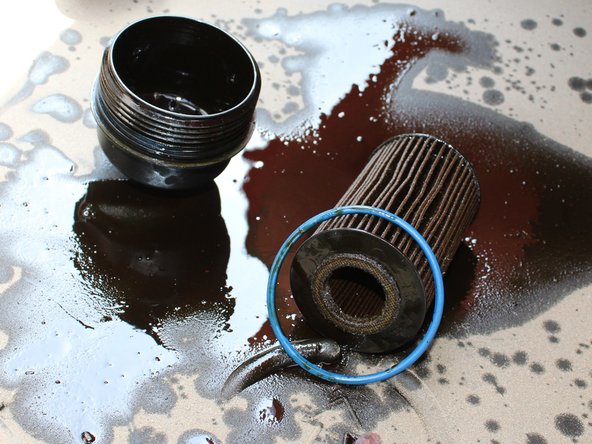
- Separate the old filter from the cap.
- Spray down the cap with brake cleaner.
- Caution: Brake cleaner is dangerous to eyes and contacts. To prevent injury, wear protective safety glasses.
- Remove the old O ring (blue plastic ring) from the cap and replace it with a new one.
- This may not come off easily. You may need to use a screwdriver or pick to remove it.
- Using your finger, wipe some clean oil onto the new O ring on the cap to lubricate it for easier reinstallment.
- Add a new filter either to the cap or directly onto the internal rod in the vehicle.
- The filter clicks into the cap, but will just rest on the rod.
- Reinstall the cap and use a ratchet and socket to tighten it into place.
- Using the brake cleaner, spray off any excess oil from around the filter.