Dismantle Nespresso CitiZ
ID: 141938
Description: For many repairs the CitiZ must be opened, this...
Steps:
- Never forget: pull the plug!
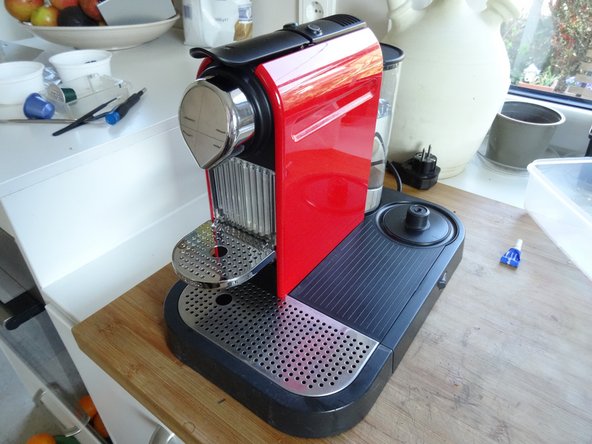
- Remove all attachments: Water tank, capsule and cup drawer, drip tray.
- The model shown is also equipped with a milk frother, remove that too.
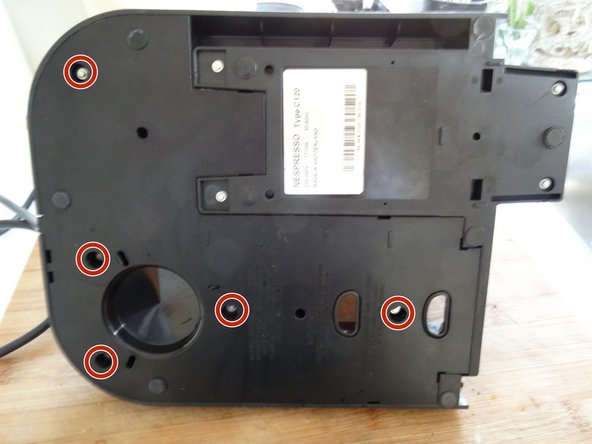
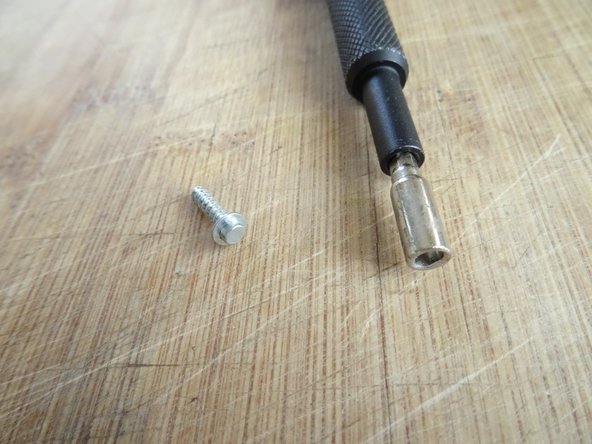
- The bottom is secured by oval head screws.
- These screws have an oval head that makes them look like rivets (picture 2). You need to use a special bit - also available at iFixit - for their removal. Here a DIY guide. If the right bit is not available, it could be done with a pair of needle nose pliers. Nespresso wants to keep us out of our own machines!!!
- Remove five oval head screws securing the large bottom panel.
- Note: this panel is smaller on models without milk frother.
- The bottom panel is just snapped into place. Insert a metal spudger into the slots and lift the panel out. It sits quite tightly and you might use some force to get it out.
- Remove the large bottom panel.
- Use a spudger to slide off the two silicon tubes.
- Disconnect the two spade plugs on the blue and brown wires from the power switch. The two left ones remain.
- Remove four oval head screws from the small bottom panel.
- Remove the main device from the base. It´s still connected with some wires, but this doesn´t bother much.
- The two colored side panels are only snapped into place. However, the latches sit very tight. You really need a lot of force. First lift the lower edge using a plastic opening tool.
- Depending from the model it might help, when you first pry off the coffee spout. (See next step)
- Unfold each of the side panels upwards and remove them.
- Insert a opening tool in the gap on the bottom of the coffee spout. Pry it off carefully.