How to Adjust the Action and Intonation of a Guitar
ID: 141986
Description: Consider adjusting the action and intonation of...
Steps:
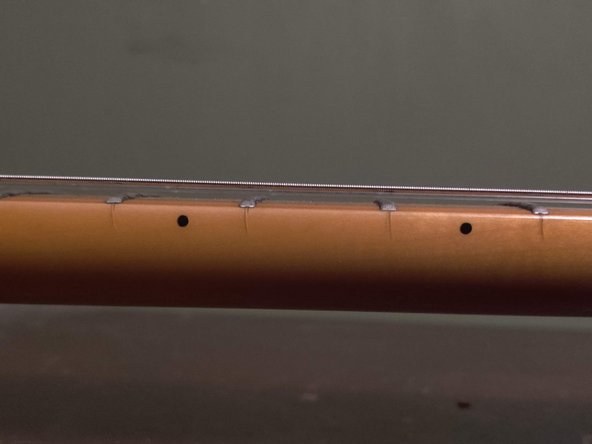
- Locate the truss rod, found either on the headstock, under a plate in the headstock, or on the body towards the base of the neck.
- As you adjust the truss rod, listen for fret buzz or dead spots. These usually create a sound that rings out less than it should. Keep adjusting until the guitar reaches its best tone.
- For humped necks, loosen the truss rod by turning the Allen wrench counterclockwise. For bowed necks, tighten the truss rod by turning the Allen wrench clockwise.
- Use an Allen wrench that can adjust the truss rod.
- TAKE THIS STEP SLOWLY. To make small adjustments, turn the allen wrench a quarter of a turn at a time, checking the neck regularly.
- On the bridge, locate the saddles by finding the spot strings rest on. Raise the action of the saddles by turning the Allen wrench clockwise. Lower the action of the saddles by turning the Allen wrench counterclockwise.
- The height of the action is up to player preference. Listen continuously while adjusting.
- Repeat this process for all strings, adjusting the sides of each saddle evenly so the string won't rest unevenly.
- Play a few notes between each adjustment to prevent fret buzz and dead spots.
- Check guitar intonation by listening to the twelfth fret notes and the twelfth fret harmonic of each string.
- With a screwdriver, turn the screws below the saddles clockwise if the fretted note sounds higher pitched than the harmonic; turn them counterclockwise if the fretted notes is lower pitched than the harmonic.
- Repeat for all six strings.