Weller WLC100 Soldering Station NTW56058 TRIAC 16amp switch Replacement
ID: 142016
Description: The Weller WLC100 soldering station adjustable...
Steps:
- Remove the knob from the adjustment dial.
- Remove two 8.6 mm Phillips #1 screws from soldering station bottom.
- Remove the rubber feet to access the remaining screws.
- Remove the remaining two 8.6 mm Phillips #1 screws from soldering station bottom.
- Separate the bottom and top half of the soldering station.
- Remove the adjustable heat dial board.
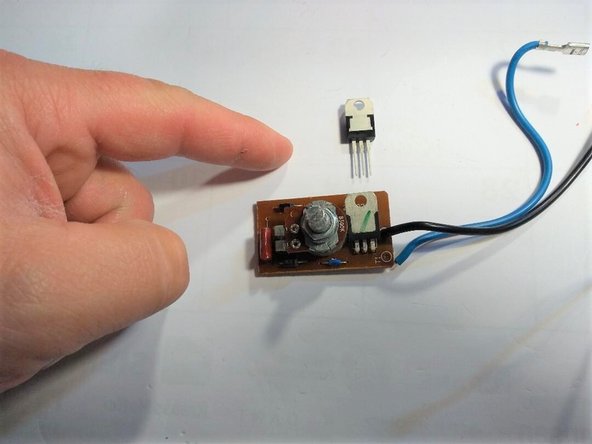
- Orient the new TRIAC switch the same way as the old TRIAC switch is located.
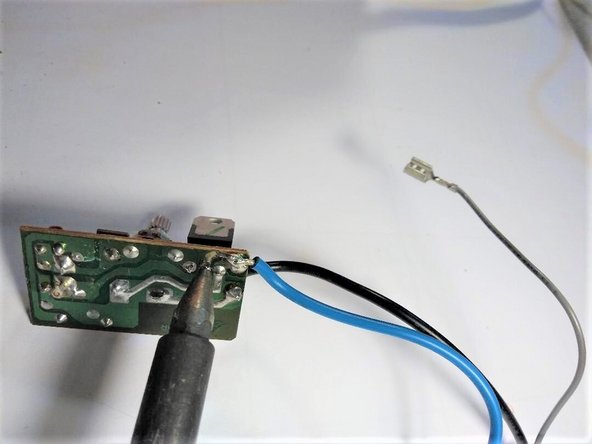
- De-solder the three pins.
- For more information on soldering and desoldering connections, visit the How to Solder and Desolder Connections guide.
- Remove the TRIAC switch when all the solder is removed from the pins.
- Insert the new TRIAC switch into the three holes left when you removed the old TRIAC switch.
- Solder the new TRIAC switch onto board.
- Verify all three pins are soldered in and the solder is not touching the other pins.
- Re-install the board into the soldering station.
- Push the knob into the hole so that is it protruding out of the other side.
- Verify the knob is sticking out of the other side of soldering station.
- Replace the dial onto the knob.
- Replace the bottom and replace all four screws and rubber feet, reversing steps four though two.