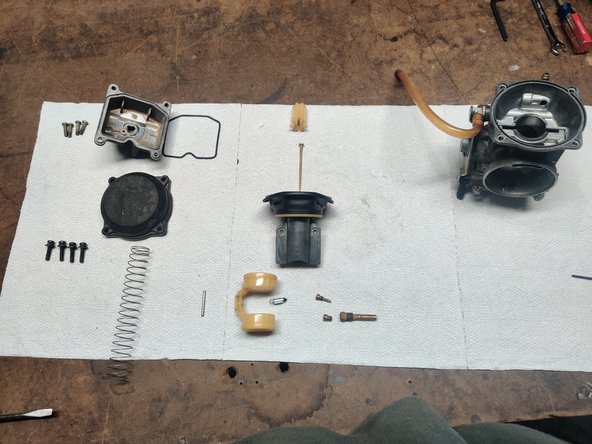
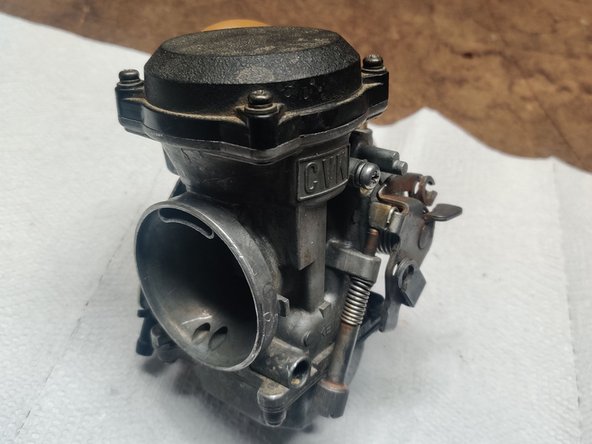
2002 Kawasaki KLR650 Carburetor Rebuild
ID: 142026
Description: If your 2002 Kawasaki KLR650 Carburetor needs...
Steps:
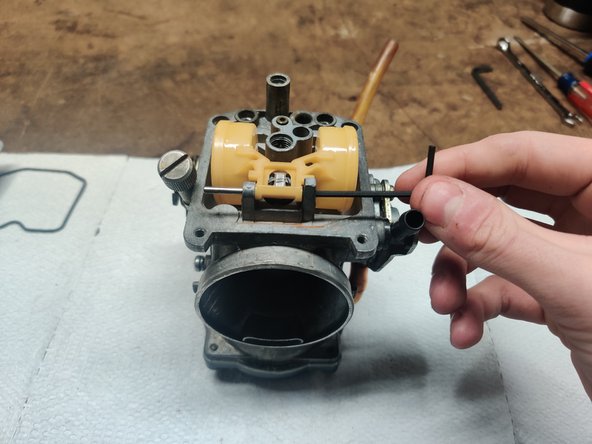
- Use an 3 mm Allen wrench to loosen the drain screw on lower portion of bowl.
- Remove old fuel left inside of bowl.
- Use a Phillips #1 screwdriver to remove the four screws on the outside of the bowl.
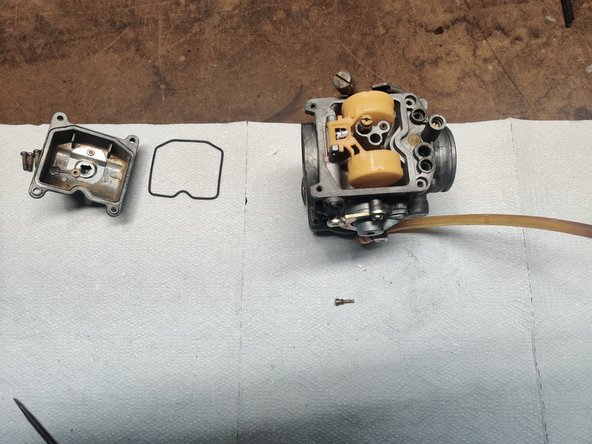
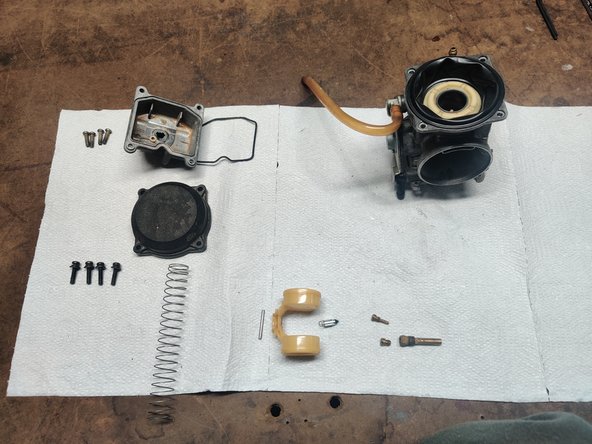
- Remove the bowl from the carburetor and take out the gasket from the bowl.
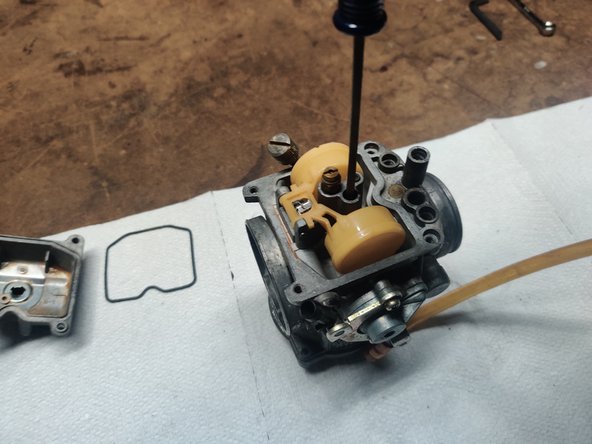
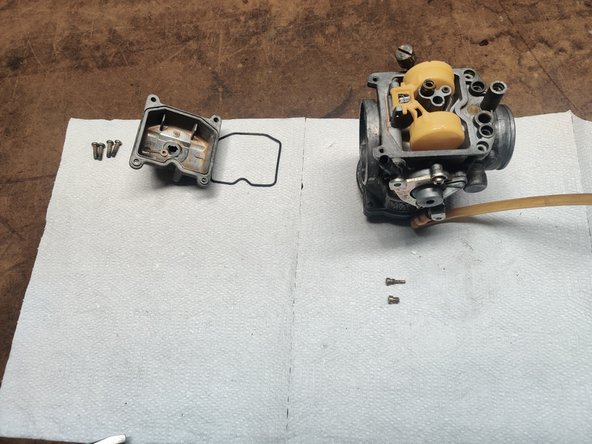
- Remove the pilot jet using a flat head screwdriver.
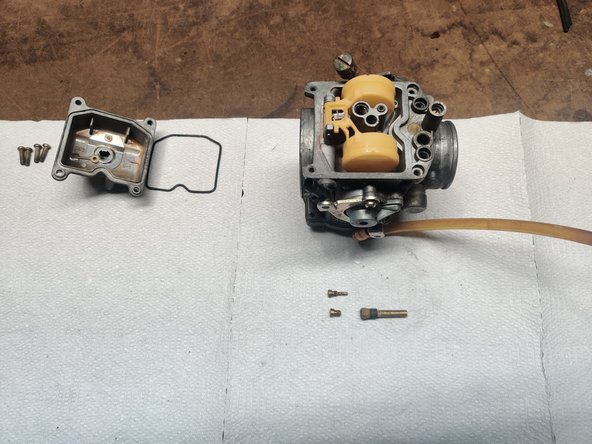
- Remove the main jet using a flat head screwdriver.
- Remove the main jet sleeve using an 8 mm combination wrench.
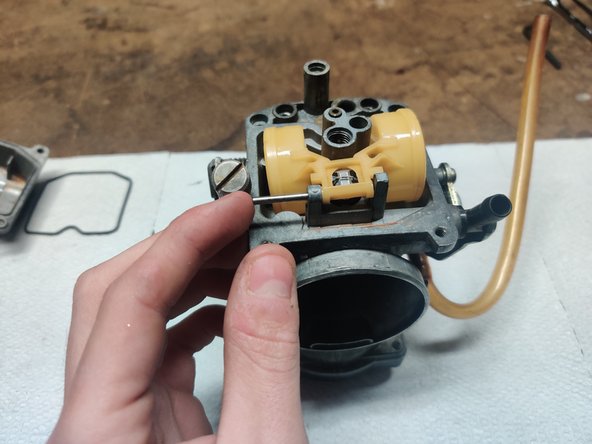
- Push out the retaining pin holding in the float and float seat.
- Remove this assembly from the carburetor.
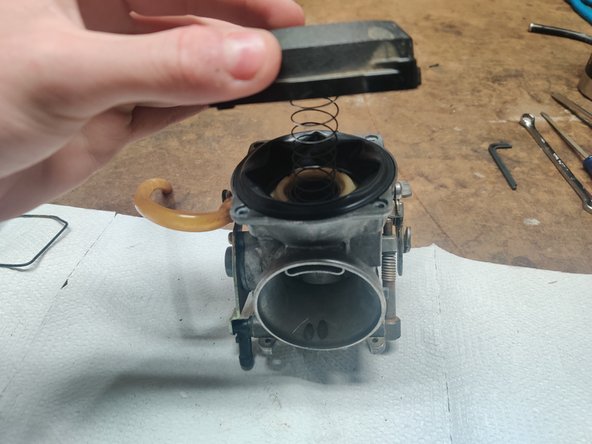
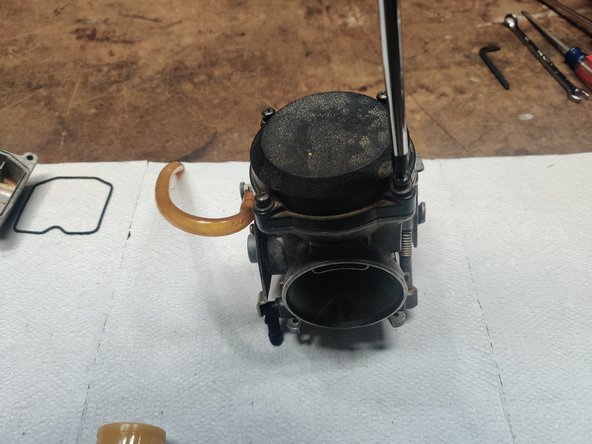
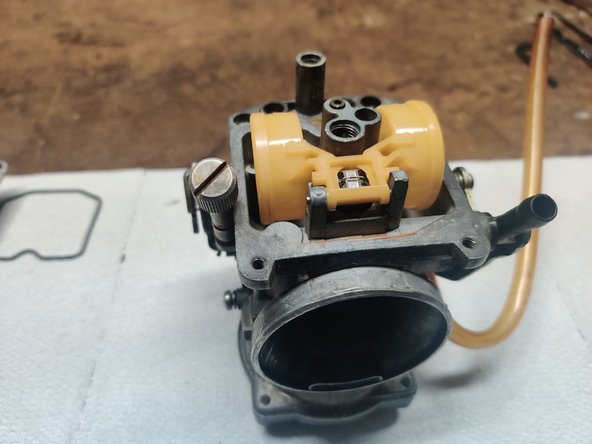
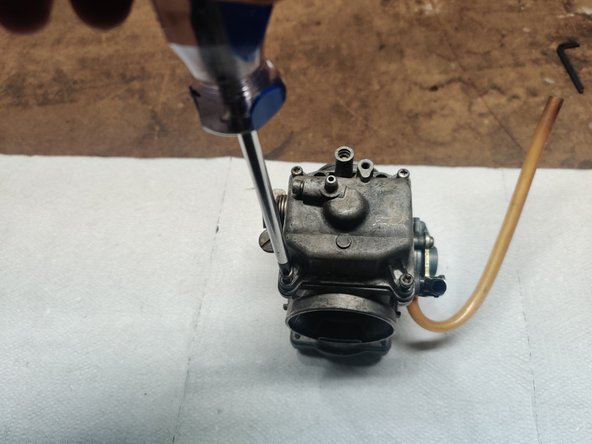
- Flip the carburetor around and remove the four screws securing the top housing using a Phillips #1 screwdriver.
- Note that this is spring loaded.
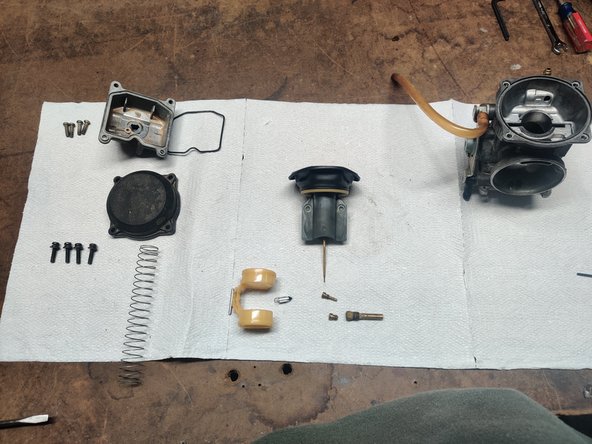
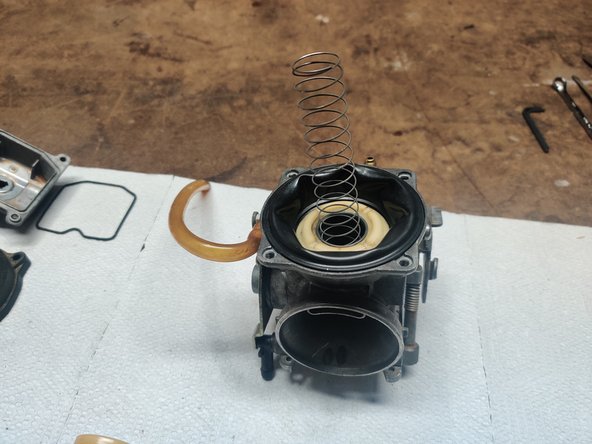
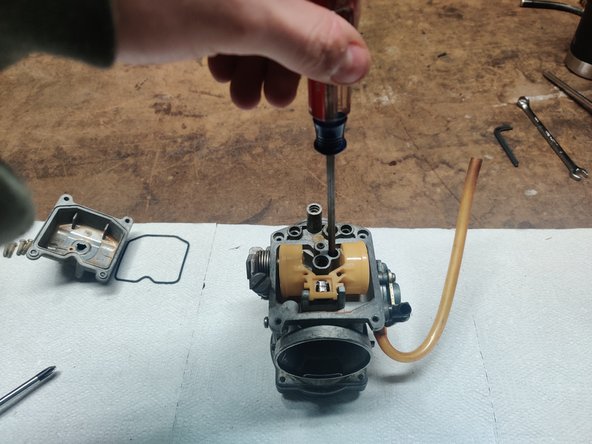
- Pull up on the diaphragm carefully to remove the diaphragm and slide.
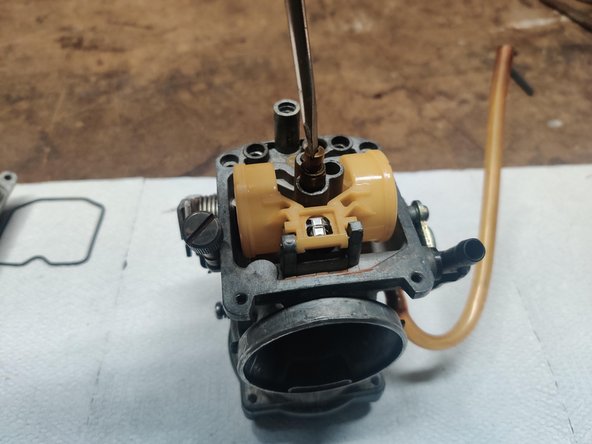
- Take out the needle and plastic needle retainer.
- Replace the needle and reassemble the slide.
- Insert the slide assembly back into the carburetor.
- The needle needs to be lined up with the hole in the carburetor. Make sure that the diaphragm makes a good seal in the carburetor gasket groove.
- Insert the spring into the slide assembly and put the plastic housing back on.
- Maintain pressure while screwing the four Phillips screws in the housing since it is spring loaded.
- Tighten the screws in a diagonal pattern to ensure that the plastic housing is sealed properly.
- Place the new float seat onto the float.
- Place the float assembly into the carburetor and slide the retaining pin back into its hole to secure the assembly.
- Make sure that the float can move freely.
- Insert the new pilot jet into the carburetor. Tighten it with a flathead screwdriver.
- Do not over tighten the pilot jet as it is made of brass and may strip easily.
- Reinsert the main sleeve and tighten with an 8 mm combination wrench.
- Insert the new main jet into the main jet sleeve. Tighten using a flathead screwdriver.
- Do not over tighten as this is made out of brass and may strip easily.
- Insert the new gasket into the bowl gasket groove.
- Use a Phillips #1 screwdriver to replace the four screws securing the bowl to the carburetor.
- Tighten in a diagonal pattern to ensure that the bowl is sealed properly.
- Use a 3 mm Allen wrench to tighten drain screw at the bottom of carburetor.