Replace Samsung UE40B6000VPXZG defective T-con board and mainboard
ID: 142081
Description: On my 9-year-old Samsung UE40B6000Vp, vertical ...
Steps:
- The problem: vertical stripes!
- After some research I have the suspicion that the T-con board is the culprit. So I uncovered it, noted the part number and bought a replacement board and another mainboard.
- First you remove the back panel of the case. (The white stickers in the picture were mounts for an LED backlight.)
- To do this, remove all the screws marked with a red circle in the picture using the Phillips screwdriver.
- Next you have to unscrew the mounting plate for the power plug.
- Now you can carefully pull off the rear wall at the top and then remove it downwards. Pull out the mains plug through the recess in the back panel.
- Now we can see the inner components:
- Left in the red rectangle: the woofer
- The power supply (Power Supply) in the top center in the blue rectangle
- On the right in the yellow rectangle is the mainboard with all connections
- The timing control board is located in the middle below behind the base mount in the pink rectangle
- The orange arrows point to the tweeters.
- The first thing I did was remove the power plug, otherwise it would get in the way. There are two push buttons on the left and right of the connector for this purpose. If you press them at the same time, you can pull out the plug with a little wiggling.
- At the top right of the Power Supply, two cables lead inside, these supply the panel with power
- The cable on the bottom right supplies the mainboard with power.
- Next, the cables on the mainboard are removed.
- To do this, carefully pull off the power supply at the top left by lifting the lock slightly with a bevel tester or a plastic spatula.
- Then you loosen the connection of the woofer
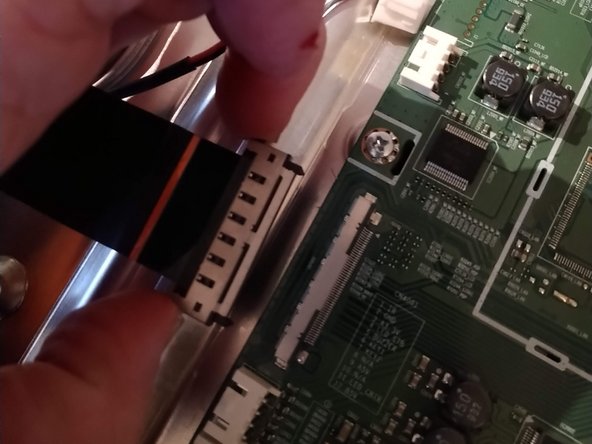
- After removing the tweeters and the data cable below the ribbon cable for the front controls using the same principle. Pull off the ribbon cable that leads to the T-Con board by pressing the two buttons together.
- Detach the cable from the T-Con board in the same way.
- Now the mainboard can be removed by removing the screws marked in the picture.
- After all screws are removed, carefully lift and remove the board.