Samsung Watch Active Screen Assembly Replacement
ID: 142126
Description: Use this guide to replace a cracked or broken...
Steps:
- Turn off the Galaxy Watch Active by pushing and holding the bottom button for approximately 3 seconds. You should feel a short vibration.
- When the "Power off" symbol appears tap the center of the screen to make it shut down. You should feel a longer vibration for confirmation.
- Use a Tri-point Y00 screwdriver to remove the four 4 mm-long screws on the back of the watch.
- Use an opening tool and place it between the plastic back cover and the metal housing near the buttons.
- Push the tip of the opening tool into the gap to separate the back cover from the housing.
- Don’t remove the back cover all the way yet. There is a cable connecting it to the motherboard.
- Carefully lift the back cover approximately 2 cm to access the sensor array connector near the two buttons.
- Use a spudger to disconnect the sensor array from the motherboard.
- Remove the back cover.
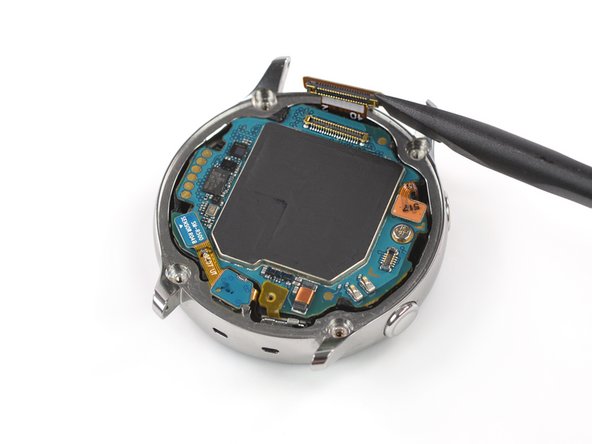
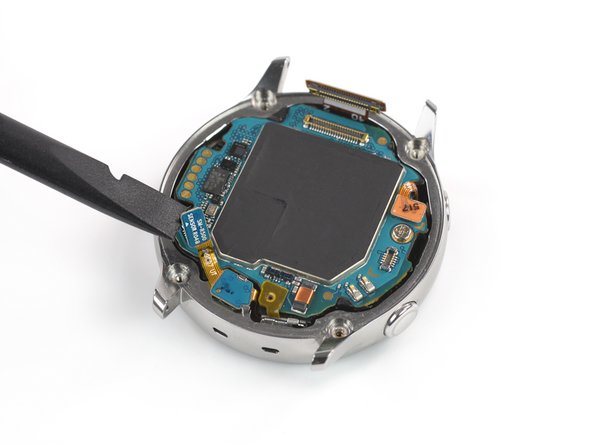
- Use a spudger to disconnect the display assembly and the microphone and pressure sensor array.
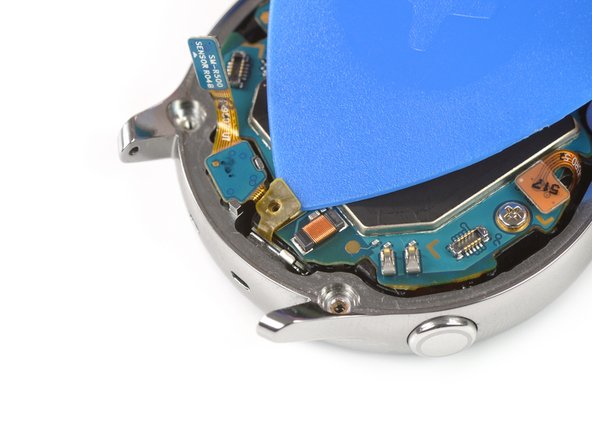
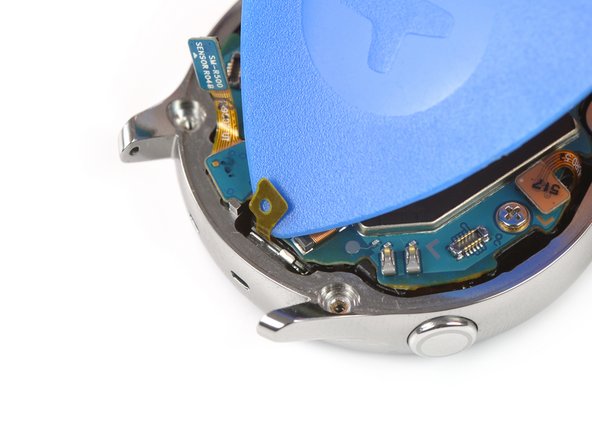
- Use an opening pick to peel back the thin tape belonging to the microphone array.
- When re-assembling make sure this tape properly sticks to the motherboard by pressing it down with the flat end of a spudger.
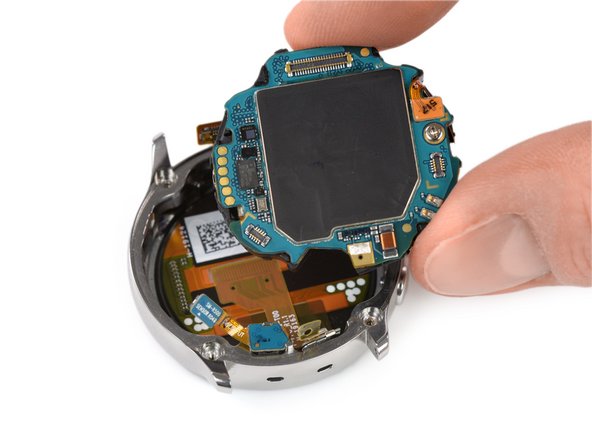
- Insert an opening pick at the bottom right between the motherboard and the frame to lift up the core assembly.
- Lift out and remove the core assembly.
- Use a spudger to loosen the microphone which is fixed to the frame with mild adhesive.
- Use a spudger to lift the pressure sensor up and out of its recess in the frame.
- Carefully remove the microphone and barometric sensor array from the frame.
- You’re left with the screen assembly.
- Make sure to compare the new screen assembly to the old one for any parts that need to be transferred.