2007 Honda Accord Bass Speakers Replacement
ID: 142300
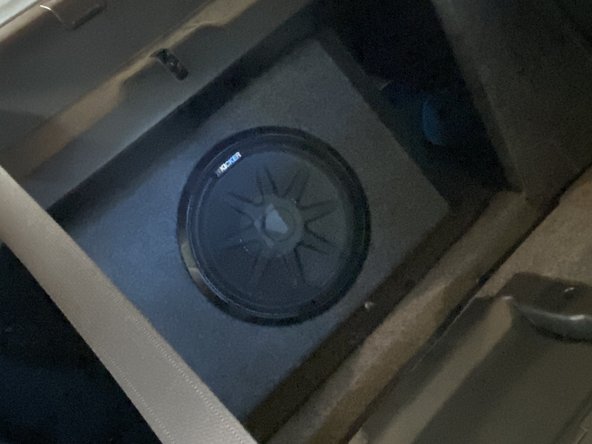
Description: This guide is for replacing the bass speakers...
Steps:
- Use the plastic opening tools to remove the floor trim panel on the driver's side door.
- Remove the shifter frame panel with the same opening tools.
- Unclip the heated seats harnesses.
- Remove the 12V power supply connection.
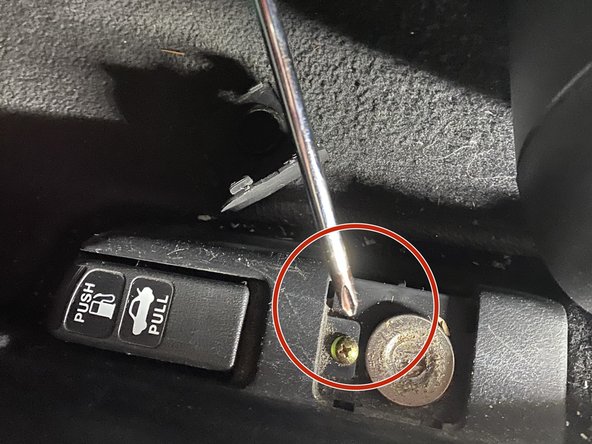
- Remove the cubby space to access the head unit.
- Remove the center climate vents with the opening tools.
- Remove the head unit from the dash.
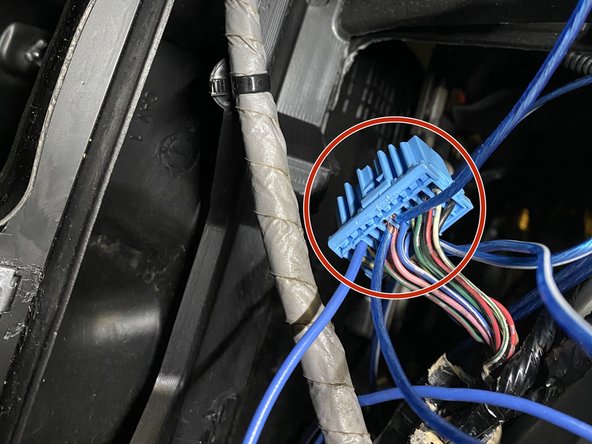
- Attach the wiring harness into the amp by clipping it in.
- Run the wires under the back seat and along the driver's side door sill (removed in step 1) to under the steering wheel.
- Drill a hole through the firewall located on the foot well of the driver's side under the steering wheel.
- Run the power and ground wires from the trunk through the door sill and through the firewall to the engine bay.
- Run the power wire where it will be out of the way.
- Run the power wire (red) and the ground wire (green) to battery, connect red to positive and green ground to a clean piece of the car body.
- Make sure to leave the power wire off until finished.
- Remove the wiring harness from the back of the head unit.
- Connect the four speaker wires and one remote wire to the harness as suggested in the owner's manual.
- Clamp down the wire harness on the five wires.
- Tape up the wire loom to keep it neat.
- Insert the wire harness back into the head unit.
- Put the head unit and the panels back into the car.