2008 Volkswagen Jetta Radio Replacement
ID: 142312
Description: The radio is one of the major features in a car...
Steps:
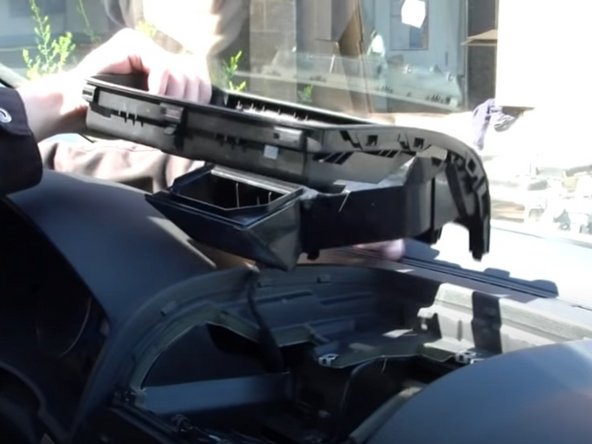
- Starting from the back of the top panel, pry open the top panel with a panel tool.
- Remove the top panel exposing the under.
- Be careful when removing the layers as they have very delicate clips holding them together.
- Use the T20 Torx screwdriver to remove the single screw.
- After screw is removed, pull out the cover.
- Within the third layer, remove two more screws using the T20 Torx Screwdriver.
- Use the panel tool to unclip the three clips on the back then remove the 3rd panel.
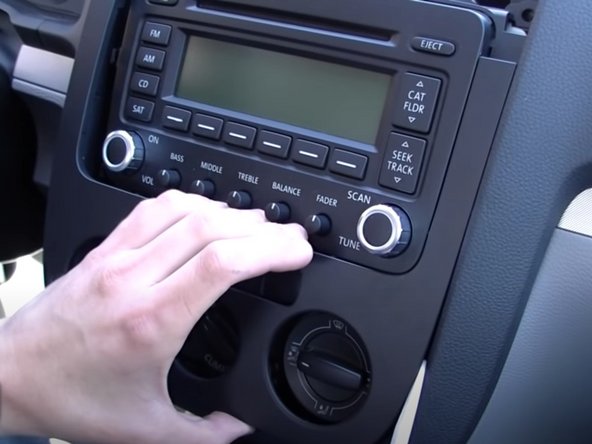
- Use the panel tool and slowly loosen up the outer shell by following the crevice outline.
- Once loosened up remove the upper face layer.
- When removing this layer there will be a wire connecting the passenger air bag light. Leave that wire alone and carefully place the layer on the dashboard.
- Remove the two screws using the T20 Torx Screwdriver.
- Use the panel tool once again to carefully open up the crevices on the bottom cover. Remove the layer.
- Use the T20 Torx remove the four screws placing the radio in place.
- Once the screws are removed carefully pull out the radio to reveal the wires connected on the back.
- There will be two clipped wires on the back of he radio.
- Push the clips in on the black wires connected to loosen them up and carefully pull out the wire.
- The second bunch of wires will only require a flip of the lever down on the bottom of the black outer box. Once flipped up remove the whole box to free the radio.