Apple Watch SE Battery Replacement
ID: 142322
Description: Use this guide to replace a worn-out or dead...
Steps:
- Before starting repairs, take your watch off the charger and power it down.
- If your touchscreen is broken and you can't power off the watch, use this alternate method to power it down.
- Because the gap between the screen and watch body is so thin, a sharp blade is needed to separate the two. Read the following warnings carefully before proceeding.
- Protect your fingers by keeping them completely clear of the knife. If in doubt, protect your free hand with a heavy glove, such as a leather shop glove or gardening glove.
- Be careful not to apply too much pressure, as this might cause the knife to slip and cut you, or damage the watch.
- Wear eye protection. The knife or glass may break, sending pieces flying.
- Attach or remove the watch band as needed to provide more control as you make repairs.
- Prepare an iOpener (or use a hair dryer or heat gun) and heat the face of the watch to loosen the display adhesive.
- Leave the iOpener on the watch for at least two minutes to fully heat the screen and soften the adhesive holding it to the case.
- You may need to reheat the iOpener and repeat this procedure several times until the display adhesive softens.
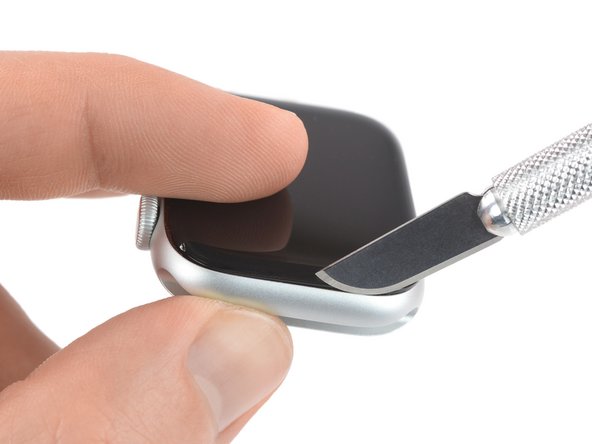
- Place the edge of a curved blade into the thin gap between the display and the outer case. Start at the short side of the display, closest to the digital crown.
- Press firmly straight down into the gap.
- Once inserted, tilt the blade to pry the display open slightly.
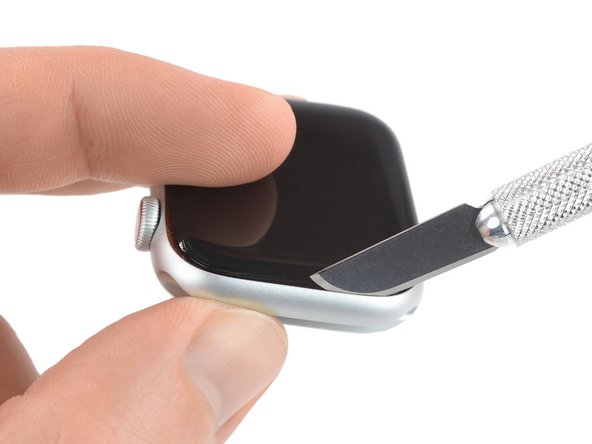
- Insert an opening pick in the gap you've created.
- Slide the opening pick along the short edge of the watch to cut the adhesive.
- When slicing near the crown, don't insert the opening pick deeper than 1/16th of an inch (~2 mm).
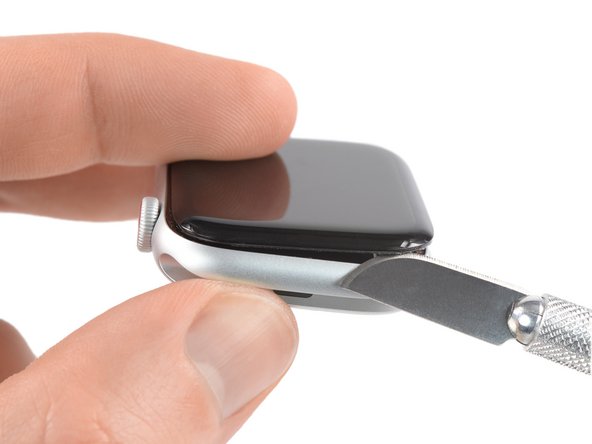
- Slide the opening pick around the corner and along the long edge where the crown is located to cut the display adhesive.
- Slide the opening pick around the corner to cut the remaining adhesive on the short edge farthest away from the crown.
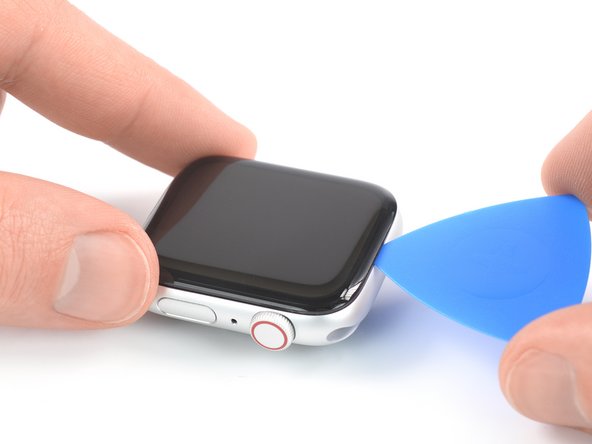
- Place the watch on a flat surface and use an opening pick to slice through any remaining adhesive.
- When slicing near the crown, don't insert the opening pick deeper than 1/16th of an inch (~2 mm).
- Slide an opening pick under the opposite display edge of the watch crown.
- Reinsert the opening pick on the short edge of the watch, next to the watch crown.
- Twist the opening pick to loosen the display off the watch case.
- Don't try to remove the display. It is still connected to the watch assembly.
- Be careful not to strain the display cables when you fold the display to the side.
- Lift the display and carefully pull it in direction of the short edge farthest away from the crown.
- Swing the display open to an upward position.
- Prepare an iOpener (or use a hair dryer or heat gun) and heat the rear side of the watch to loosen the battery adhesive. Leave the iOpener on the watch for at least two minutes.
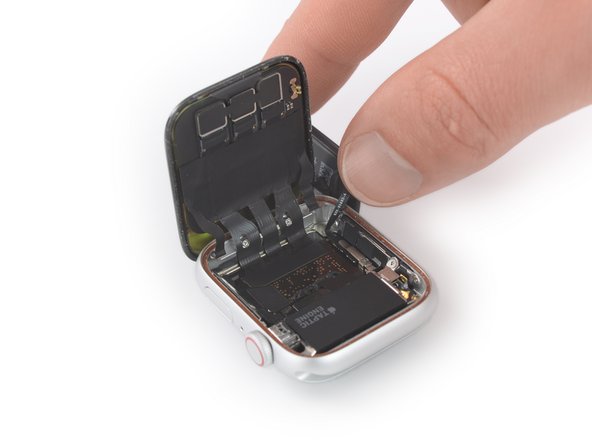
- Lift the screen until there's enough space to access the battery.
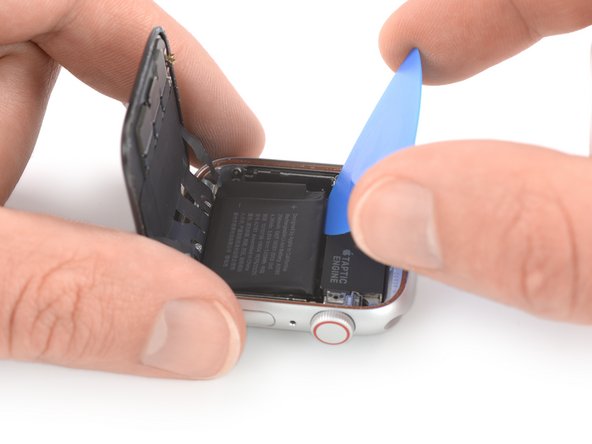
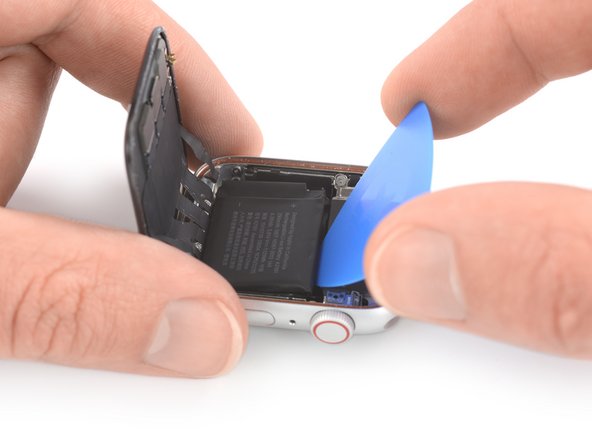
- Insert an opening pick between the battery and the Taptic Engine.
- Slide the opening pick along the edge of the battery to loosen the adhesive.
- The battery adhesive is soft. However, if you're struggling to pry out the battery you can place a heated iOpener on the rear side of the watch to loosen the adhesive. Apply the iOpener for at least two minutes.
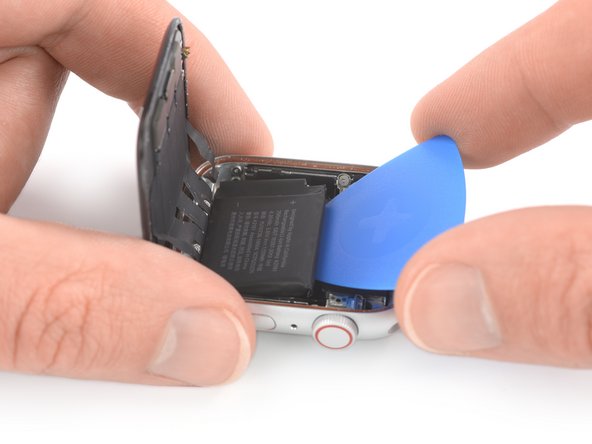
- Use constant, steady pressure to slowly pry the battery up, separating it from the adhesive securing it to the mainboard.
- Avoid damaging the display cables, and especially the force touch cable, which covers the battery in one corner during the prying procedure.
- Make sure you don't puncture or deform the battery, as it can catch fire and/or explode if damaged.
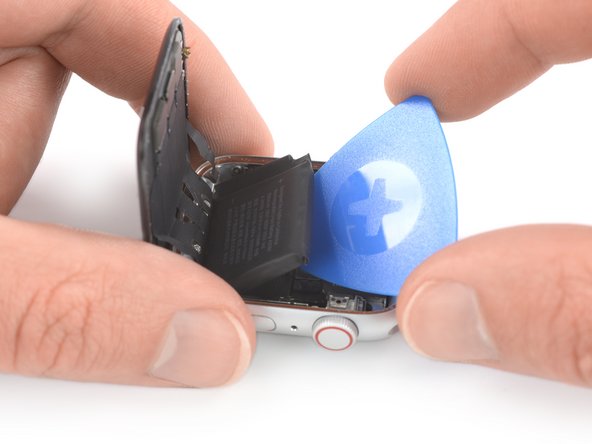
- Don't try to remove the battery all the way yet. It is still connected to the watch assembly.
- The battery flex cable is long enough to allow you to place the battery outside the watch case, but avoid straining the cable when you lift the battery out of its recess.
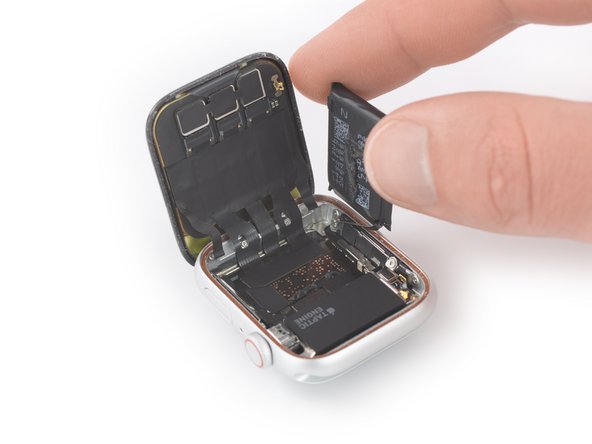
- Carefully lift and swing the battery out of its recess.
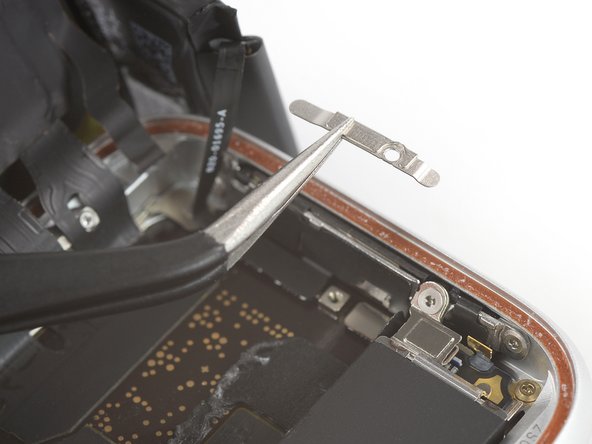
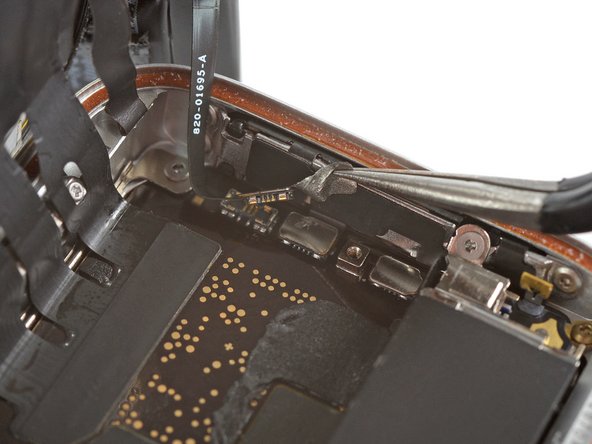
- Use a Y000 driver to remove the 1.1 mm screw from the battery connector.
- Use a pair of tweezers to remove the metal plate covering the battery connector.
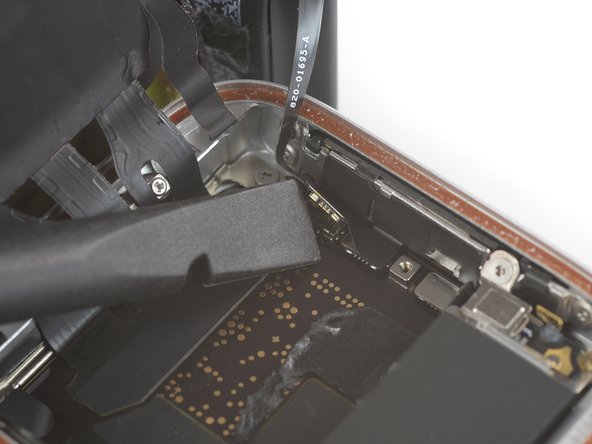
- Use the flat end of a spudger to pry up and disconnect the battery flex cable.
- Use a pair of tweezers to carefully free the battery connector by peeling off the overlapping foil.
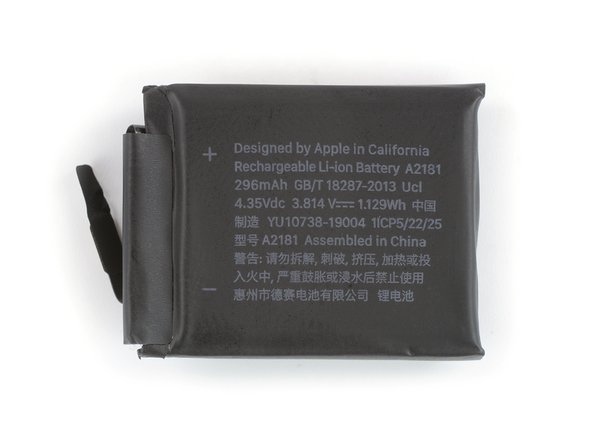
- Remove the battery.
- Do not reinstall a damaged or deformed battery, as doing so is a potential safety hazard.
- If you are reusing your old battery during reassembly, you can reuse the existing adhesive to secure the battery during reassembly. Alternatively, remove the old adhesive with high isopropyl alcohol and a lint free cloth and use a small piece of double-sided tape such as Tesa 61395, or a dab of liquid adhesive such as E6000.