Polygel Nail Replacement
ID: 142337
Description: If your polygel nail has been damaged due to...
Steps:
- Check the extent of the damage.
- If the damage is minimal, file off any minor nicks around the edge of the nail.
- If the damage is extensive, the nail needs to be removed and rebuilt.
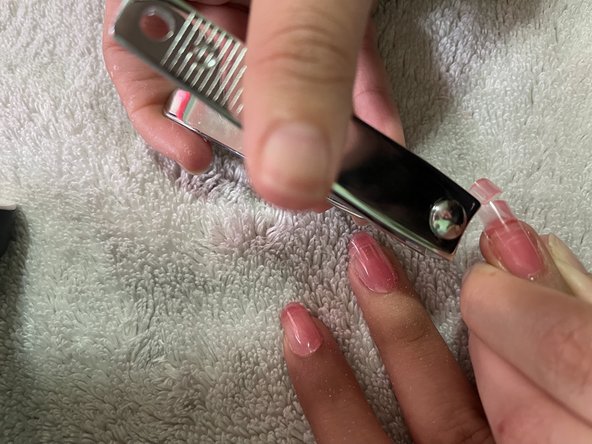
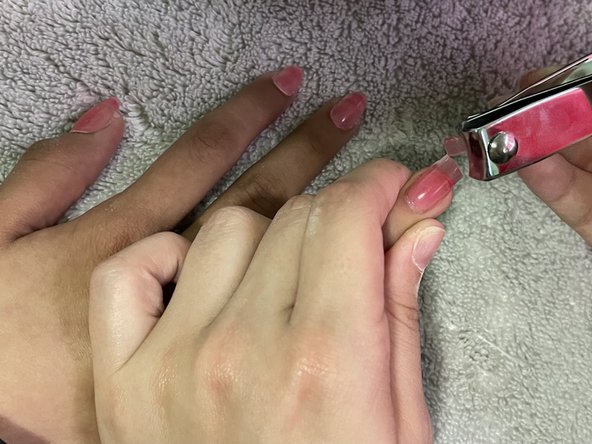
- Start by cutting from one side of the nail then going to the other side with the nail clippers.
- Cutting directly from the center will cause pressure on the natural nail, which is something you should avoid.
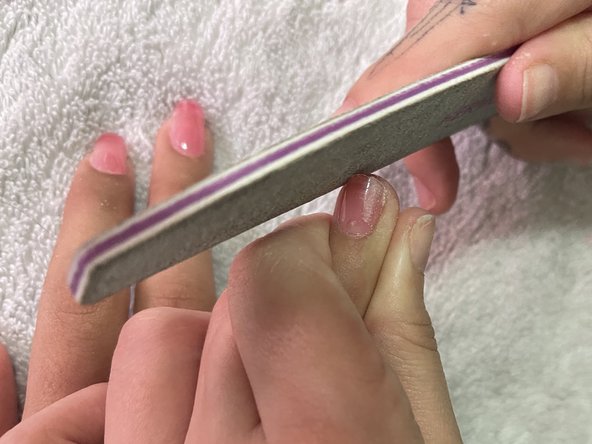
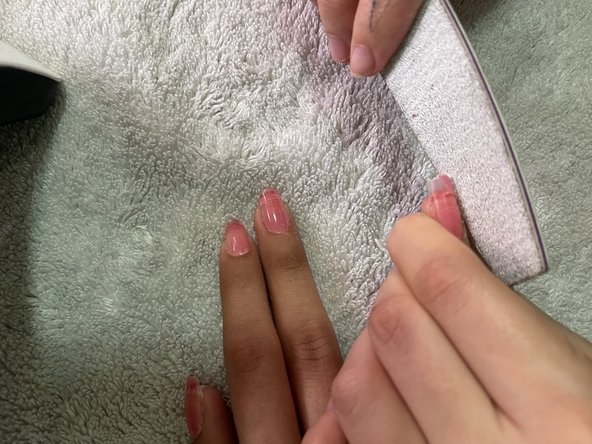
- Start filing off the remaining gel until you are just left with the natural nail as the base.
- Hold the finger in place to make sure you have control of where you're filing, making sure not to hit any skin.
- The grit of the file does not matter; polygel is thin and easy to file.
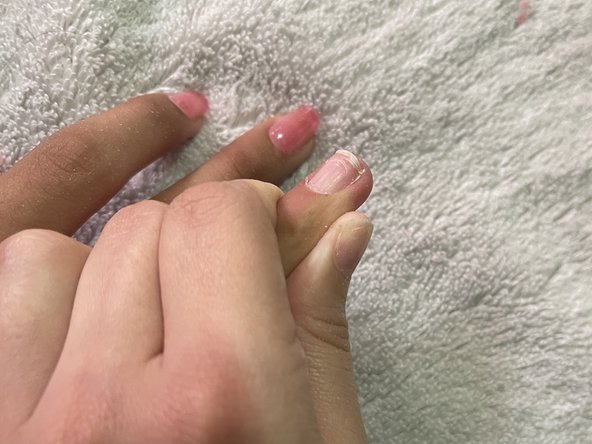
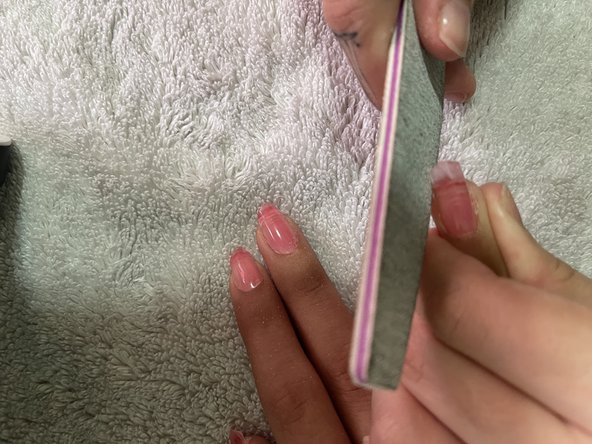
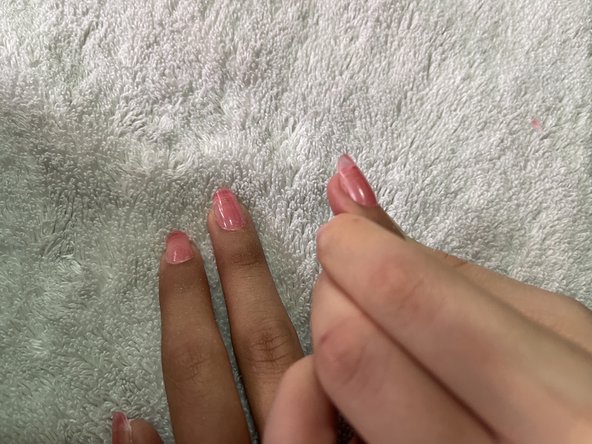
- File until you see that all the gel is removed.
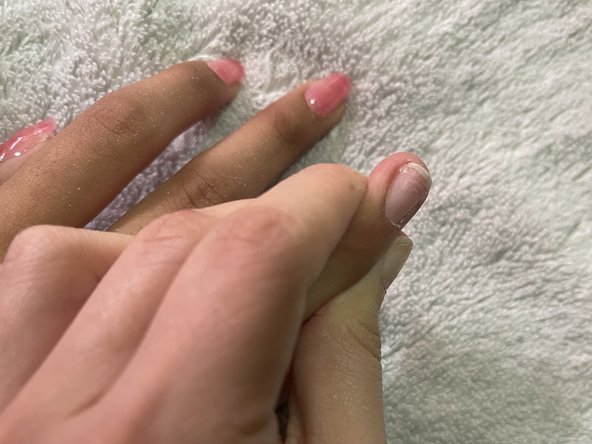
- Turn the nail and ensure there's no remaining gel.
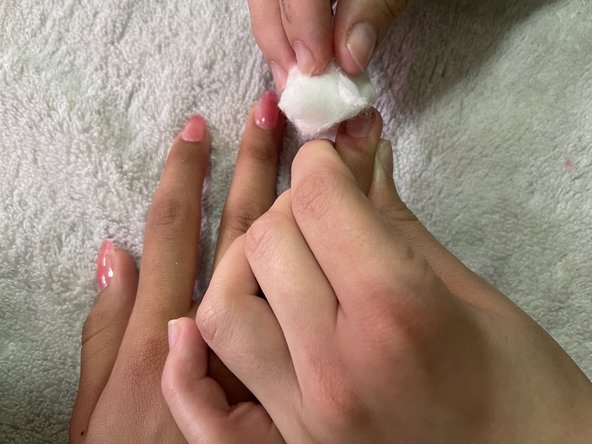
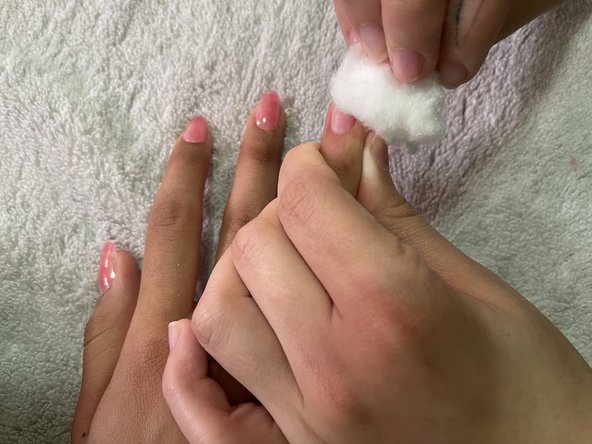
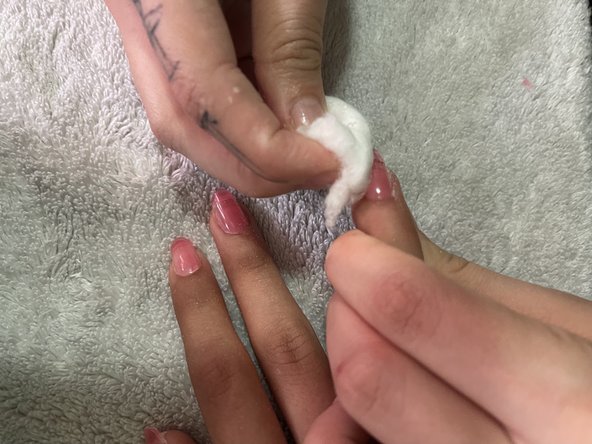
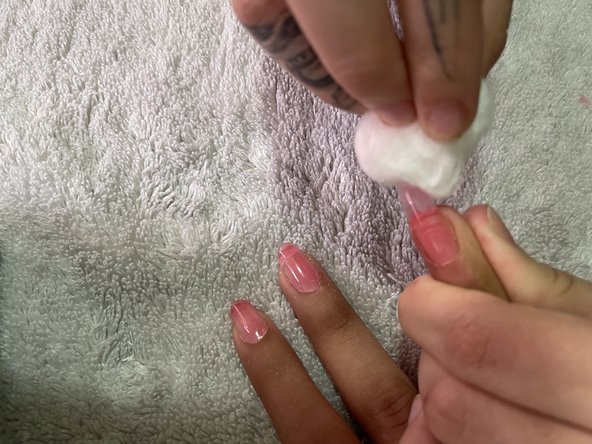
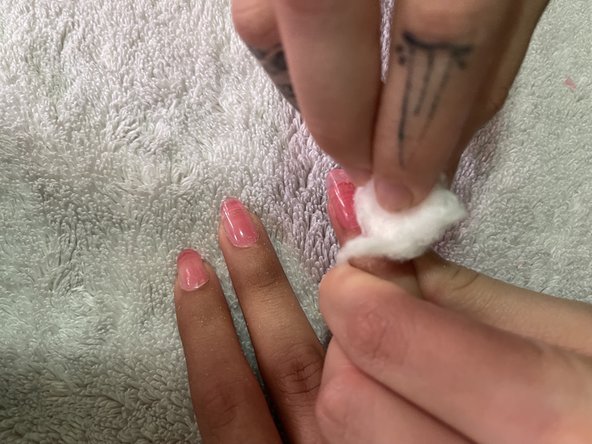
- Dampen a cotton ball with the alcohol and wipe off any dust residue from the filing.
- The alcohol will also dehydrate the nail and prep it for the base coat.
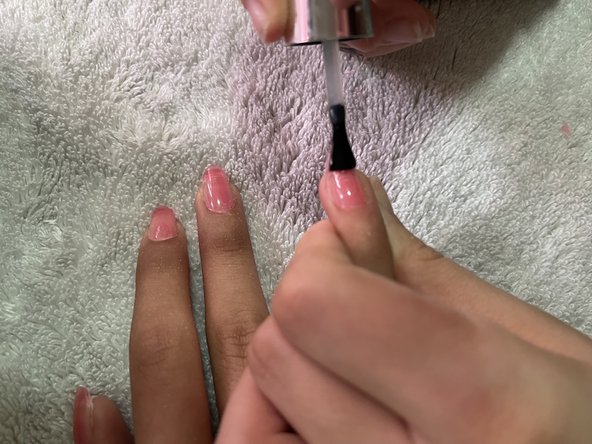
- Paint a thin, even layer of base coat onto the natural nail.
- Wipe off any base coat that gets on the skin.
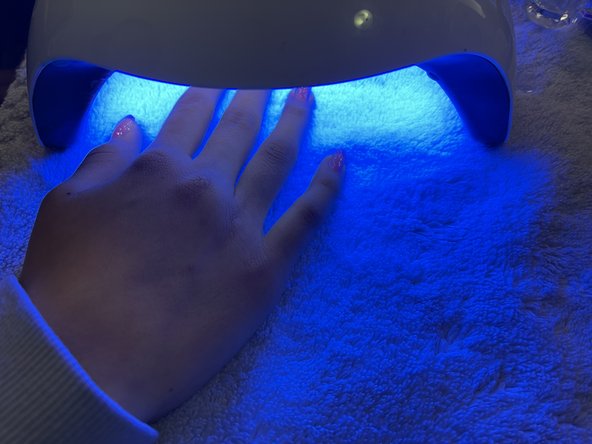
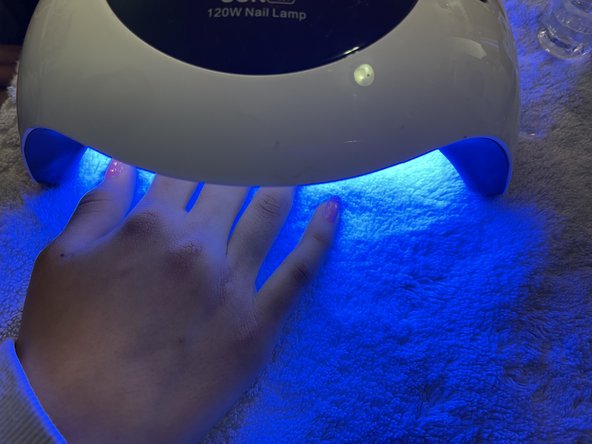
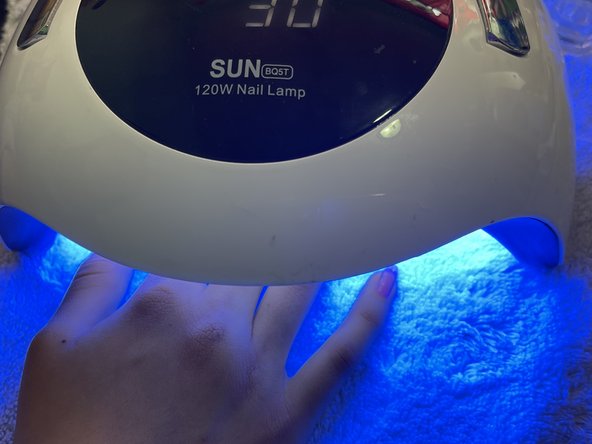
- Put your hand inside the UV lamp.
- Press the 30 second button.
- Once the 30 seconds have passed, remove your hand from the lamp.
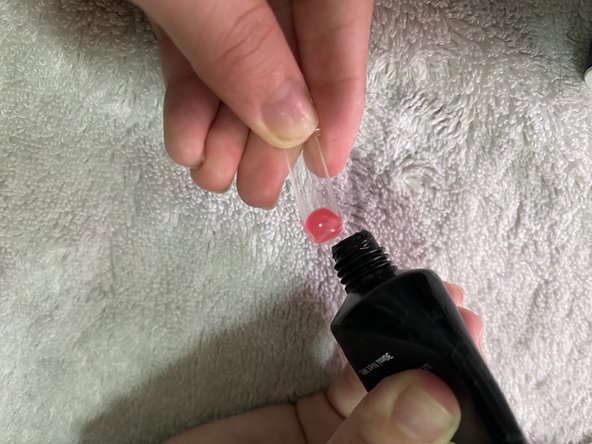
- Apply a small bead of polygel at the base of the form.
- Pour alcohol in a dappen dish (or small container) and dip your brush into the alcohol.
- This prevents the polygel from sticking to the brush.
- Spread the polygel towards the top of the dual form in an even layer.
- Hold the finger steady and place the form on the natural nail.
- With a small amount of pressure, push the dual form down until it stays in place.
- Wipe off any gel that spills out onto the sides of the nail.
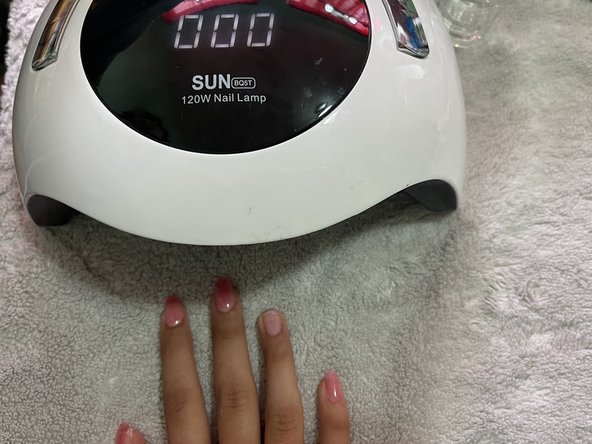
- Put your hand inside the lamp.
- Press the 60 second button.
- After the 60 seconds have passed, remove your hand from the lamp.
- Grip the dual form from the tip.
- Pull while moving the form from side to side to pop it off.
- Dampen one of the cotton balls with the alcohol and wipe off the nail until all the sticky residue is gone.
- Cut off any length you don't want or need using the nail clippers.
- Start from one side and then move to the other side.
- You don't want to cause any pressure or unwanted discomfort on the natural nail by cutting from the center.
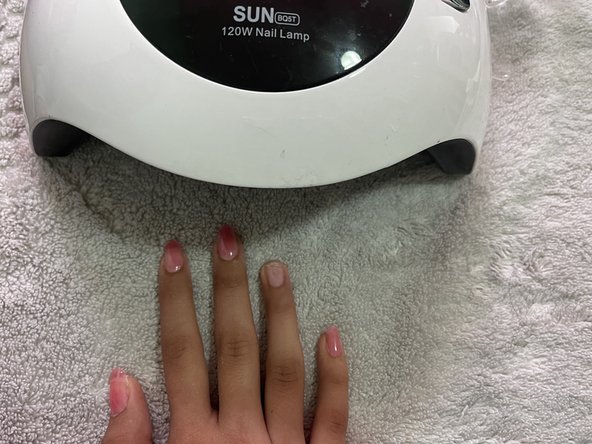
- Start filing and ensure your nail is even all around.
- File any bumps or unevenness on the surface of the nail.
- Dampen one of the cotton balls with the alcohol and wipe the nail until there is no longer dust on it.
- Move the finger to make sure you can see that all sides of the nail are even.
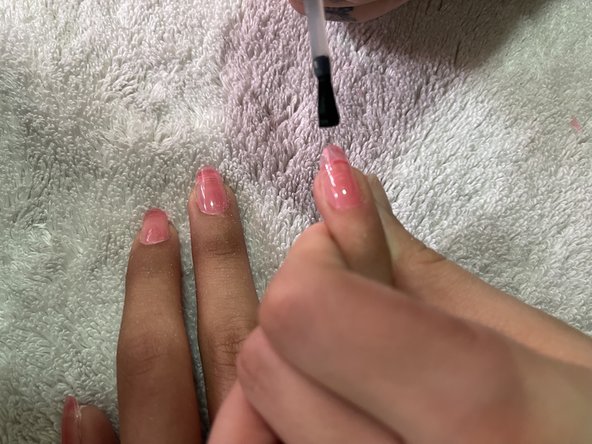
- Apply a thin layer of top coat onto the gel nail.
- Put your hand inside and press the 60 second button.
- Once the 60 seconds have passed, remove your hand from the lamp.
- After curing your nail, you are done!
- You can always go back and paint your nails and design them in any desirable manner.