How to Reattach an Apron Strap
ID: 142430
Description: This guide will show you how to reattach a torn...
Steps:
- Use a thread color that matches your article of clothing (or whatever color you like).
- Cut a piece of thread around 21 centimeters long.
- Insert one side of the thread in the eye of the sewing needle.
- You can wet the thread a bit to make it easier to insert in the hole.
- It may help to thread the needle against a background with a contrasting color to make it easier to see.
- Pull the thread to make sure it is in the hole.
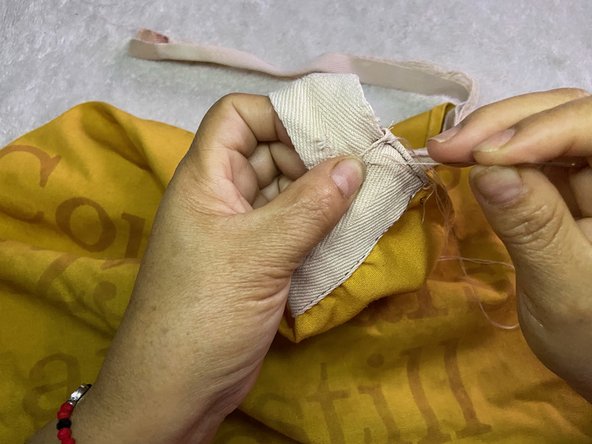
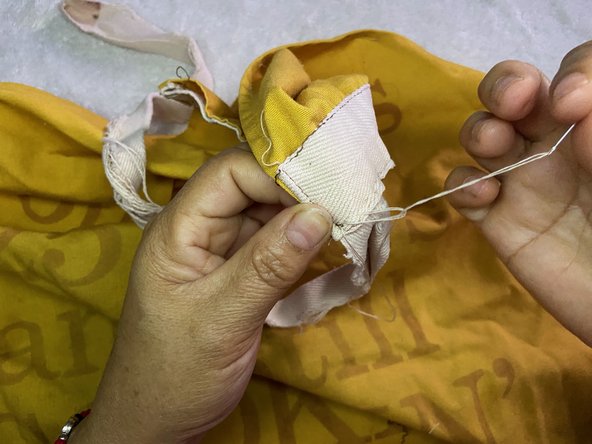
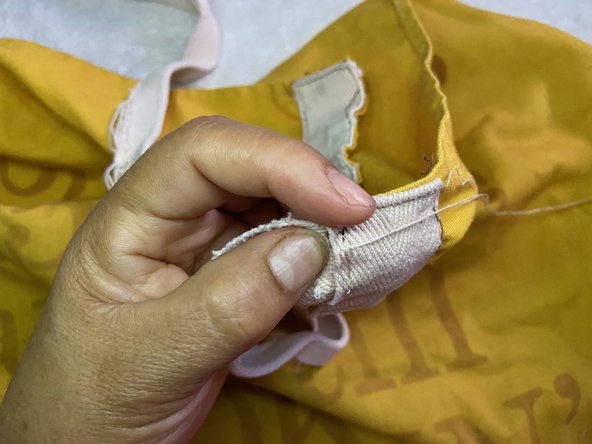
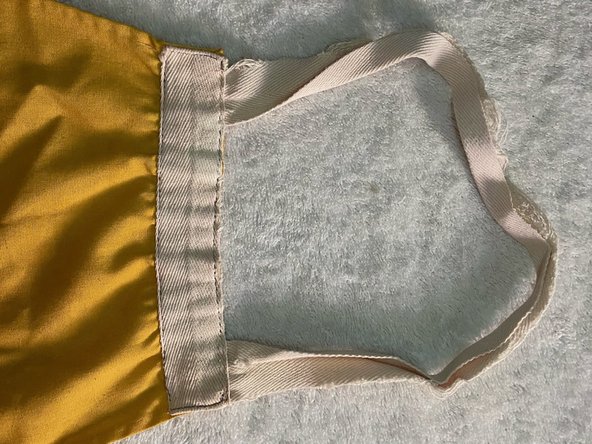
- Make sure the apron is aligned correctly.
- Insert the needle from where you want to start to repair the fabric.
- Begin from right to left.
- Once inserted, make a knot so the thread can't move. Pull the thread as far as possible but still able to create a knot.
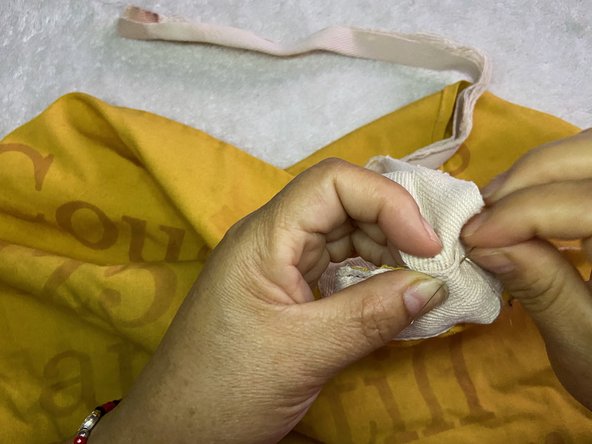
- Insert the threaded needle a short distance from where you began, starting again from right to left.
- Making two knots instead of one is helpful so it can last longer.
- Use caution when handling a sharp needle.
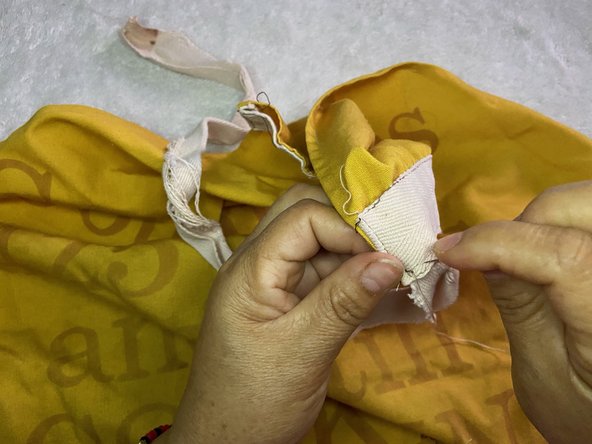
- Continue sewing from right to left, starting each new stitch a few centimeters from the previous stitch.
- Make sure the thread goes all the way through.
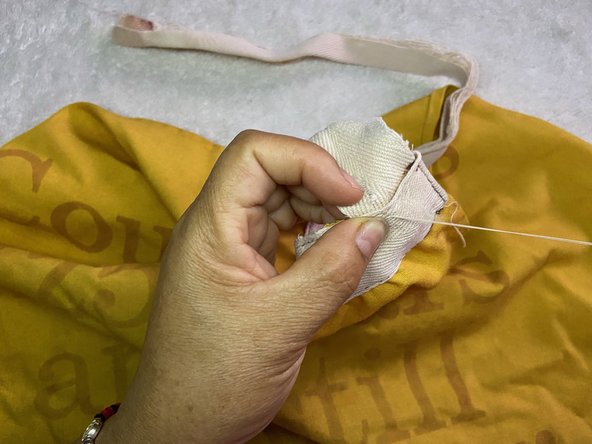
- Once you reach the end of the left side, make two small knots.
- Begin from the bottom and pull to tighten the knot.
- The knot should be small and tight enough to not be able to rip.
- Make sure the knot is not loose.
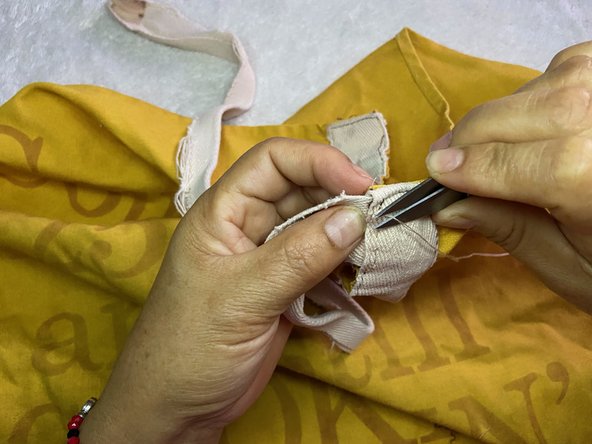
- Cut the excess thread with a pair of scissors.
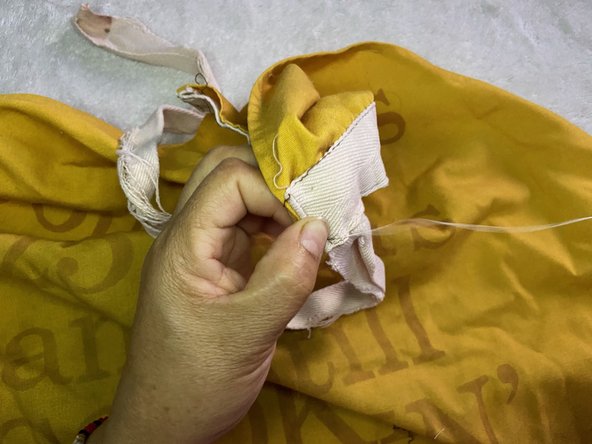
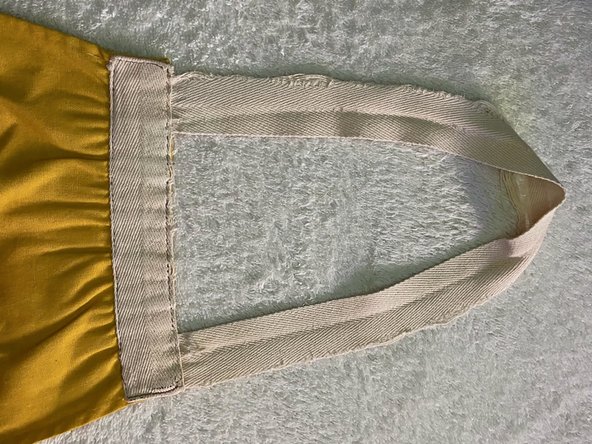
- Make sure the apron is aligned correctly and not loose from both sides.
- Tug on the strap to make sure it is not loose.
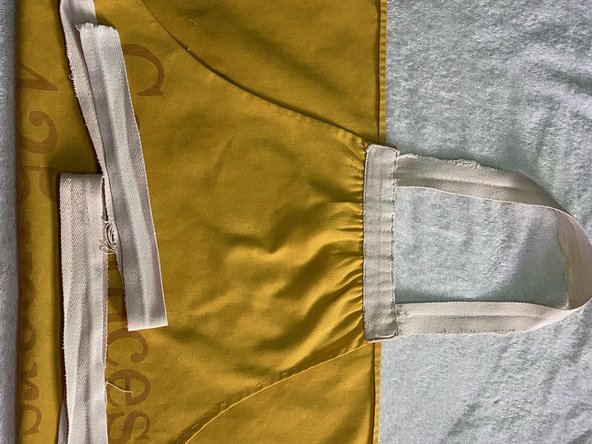
- You can iron the apron to make sure it is correctly aligned, but this step is optional.
- Lay the strap down carefully and iron from the bottom to the top.