13” & 15” Retina MacBook Pro Glass Bezel Replacement
ID: 142443
Description: I recently cracked the bezel of my 2017 13”...
Steps:
- Always power down your device before attempting any repair.
- This is the only stressful part of the repair but is surprisingly easier than it seems.
- You need to remove the existing cracked bezel. Use a hairdryer to carefully loosen the adhesive.
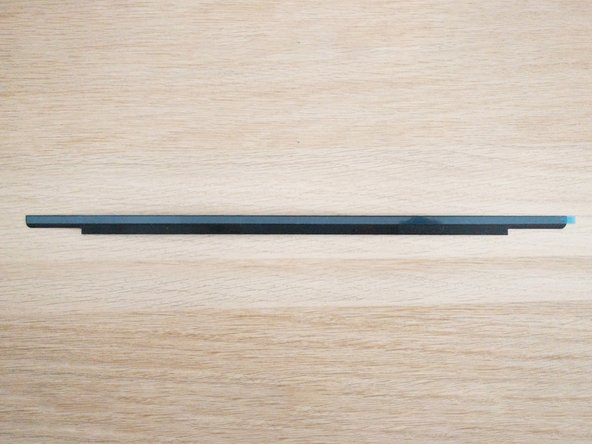
- NOTE: The adhesive is a 4mm strip of double-sided tape and it is only on the top side of the bezel. Be extra careful if you are using a hairdryer or heatgun.
- You may not need to use heat to loosen the adhesive, I simply used tweezers to pick off bits of glass and was able to slowly take one side off. Then simply running my nail down the other half, the whole bezel came off in one go.
- Use isopropyl alcohol to remove any leftover adhesive.
- Make sure there aren't any tiny shards of glass in the small gaps. I recommend using a can of compressed air to remove the shards.
- Simply attach the bezel onto your Macbook and use the rubber seal that surrounds the screen to align the bezel.
- Depending on where you purchased your replacement bezel from, you may not have double-sided tape pre-applied. If not, put a strip of double-sided tape on the top edge of the bezel.
- The double-sided tape that Apple uses on the bezel is 4mm. I'm not 100% sure but this could make sure the tape doesn't stick to the delicate ribbon cables.