Toshiba Satellite L45-S7423 LCD Display Replacement
ID: 14264
Description: The LCD display can be easily separated from...
Steps:
- Make sure the battery lock switch is switched to the unlocked position.
- The battery is unlocked when the battery lock switch is slid to the side with an image of an unlocked lock.
- Slide the battery release switch to the left.
- The switch is spring loaded, so you must hold the switch in place while removing the battery.
- Using a finger, lift up the battery.
- The battery release switch must be held in place.
- Remove the 5 Phillips screws holding the panel in place.
- These screws are permanently fastened to the panel; they are designed to be removed only partially to avoid loss.
- Use a finger to remove the panel by lifting up on the provided removal tab.
- Remove the Phillips screw holding the panel in place and then use a finger to remove the panel.
- This screw is not designed to be completely removed, it is permanently fastened to the panel to avoid loss.
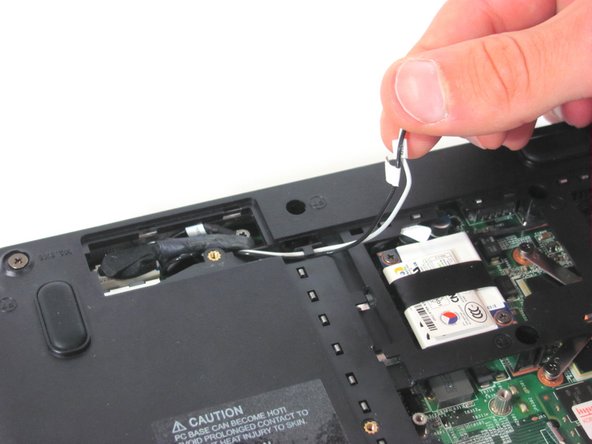
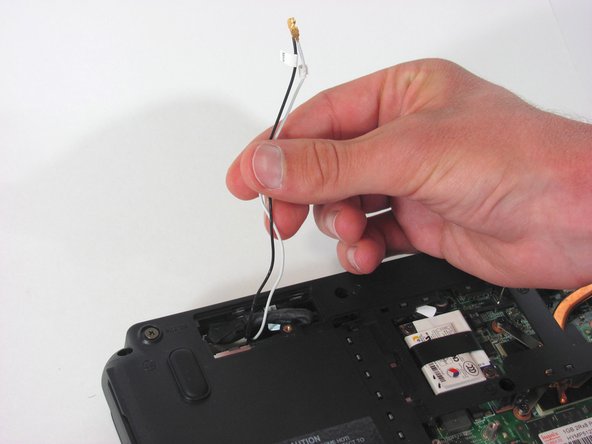
- With the aid of a plastic removal, disconnect the two wires attached to the wireless card.
- Remove the yellow tape holding the black and the white wires in place.
- Unwind the wires from the plastic tabs holding the wires in place.
- Remove the screw holding the ground cable in place.
- One 4.5 mm Phillips screw.
- Disconnect the video cable connecting the display to the base of the laptop.
- Pop off the laptop's hinge covers using a spudger tool.
- Only a small amount of force is required. Excessive force may permanently damage the hinge covers.
- Remove the two screws on the back side of the laptop holding the LCD display in place.
- Two 8.5 mm Phillips screws.
- Remove the final two screws on the bottom side of the laptop holding the LCD display in place.
- Two 8.5 mm Phillips screws.
- Carefully pull apart the LCD display from the base by pulling vertically upwards on the display.
- Be careful as you remove the display not to pull too hard on the cables as they pass through the opening.


