Nintendo WaveBird Wireless Controller Shoulder Buttons Replacement
ID: 14286
Description: This guide will show you the steps on...
Steps:
- Pull down on the battery cover release lever and pull back to remove the cover.
- Remove both batteries from the device.
- Remove the eight 9 mm screws from the back panel using the Tri-point Y1 screwdriver.
- During reassembly, firmly hold the panels of the controller together while replacing the screws so the panels do not separate.
- Carefully turn over the controller and place it on a flat surface.
- Slowly separate the top panel from the bottom panel.
- The buttons are loose and may fall off the motherboard.
- Once separated, set aside the top panel.
- During reassembly, make sure the front panel lines up with the buttons so they slide back into place.
- Use tweezers to remove the buttons.
- It may be easier to remove the A button off of the pad by lifting it with your fingers.
- During reassembly, make sure all buttons are in their respective sockets so they match up with the front panel.
- Using tweezers remove the three grey button pads from the motherboard.
- With your fingers gently grip the motherboard on both sides and lift it away from the back panel.
- To put the motherboard back into place, align the two metal clips under the motherboard with the slots in the back panel. The motherboard should fall into place.
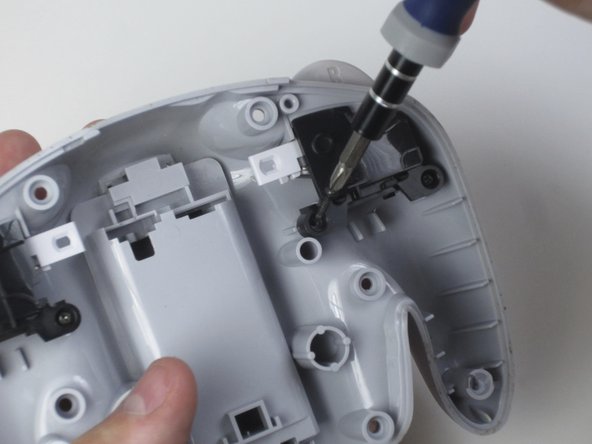
- Remove the four 9-mm Phillips head screws with the Phillips #1 screwdriver.
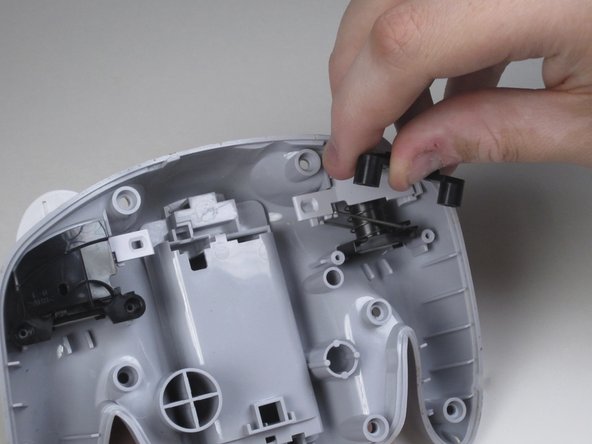
- Lift off the black plastic covers that secure the shoulder buttons.
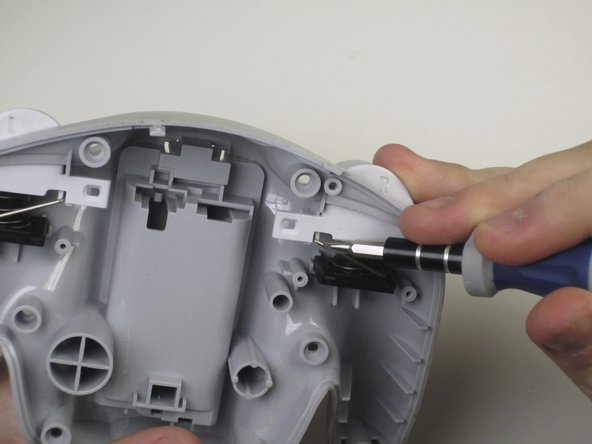
- Using the screwdriver, carefully unlock the spring clip from its holder.
- Once unlocked, use tweezers to pull springs out of its holster.
- The springs will try to jump out. Be careful not to lose them when setting them aside.
- When reattaching the clips, use tweezers to align the clip with its holder and press in until it clicks.
- Once the spring is removed, take out the shoulder buttons by pulling down and out.