Creative Ziio 7" LCD Screen Replacement
ID: 14325
Description: The Creative Ziio boasts excellent sound...
Steps:
- Remove the back panel by using the plastic opening tool to carefully pry around the panel's edges.
- The volume control button and the top power button may fall out during this step.
- Remove the four 3mm Philips #00 screws around the large silver battery.
- Remove the four 4mm Philips #00 screws on the edges of the circuit board.
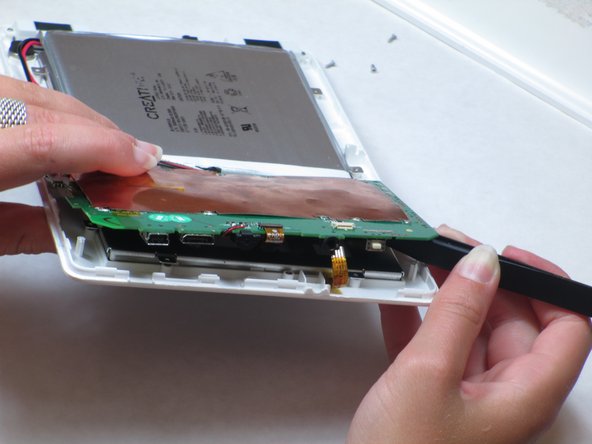
- Remove the ribbon cable from the exposed side of circuit board near the headphone jack.
- Carefully lift up the circuit board on the detached side.
- There is another ribbon cable attached to the underside of the circuit board.
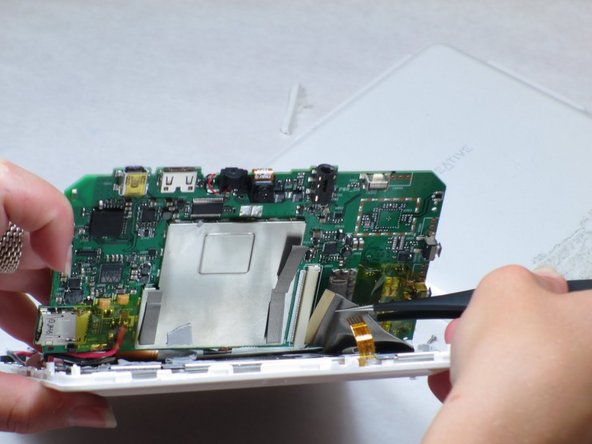
- Disconnect the second ribbon cable by pulling the end of the ribbon from its housing on the circuit board with tweezers.
- The circuit board is extremely delicate. Move carefully and don't rush on this step!
- On the opposite end of the device: Remove the ribbon cable in between the speakers at the end of the battery.
- There are three additional 3mm Philips #00 screws underneath the circuit board that need to be removed.
- Now, remove the battery and circuit board with the LCD attached and turn it over so the screen is facing upwards.
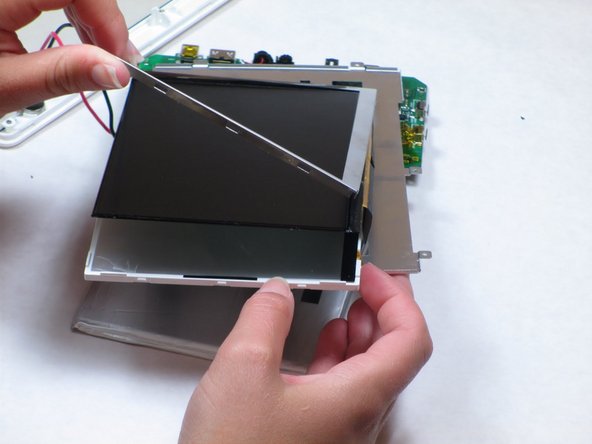
- Carefully pry the thin, metal frame from around the LCD screen.
- The frame is extremely thin! Take your time when removing it to avoid bending or deforming it.
- Carefully remove the black LCD screen.