GEN 2 Wheelchair Teardown
ID: 14387
Description: Free Wheelchair Mission’s most recent model,...
Steps:
- Find a clean area to work in so every part can be accounted for.
- Remove the footrest by unscrewing the lower bolt, using the 10 mm wrench.
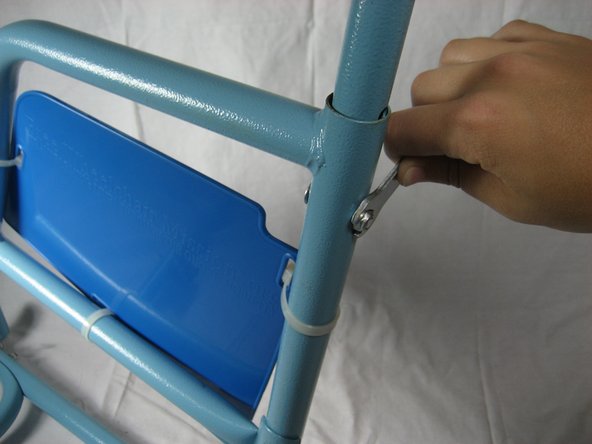
- Remove the upper bolt above the socket.
- Slide out the footrest and unscrew the plate welded to the socket.
- Slide the plate upward and off of the track to remove.
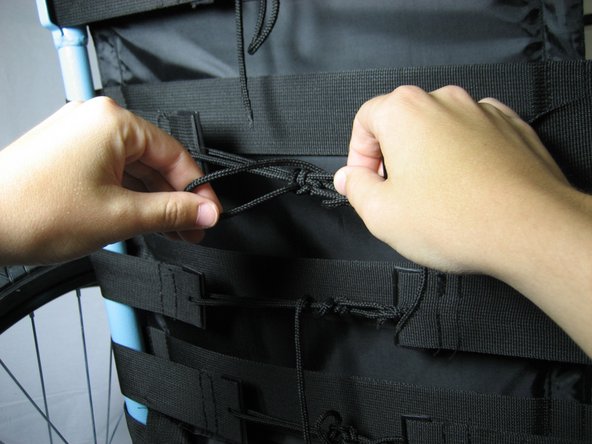
- Untie the foot retention belt.
- Undo the seatbelt.
- Remove the seat cushion by pulling it off of the velcro.
- Remove the back padding by untieing the straps attached to the back pad.
- Turn the wheelchair upside down and untie the plastic seat.
- Remove the plastic seat support.
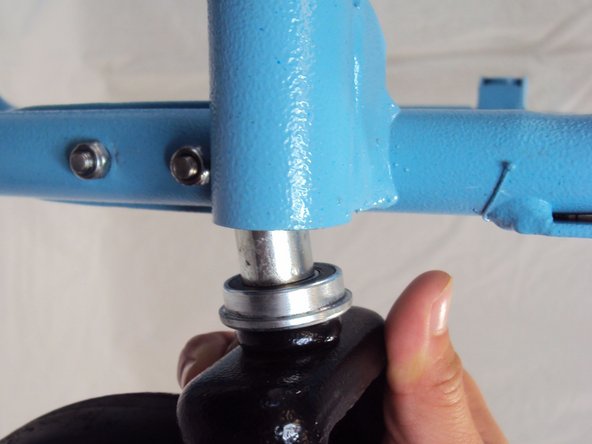
- Locate the plastic cap on top of the caster wheels.
- Place the 10mm wrench underneath the plastic cap and lift it up to remove.
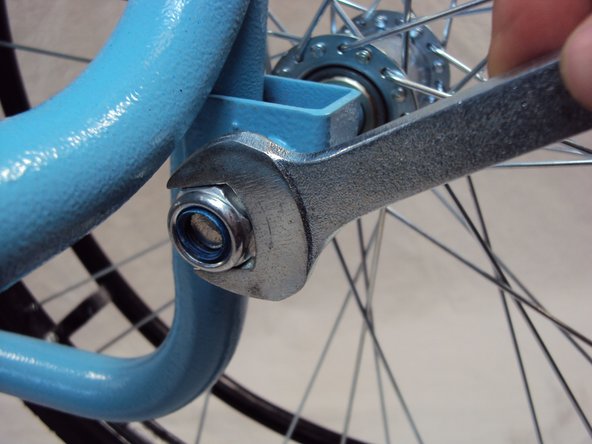
- Remove the caster wheels by unscrewing the bolt under the cap with a 19 mm wrench.
- Lift the wheelchair up to pull the caster wheels off.
- Use caution: The metal sheath and the bearing of the caster wheel is not attached and may fall off upon removal.
- Use a 1/2 inch socket wrench to unscrew bolts to remove the brakes.
- Pull the brakes off.
- Remove the wheels by placing a 19 mm socket wrench on the inside of the wheel and unscrew the bolt.
- Unscrew the bolt on the outside of the wheel by using a 19 mm socket wrench.
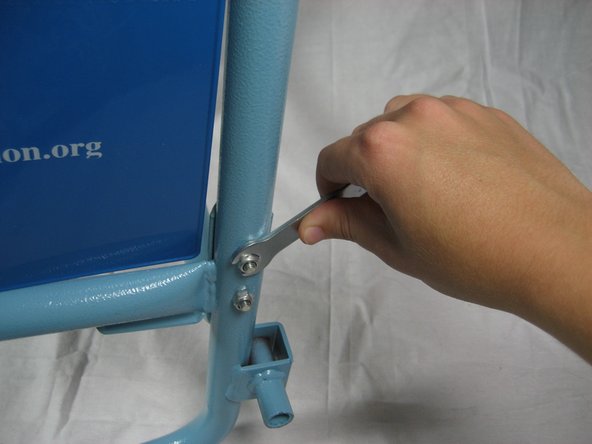
- Unscrew all of the 10mm bolts on the frame using the 10 mm wrench (15 bolts total).
- Separate the handle frame pieces from the metal side structure (2 bolts total).
- Remove the bolts attaching the three support beams (4 bolts each, 12 bolts total).
- Remove the bolt with the rubber cap that attaches the air pump to the center support on the bottom.
- Congratulations! Your teardown is now complete. Make sure all of the parts are accounted for before storing or shipping.