Disassembling ASUS Eee pc 1008Ha
ID: 14394
Description: This guide will go through the disassembly...
Steps:
- Turn off the computer.
- Disconnect the charging cable from the computer.
- Failure to unplug the cable could result in electric shock.
- Top Panel: Use a Plastic Opening Tool to carefully pry the top panel from the base.
- Keyboard: Lift the side of the keyboard gently and disconnect the attached ribbon located underneath the keyboard.
- Place your index finger in the hole on the right side of the keyboard tray and lift the tray gently.
- Battery: Use your fingers to lift the battery and gently disconnect the wires from the base.
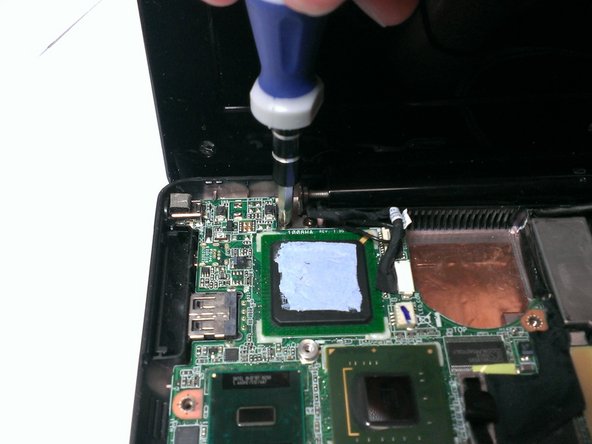
- Heat sink: Use a Phillips head screwdriver to unscrew the screws that connect the heat sink to the fan.
- Use a Flathead Screwdriver to gently lift the copper heat sink and use your fingers to remove it from the laptop.
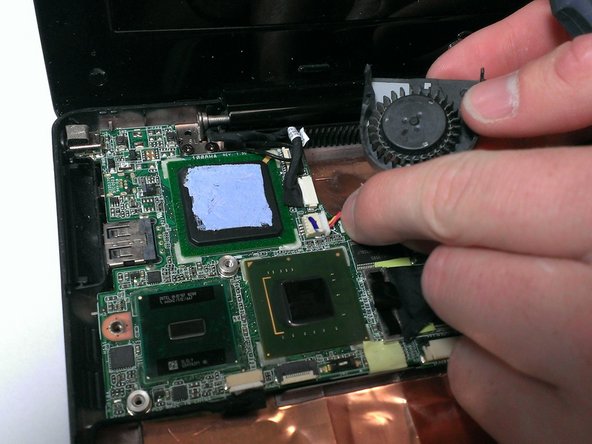
- Fan: Unscrew the screws that secure the fan.
- Use your fingers to lift the fan and pull the white plug carefully from the motherboard.
- USB header card: Use the Phillips head screwdriver to unscrew the 3 screws from the USB header card.
- Use your fingers to pull the USB header card from the side of the device chassis. (The USB header card will remain attached by wires.)
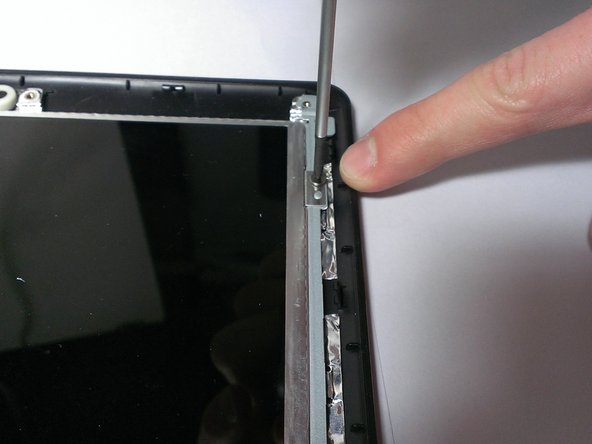
- Screen: Hold the USB header card in one hand.
- Use your other hand to unscrew the 4 screws (2 on each side) that attach the screen to the base.
- Use your fingers to hold the screen and carefully disconnect it from the right side of the base.
- Loosen the screen from the left side of the base.
- Use a Flathead Screwdriver to pry off the chits from the front panel. (The chits are the small black rubber caps.)
- Unscrew the screws that connect the front panel of the screen.
- Slide the Plastic Opening Tool under the edge of the screen bezel to release the front panel of the screen.
- Unscrew the screws from the edge of the screen.
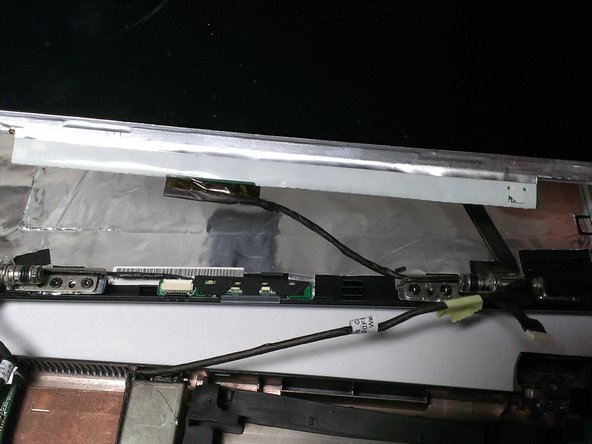
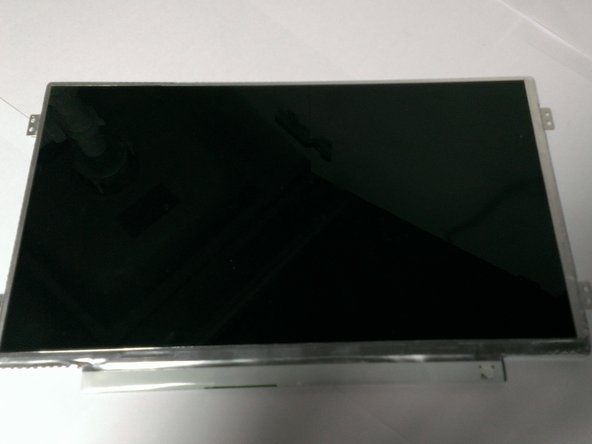
- Use your fingers to hold the screen and remove it from the base. (Wires will still be attached between the screen and the motherboard.)
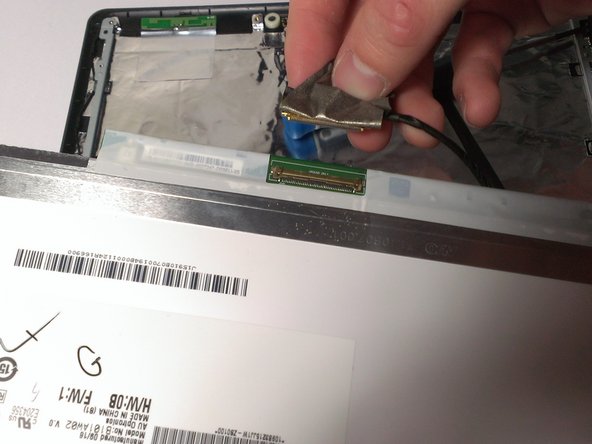
- Use your fingers to remove the adhesive tape located on the back of the screen near the wire connection.
- Disconnect the wire from the screen.