XtremeMac Luna Speakers Replacement
ID: 14424
Description: If you are experiencing poor sound quality or...
Steps:
- Flip the device over so that the batteries are closest to you.
- Remove the battery lid by pressing the battery cover's tab and pulling it away from the device.
- Push the battery against the spring and lift it out of the casing.
- Repeat with the other battery.
- Unscrew all eight 12mm Phillips head screws with a Philips #1 screwdriver.
- The iFixit 26 bit screwdriver kit will not reach the screws. Make sure to use a screwdriver that is thin enough to not get stuck in the screw holes.
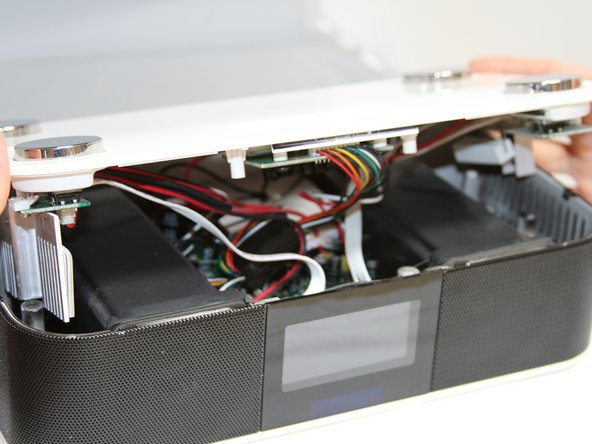
- Flip the Luna back over so that the buttons are facing upward and the LCD screen is facing you.
- Gently tilt the lid back 45 degrees so that the inside is exposed.
- Be mindful of the wires inside of the Luna. It is easy to break a connection if a wire gets caught.
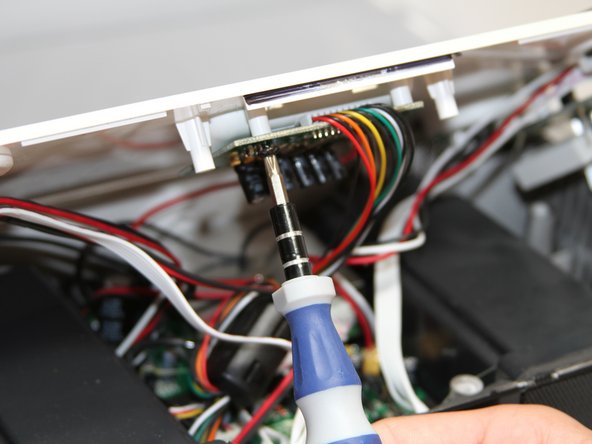
- Unscrew the four black 7mm screws with the Phillips #1 screw driver that hold the middle circuit board to the top case.
- Unscrew the three 7 mm black screws using the Philips #1 screwdriver on the back end of the left and right circuit board.
- Removing the right circuit board first will make it easier to unscrew the left because the heat-sinks on the left circuit board can get in the way of the screwdriver.
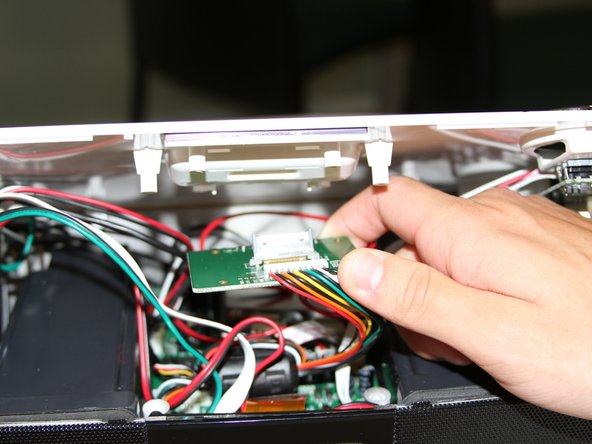
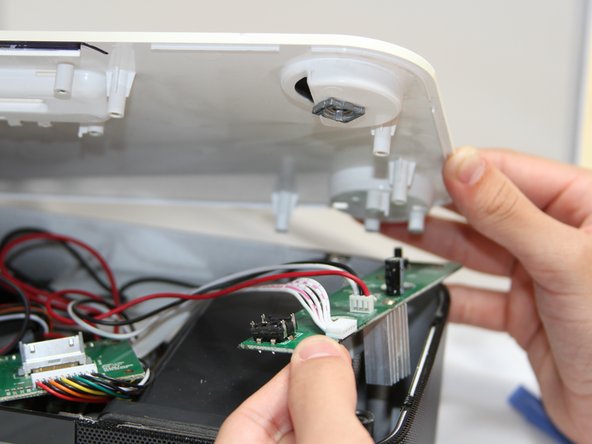
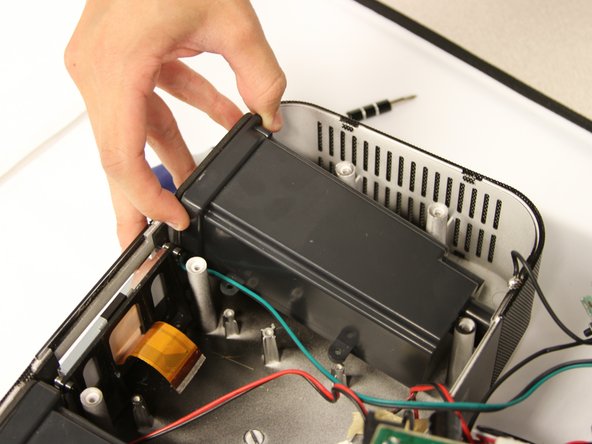
- Use a plastic opening tool to pry the black connections away from the top casing.
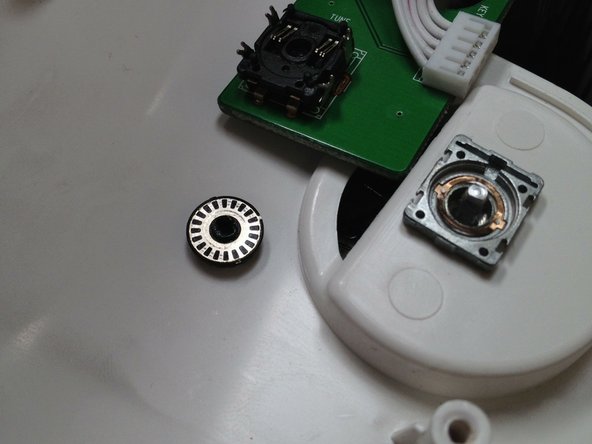
- Be attentive when you separate the circuit boards from the top, as there is a loose wheel inside.
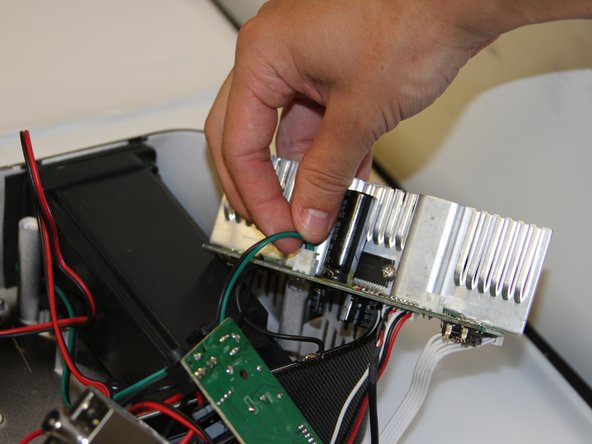
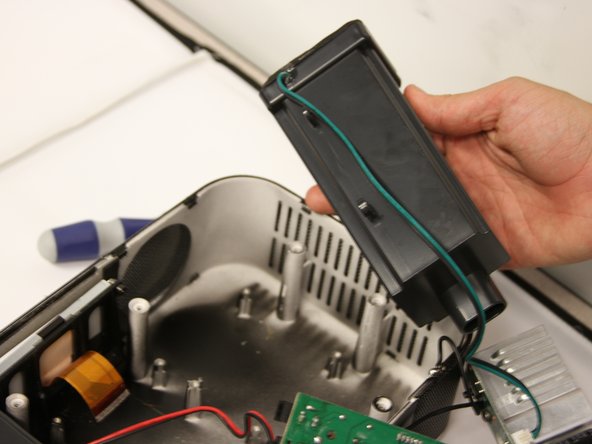
- Turn the circuit boards over. Remove the two connections on the left side by pulling on the tabs.
- The glue that holds the connection together will come off when you pull. Pull on the tab with enough force to break the glue without damaging the wires.
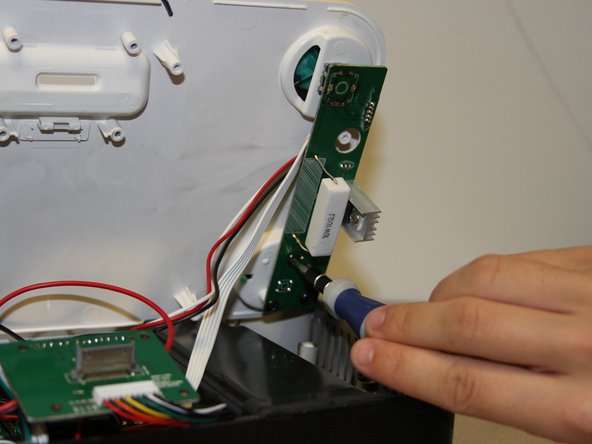
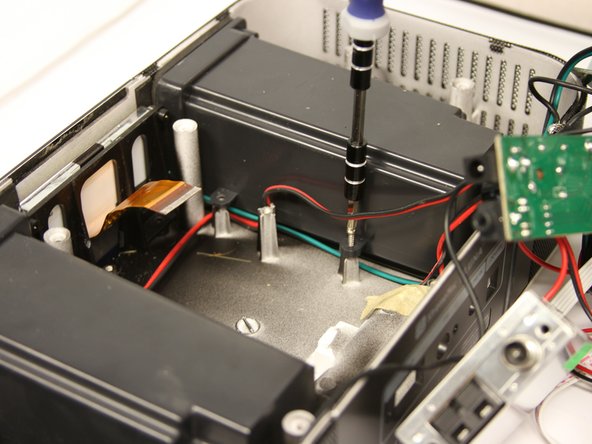
- Unscrew four 7mm Phillips screws from the base of each speaker unit.
- Lift the speakers up out of the Luna chassis.