LaCrosse Technology 5120 Weather Alarm Clock Teardown
ID: 144809
Description:
Steps:
- Pretty nice clock! Let's take a look at the features.
- Time & Date Segments
- Indoor temperature & humidity segments
- Outdoor temperature & humidity segments
- Projector
- Snooze & backlight button
- Battery backup
- Before we get in, we need to remove the back screws. Use your THIN SHAFTED #1 Phillips Screwdriver.
- DO NOT REMOVE THE BACK YET!!!
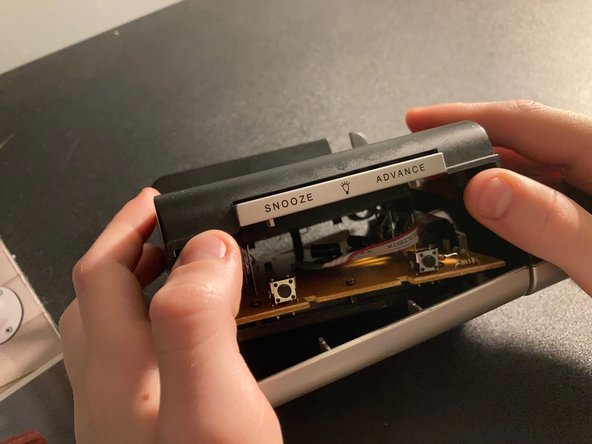
- We will now open up the device VERY CAREFULLY!
- Grab the sides of the clock and lift. Then, push down on the circuit board and lift the cover off.
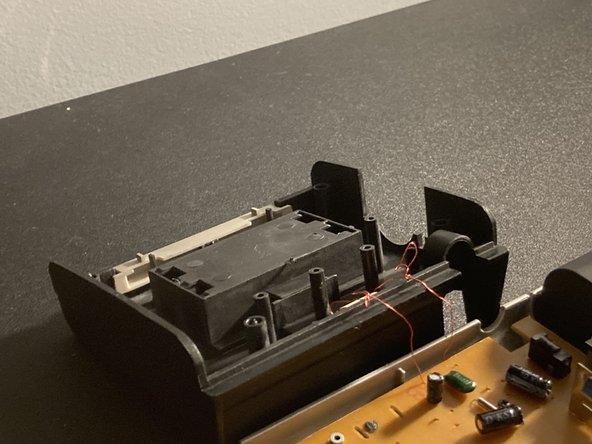
- Keep in mind that there are two thin red wires connecting the CB to the temperature sensor. DO NOT force the cover off.
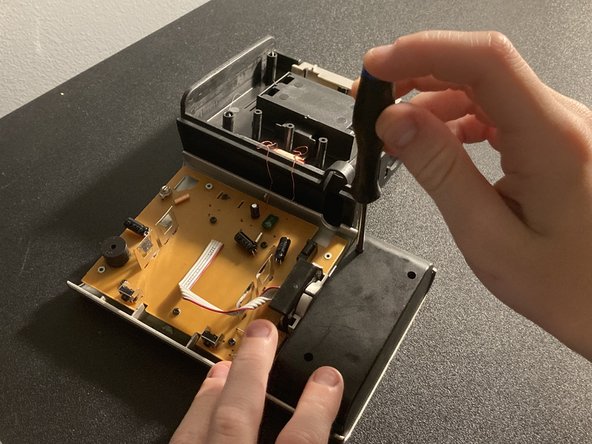
- So, now that we have it open, let's take a look at the inside.
- Piezo
- Temperature & humidity sensor
- Battery terminals
- A whole bunch of capacitors
- Snooze & backlight buttons
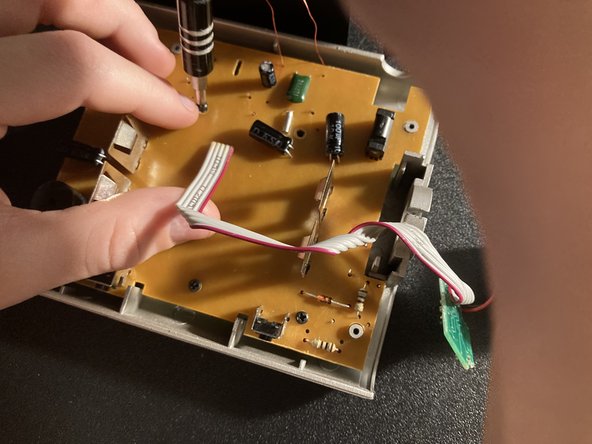
- Use your THIN SHAFTED #1 Phillips screwdriver to remove these three screws.
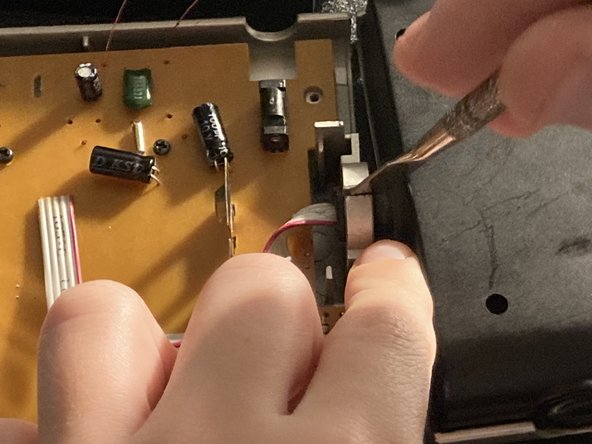
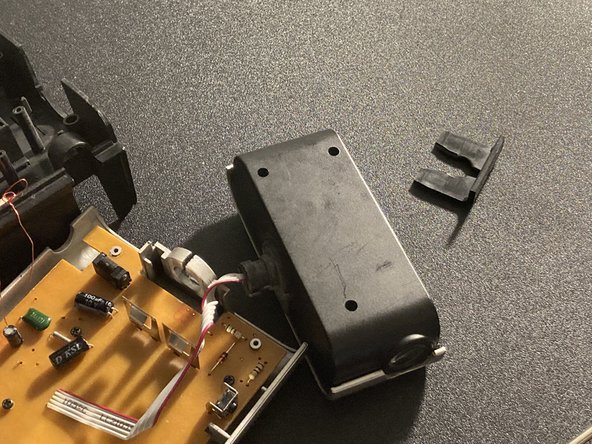
- Remove the black holder that is holding the projector in by pushing it up on the bottom of it with your fingers.
- Then use a metal opening tool to put medium pressure on the clamp, and at the same time, push the projector outwards.
- Now it's off!
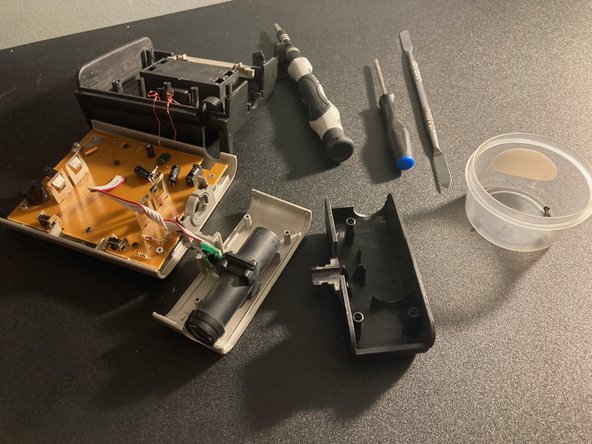
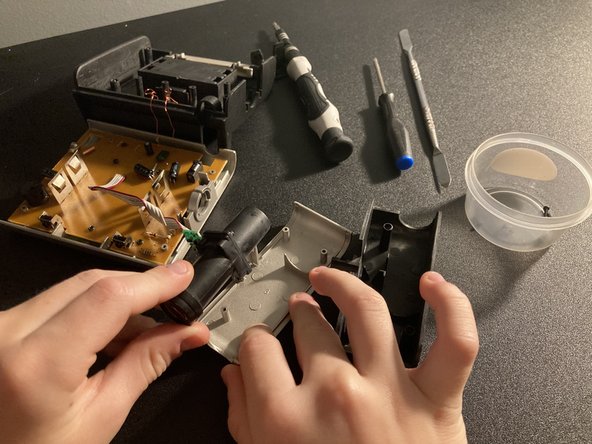
- Pull up on the back cover while jiggling it to get it off.
- Then, simply pull out the projector.
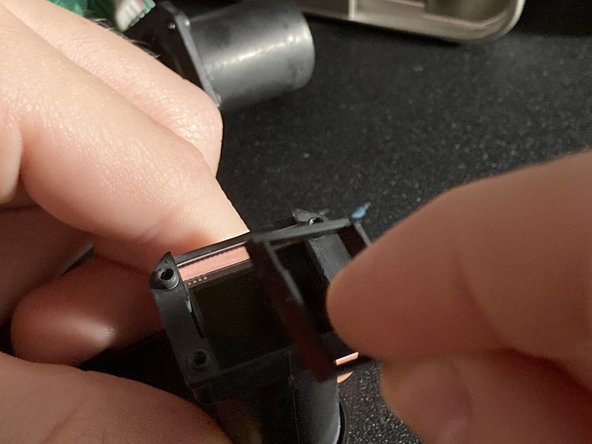
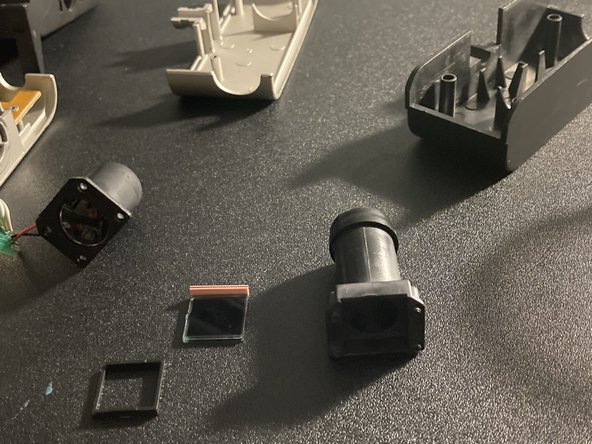
- Use a Phillips #1 screwdriver (any shaft size is fine) to remove the four screws holding the two sides of the projector together to separate them.
- Then, CAREFULLY remove the plastic black square above the screen, and then the screen itself. Done with the projector!
- PLEASE be very cautious NOT to crack the screen because the liquid crystal is TOXIC!
- Remove the five screws holding the screen down.
- This step is short because of the limited amount of pictures per step.
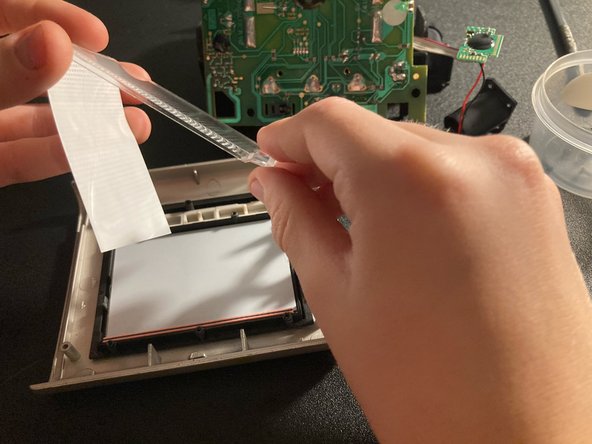
- Now, lift the CB and separate it from the screen.
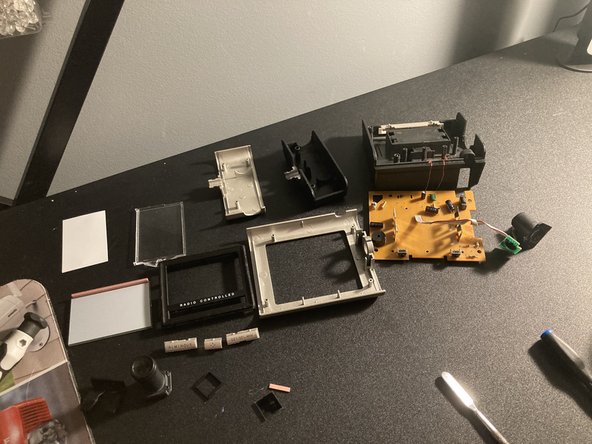
- Remove all of the things like the backlight filter and distributor.
- Finally, CAREFULLY remove the screen, buttons, and button frame.
- PLEASE be very cautious NOT to break the screen because the liquid crystal inside of it is TOXIC!
- That's all! You did it! Thanks for following my guide! Please check out my other guides on my profile. See ya!