ASTRO C40 TR Controller Joystick Replacement
ID: 144915
Description: Don’t abandon your Astro C40 TR controller if...
Steps:
- Unplug your controller from the video game console.
- Turn the wireless mode off if it is activated on your controller.
- Use an H.20 Hexagonal screwdriver to loosen the two screws on each joystick's side.
- Remove the face cover of the joystick by flipping the controller on its side.
- Don't panic if the joystick falls off! It can be placed back on.
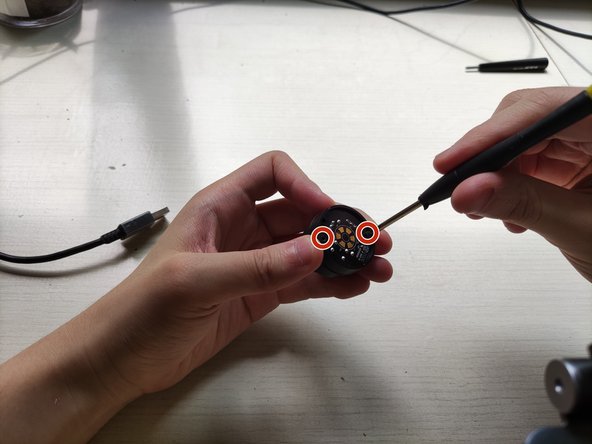
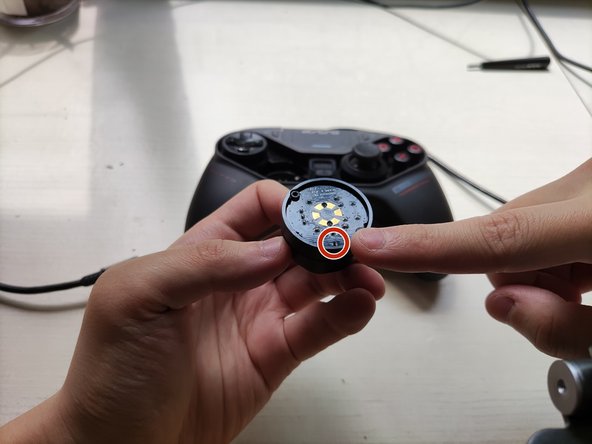
- Use the 30mm TORX Screwdriver to remove the screws from the module.
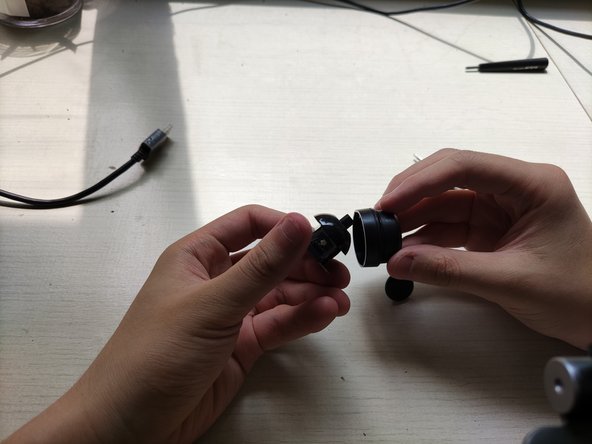
- Push on the top frame until it pops off of the module.
- If you have a whole new joystick module, you can skip to step 6.
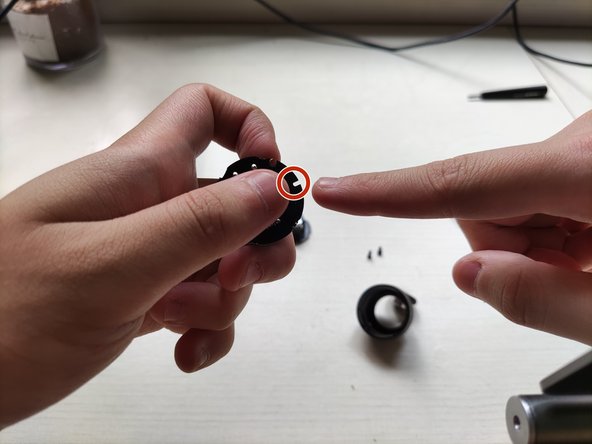
- Connect the base frame replacement to the joystick module.
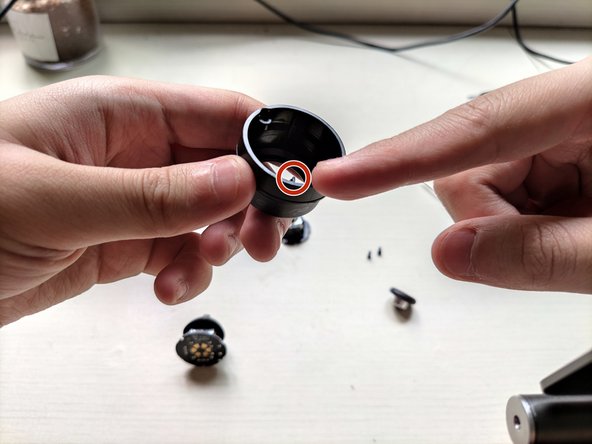
- Insert the top frame on the module until it clicks back together.
- Reassemble the joystick module and plug it back into the controller.
- Make sure the replacement and base frame are tightly screwed together.
- Align the module and controller as you put joystick back together.
- Reassemble the controller by placing the face cover back on.
- Tighten the screws on the face cover with the H.20 Hexagonal Screwdriver.
- If it's difficult to tighten the screws, don't force it. The joystick and controller are probably not aligned correctly!
- Recalibrate the controller so the new joystick can be detected by the console.
- Connect the controller to the console and activate wire-connect mode by clicking the controller's top right corner.
- Push the button on the back of the controller. Hold it until the controller vibrates. Release the button and repeat.