Kitchen Sink Basket Strainer Assembly Replacement
ID: 144917
Description: If your kitchen strainer seems to be leaking...
Steps:
- Inspect the strainer under the sink and inspect the basket over the sink. Take out the basket from the top.
- Loosen the bottom lock nut under the sink with your hands. If your hands are not enough, use a 12" pipe wrench to loosen the bottom nut out.
- Twist the bottom lock left when loosening it.
- Get ready to take out the old flange that sits on top of the tailpiece as shown.
- Take out the old flange and clean the inside of the tailpiece with a paper towel. Trust me, the tailpiece will be very dirty.
- Loosen the top lock nut that sits below the strainer, take the lock nut out.
- Twist the top lock nut left.
- At this point, the top strainer should be loose after removing the second lock nut.
- The top strainer easily comes off now due to no nut holding it in place.
- If there is resistance from prior washers or gaskets, give the strainer a pull to take it out.
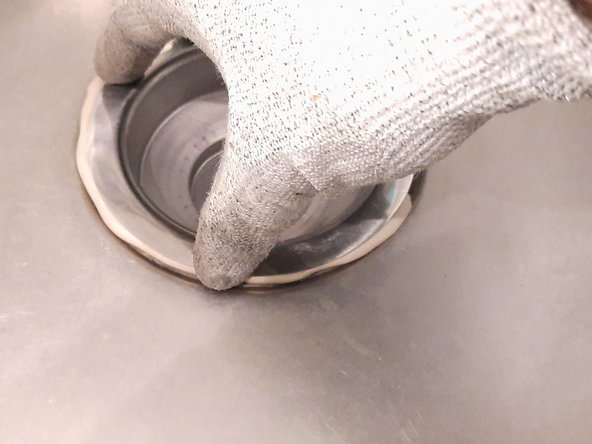
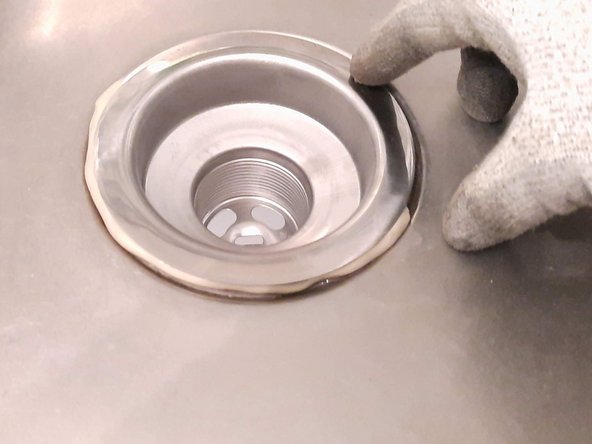
- Clean the top of the sink engrave of putty, washer residue, or water with a paper towel.
- Prepare and roll up the putty with your hands.
- Roll the putty into a hotdog shape and use enough so that you can cover the top of the sink engrave where the strainer must be placed.
- When placing the putty, follow the trace of the indent for the strainer outlined in the sink.
- Slightly press down, but not completely so that the putty sticks. Prepare to place the new top strainer.
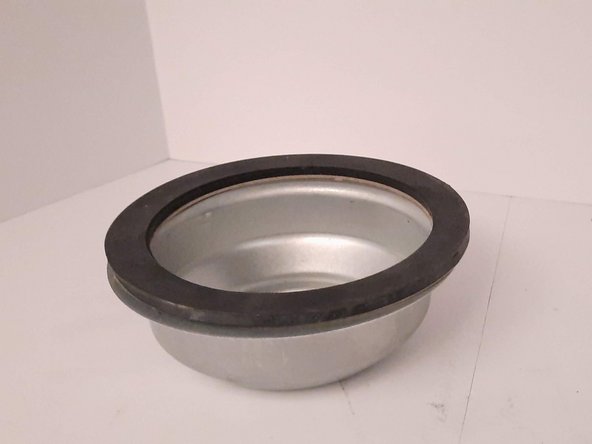
- Place the new top strainer on to the grave of the putty.
- Slightly press with your finger so that the putty sticks to the top strainer.
- Press down the top strainer until the putty squeezes out from the sides.
- Clean the excess putty with your hands and paper towels.
- The placement of the washers on the bottom strainer is as follows from bottom to top: (1) paper gasket, (2) rough washer, (3) soft washer.
- Place the washers and the new strainer in the order shown.
- Place the strainer with the washers before putting the top lock nut.
- Tighten the lock nut under the strainer with your hands.
- When tightening, twist the top lock nut right.
- Extra tighten the locknut with a wrench if necessary.
- Putty from the top will likely squeeze out as you tighten the lock nut. Simply clean off the putty after you're done.
- Place a new flange if needed (depending on the condition of your old flange).
- Tighten the bottom lock nut that connects the tailpiece with the strainer. Use a wrench for extra security.
- Twist the bottom lock nut right.