Panasonic RF-1101 Radio Disassembly
ID: 144970
Description:
Steps:
- Lets fix the sliders and turn knobs with Deoxit
- 5 Screws Removed from the BAck
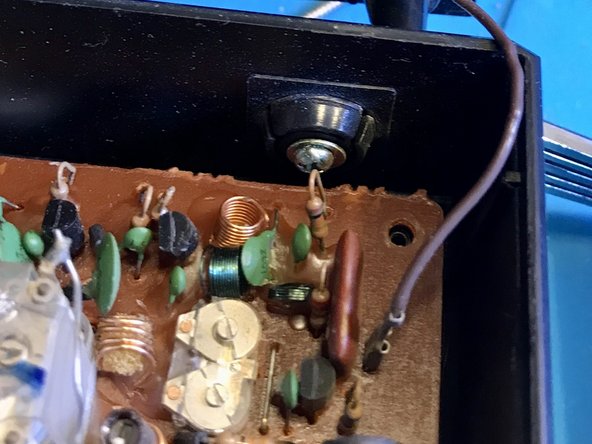
- Wire on the right is the Antenna Wire. It Attaches to the board by a connector. Unhook it so the back will lay over.
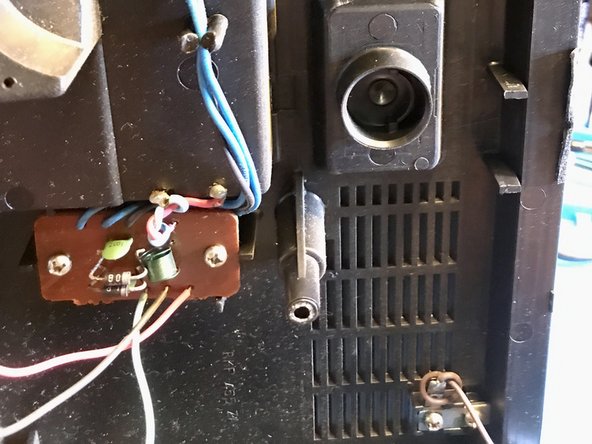
- The transformer for AC and the Battery connector for DC
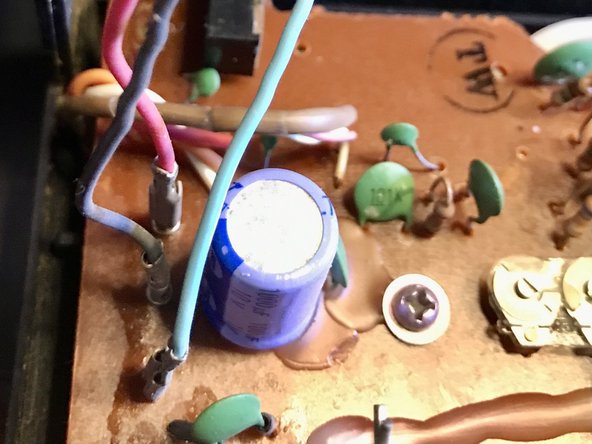
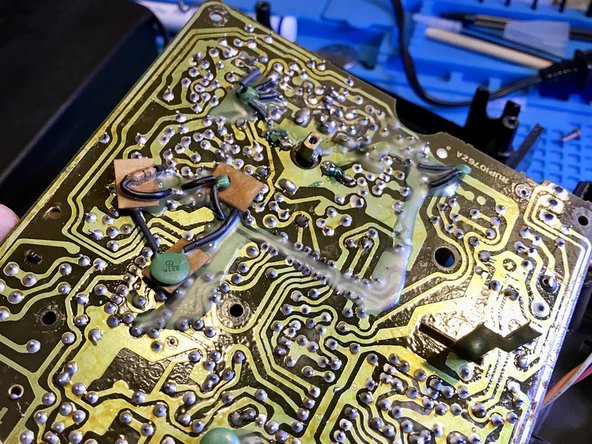
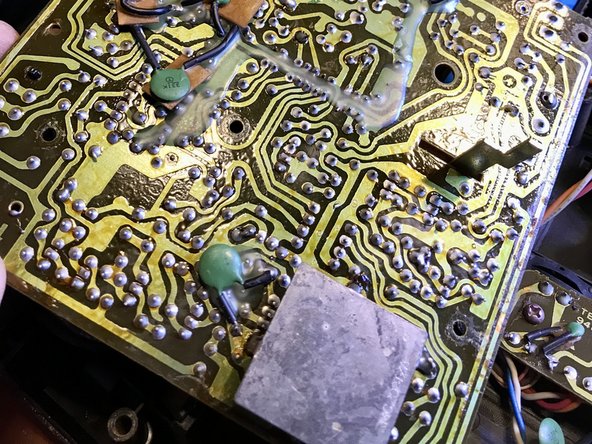
- Board view of top and bottom of board. Remove 3 screws to take thew board out. Remember the one screw with washer in the left top. Also note the position of the screws as the screws in the back also go through the board.
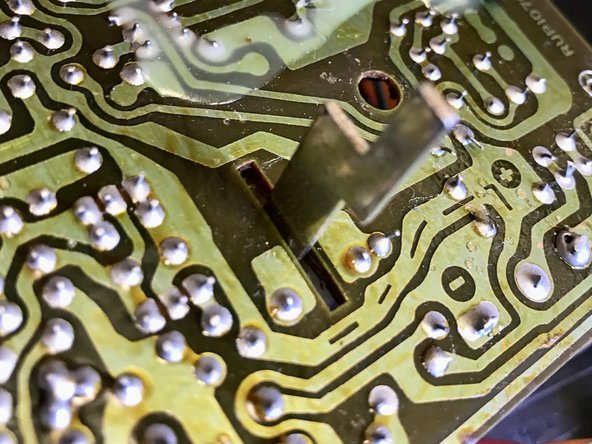
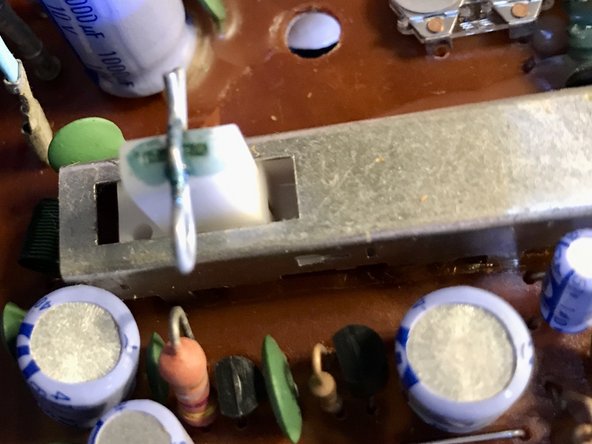
- The battery, off and AC selector runs through the front on to the back of the unit. Use Deoxit ont he slider in the front and the unit to the back of board. in 3 places. As shown
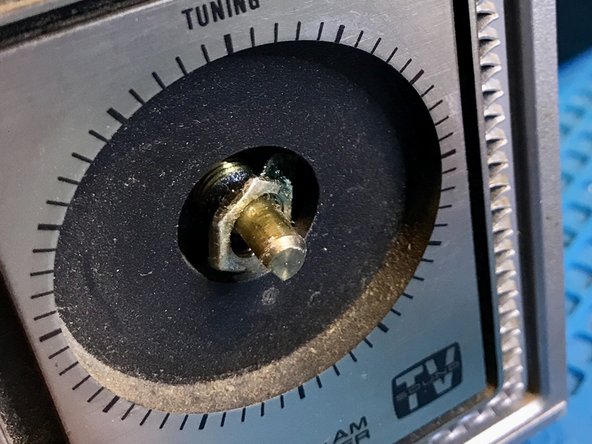
- Using Deoxit to clean and lubricate the tuning knob to clear up static and crackling.
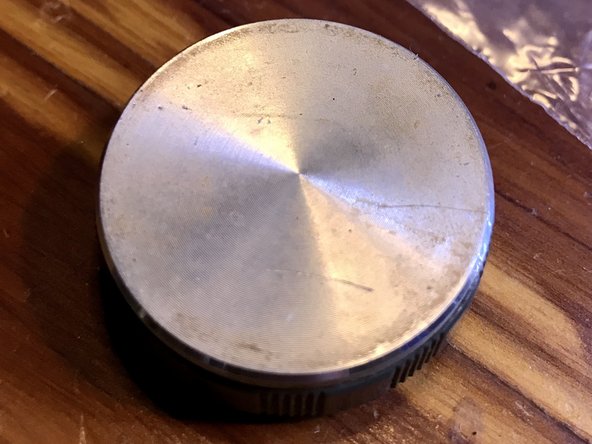
- The Tuning knob pulls off front and the tuning mechanism unscrews with the nut. Deoxit clears up the crackling on the volume slider as well.
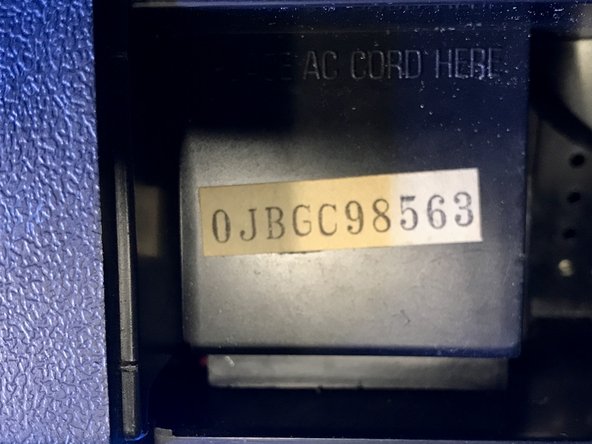
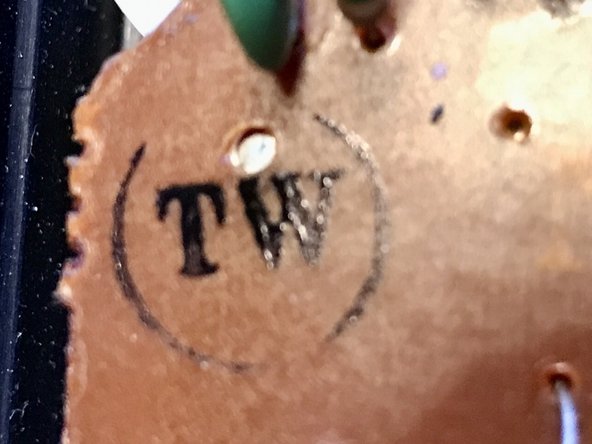
- Speaker is 8 Ohm and the numbers found on the board and the back of unit.