Asus M32BF-US002T RAM Replacement
ID: 144976
Description: RAM or system memory is an important part of...
Steps:
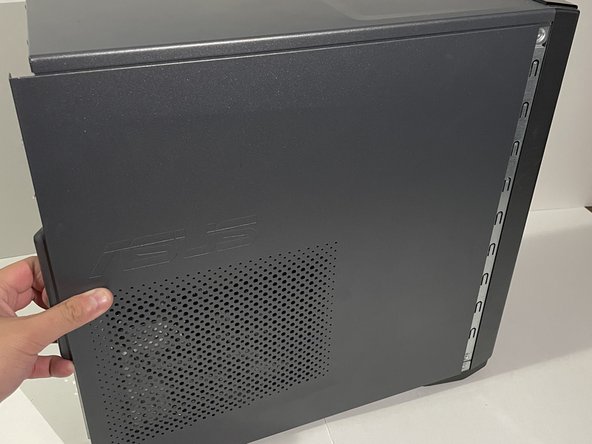
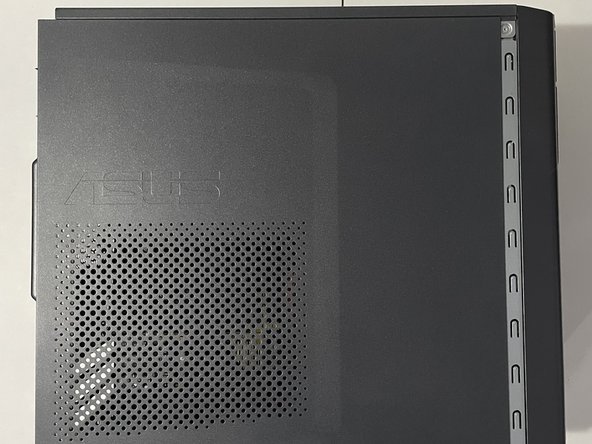
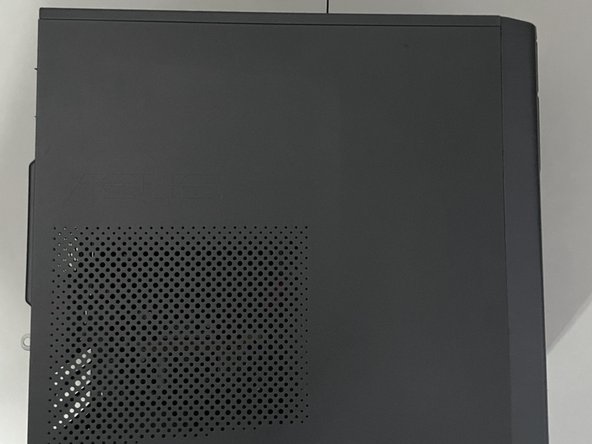
- The side panel is located on the left side of the computer.
- The 2nd image shows the correct side we will be working on.
- Face the back of the desktop towards you on a flat work service.
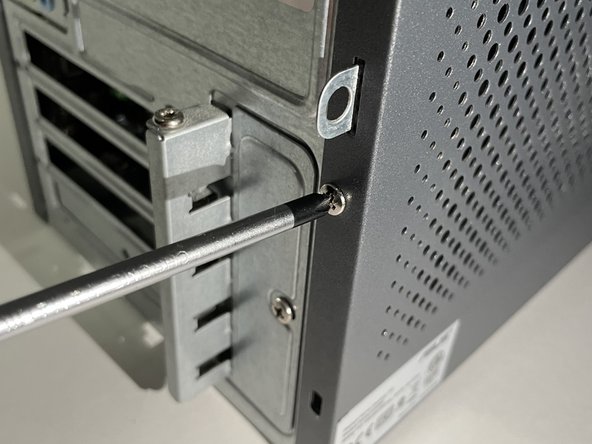
- Use the Phillips #00 to remove the two 3.5 mm screws on the edge of the side panel.
- Pull the small tab on the left side panel.
- Continue to pull gently until you hear a click sound, then remove the side panel.
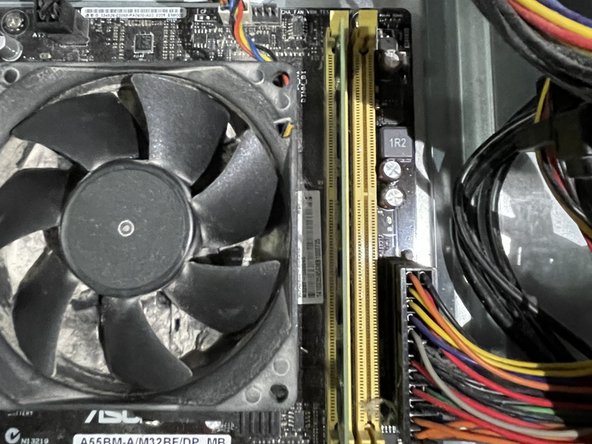
- Locate the RAM modules.
- They are thin, long, green, and rectangle shaped.
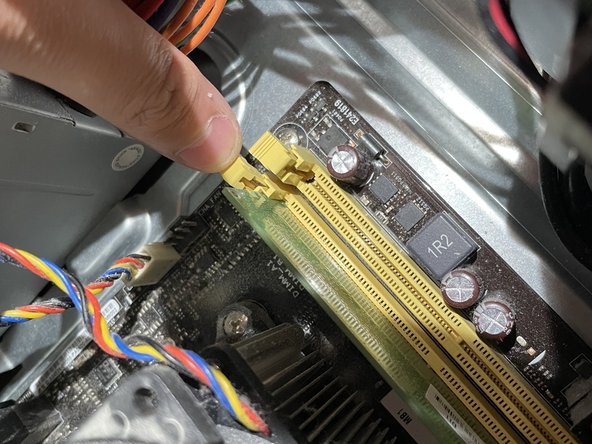
- Unlock the locks that are holding the RAM module down, by pushing them downwards.
- Although not shown in the first picture, there is also a lock at the bottom and can be seen on picture 3.
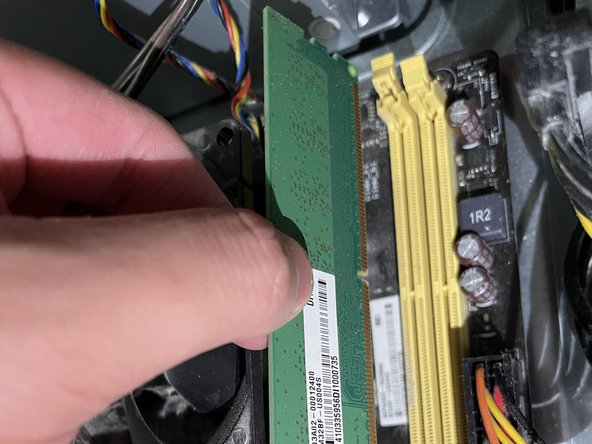
- Pull the RAM straight out.
- Wiggling the RAM out of its slot may cause damage to the RAM module, or the RAM slot itself. Pull straight out!
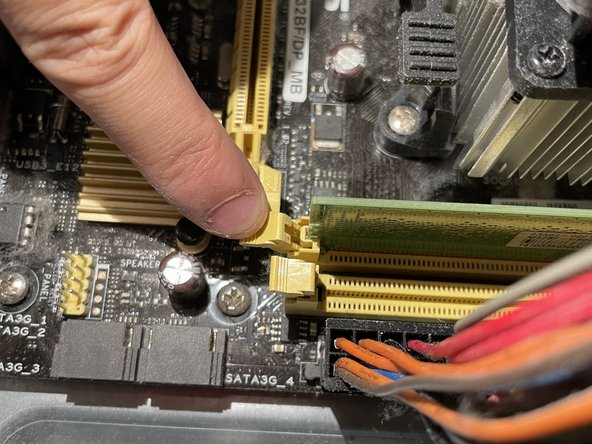
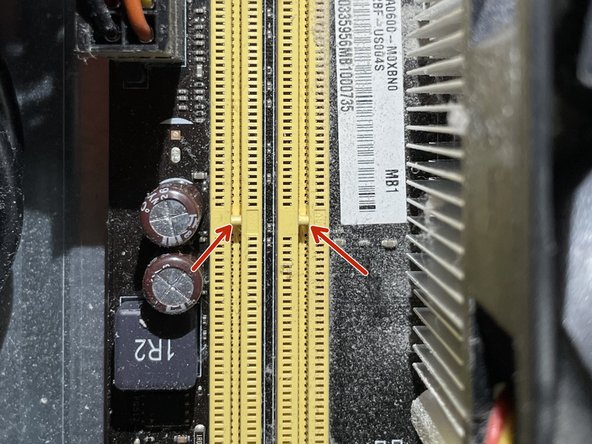
- Before installing the new RAM, ensure the slots have been unlocked as seen in this picture.
- You can tell it is unlocked when the lock looks like it has been pushed away from the slot.
- If you are adding an additional RAM module, ensure the 2nd RAM slot is unlocked as well.
- Before installing, ensure the gap on the RAM module aligns with the notch on the RAM slot.
- Align the gap on the RAM module with the notch on the RAM slot.
- Push straight down until you hear a click or until the locks have locked on their own.
- An uncomfortable amount of force may be needed in order to successfully install the RAM.
- Grab the side panel, and place it on the side of the computer.
- Slide the side panel to the right to lock the side panel.
- Using your Phillips #00 screwdriver, take the screws from Step 2 and screw them back onto the side panel.
- You have successfully installed RAM into your desktop computer! You are now finished.