Krups CafeExpress FMA110 Disassembly
ID: 145028
Description: If you need to disassemble your Krups...
Steps:
- Using the Phillips #1 screwdriver, remove the four 13.8 mm screws on the bottom of the device.
- Remove the metal plate.
- Using the Phillips #1 screwdriver, remove the two 16.7 mm screws to release the power cable.
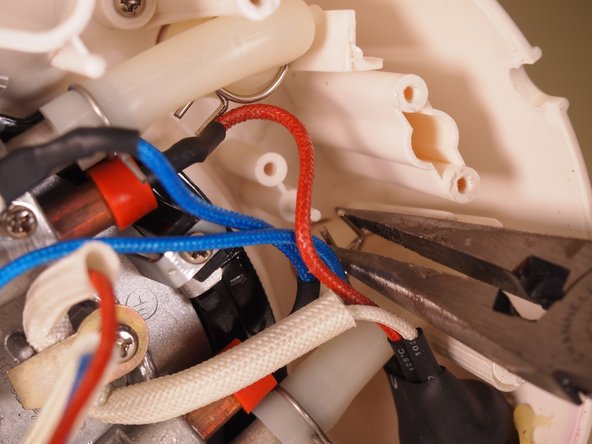
- Pinch the clamps around the thinner part of the silicon tubing and slide them towards the corner of the tube.
- Carefully pull the silicon tubing off of the metal tube.
- Pinch the clamps around the thicker part of the silicon tubing and slide them towards the corner of the tube.
- Carefully remove the silicon tubing from the upper reservoir.
- Using the Phillips #1 screwdriver, remove the three 13.8 mm screws towards the back of the base.
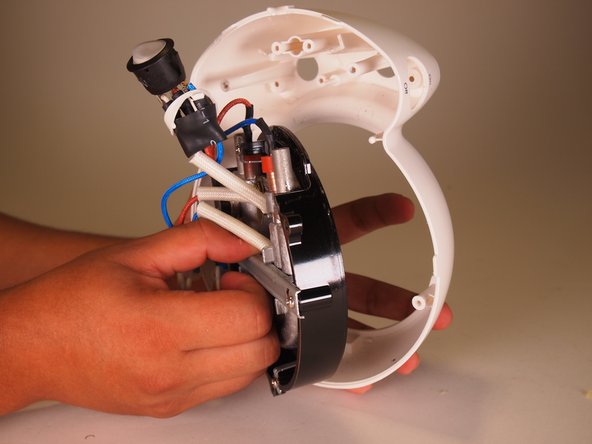
- Separate the base of the device from the upper reservoir.
- Push the switch out from the inside, releasing it from the plastic base.
- Loosen the white ring from the switch and squeeze it to slide it through the opening in the base.
- Slide the rest of the switch back through the hole in the base.
- Using the Phillips #1 screwdriver, remove the three 15.8 mm screws to release the inner components from the plastic base.
- Using the Phillips #1 screwdriver, remove the two 11.5 mm screws on either side of the horizontal metal bracket.
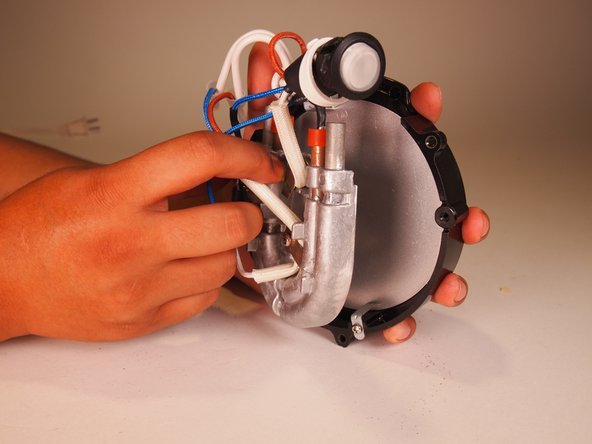
- Remove the horizontal bracket to separate the heating element and wires from the hot plate.
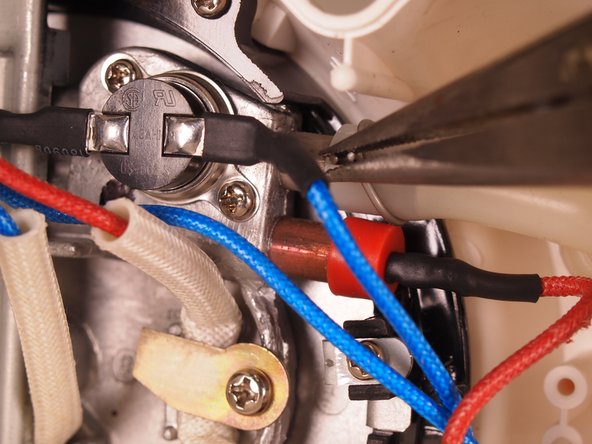
- Disconnect the wire connectors from the thermal switch.
- Using the Phillips #1 screwdriver, remove the two 7.6 mm screws and remove the thermal switch.
- Using the Phillips #1 screwdriver, remove the two 9.9 mm screws from the hot plate.
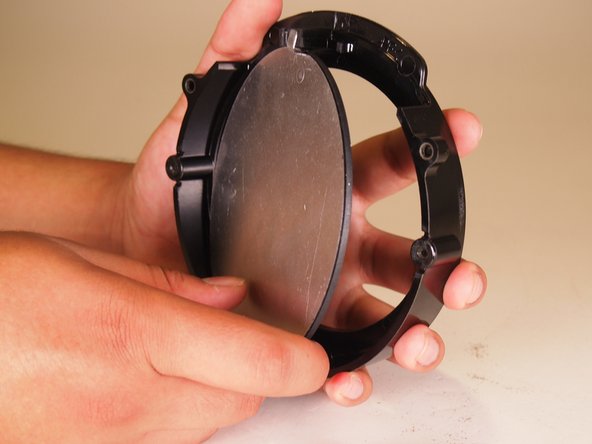
- Separate the hot plate from its frame.
- Once the heating element reaches a certain temperature, the thermal switch shuts it off to prevent it from overheating.