RedOctane X-Plorer Rubber Button Strip Replacement
ID: 145291
Description: Over years of use, the rubber button strip in...
Steps:
- Remove the controller's strap, which will be attached at the points in the red circles.
- If your controller does not have a strap, move to the next step.
- Remove all nine 12mm screws around the perimeter of the body of the controller, using the Phillips #2 screwdriver.
- Remove the two 15mm screws near the neck of the controller, using the Phillips #2 screwdriver.
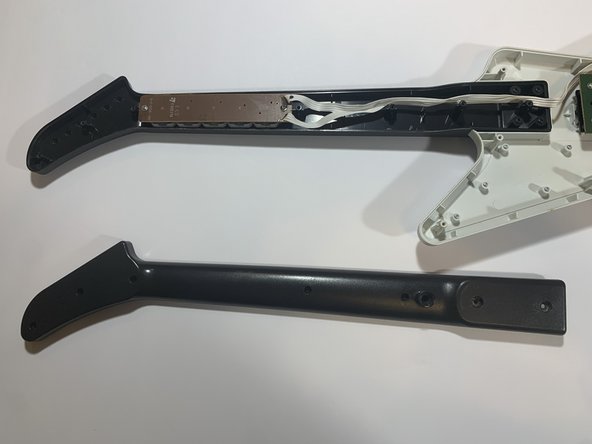
- Using your hands, remove the body shell.
- Remove all seven 12mm screws on the neck of the controller using the Phillips #2 screwdriver.
- Using your hands, remove the top shell of neck.
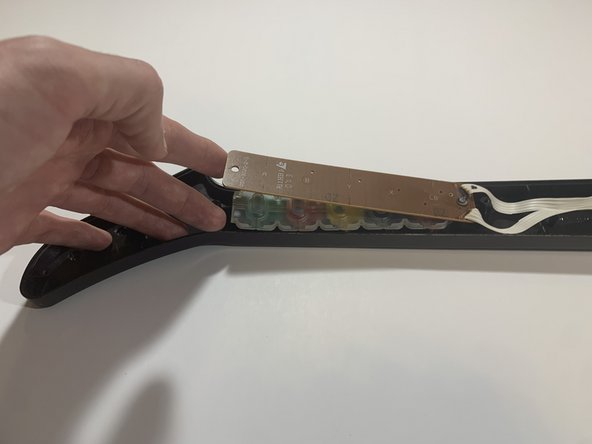
- Remove the left 1.5mm mm screw (as shown) on the key sensor board, using the 1.5mm flathead screwdriver.
- Do not remove the other (right-side) screw on key sensor board, as this can cause damage to the circuitry.
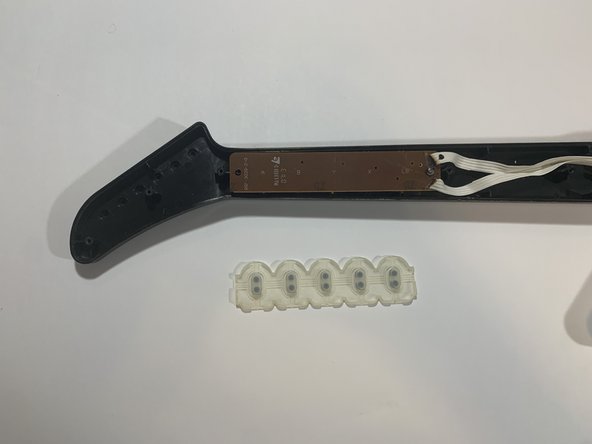
- Using your hands, remove the rubber button strip.
- Using your hands, insert the replacement strip underneath the key sensor board.
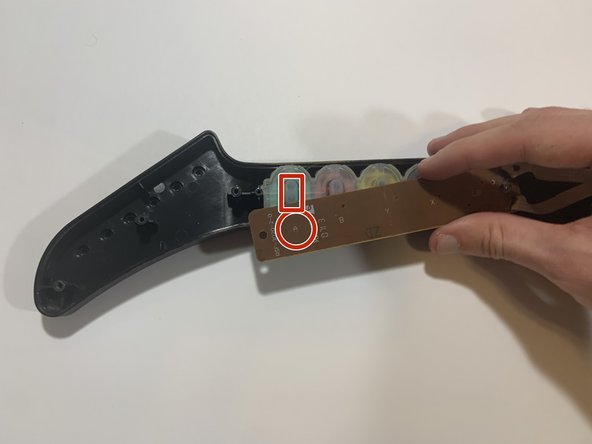
- Align the black dots on the rubber strip with the corresponding button indicator before rescrewing key sensor board.
- The first button will be "A" on Xbox and Wii, and "X" on Playstation.