Xbox One Afterglow Prismatic Wired Controller Button and Trigger Replacement
ID: 145345
Description: If your Xbox One Afterglow Prismatic wired...
Steps:
- Remove the seven screws from the back of the controller using a Phillips #1 screwdriver.
- Place an opening tool between the front and rear controller panels at the bottom of the controller.
- Pry the bottom of the controller open around the audio port.
- The controller might make a loud click; that is okay.
- Remove both screws on the back of the motherboard under the triggers using a Phillips #1 screwdriver.
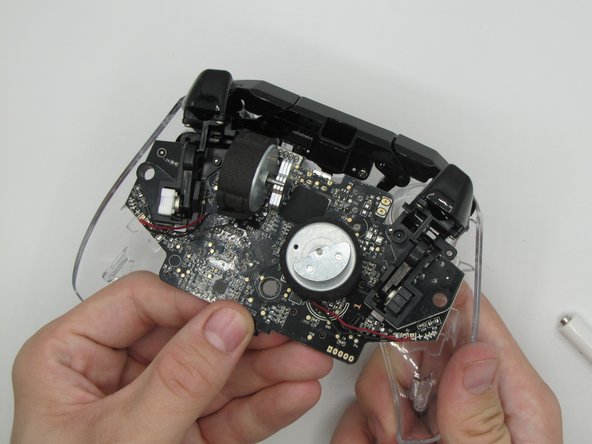
- Place your left hand at the base of the motherboard and your right hand on the frame.
- Lift the motherboard up from the pegs that hold it in place.
- The motherboard will still be connected to the controller once off the pegs.
- Do not try to force the motherboard out after getting it off the pegs.
- Pull down gently to remove the motherboard.
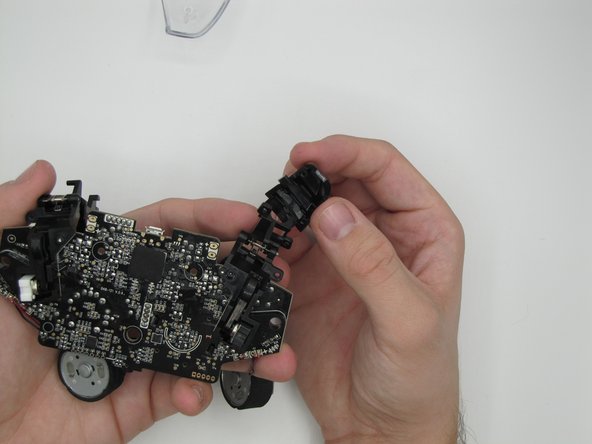
- Under each trigger is a small guard rail that needs to be pushed in order to get to the screws for the trigger.
- Push the rail towards the motherboard to free the triggers to get to the screws.
- Remove the two screws from each of the triggers (four total) using a Phillips #1 screwdriver.
- The triggers will fall out when unscrewed.
- Replace each of the triggers by screwing them back together.
- Push the rail back onto the trigger peg.
- The motherboard is done until reassembly.
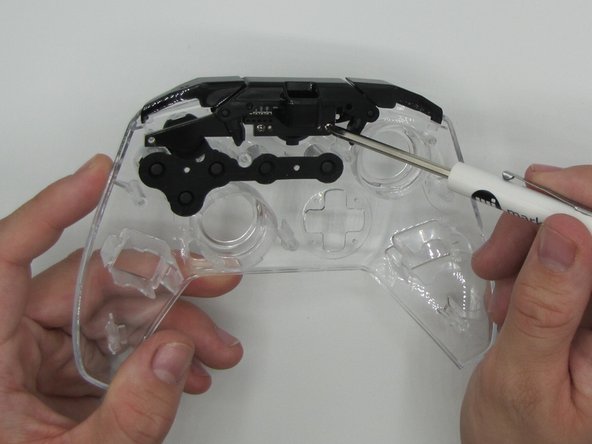
- Remove the two screws from the top bumper board using a Phillips #1 screwdriver.
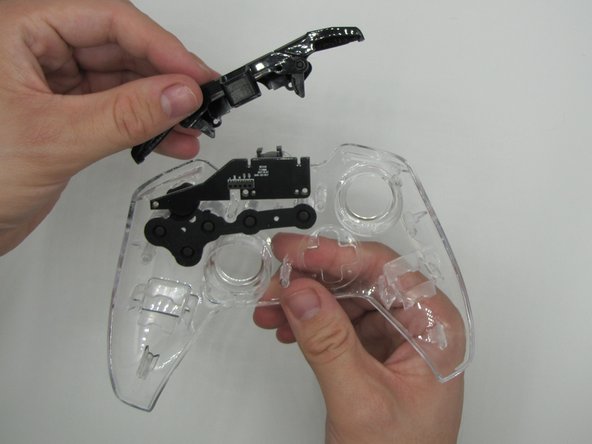
- Pull up on the bumper board to remove it.
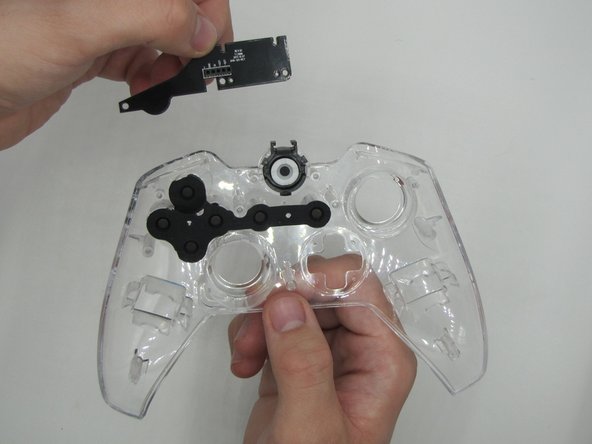
- Pick up the circuit board to remove it from the base.
- The circuit board is loose and might fall out in Step 9.
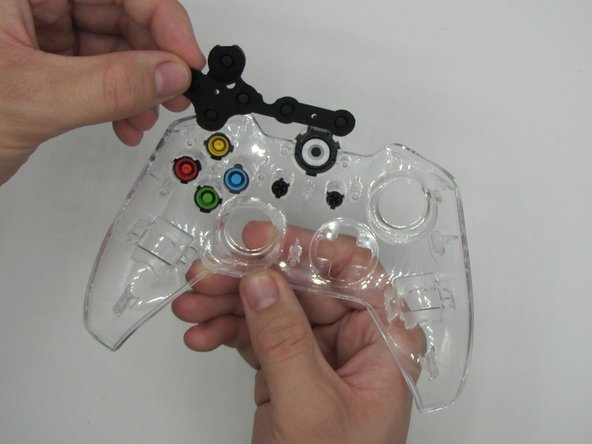
- Remove the rubber button cover.
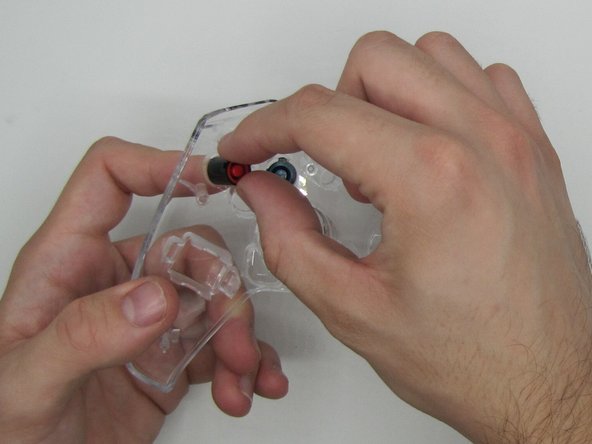
- Remove the inner buttons.
- Replace each of the buttons.
- Each of the buttons have pegs that will help you line them up in the correct location and orientation.