Logitech MX Vertical Battery Replacement
ID: 145407
Description: Follow this guide to replace a worn-out or dead...
Steps:
- Before you begin, flip the mouse's power switch down into the OFF position.
- Unplug all cables from the mouse.
- The mouse's unique shape prevents it from laying flat. If you need to, lay it down on a soft towel to prevent wobble.
- If you're planning to reuse your existing mouse feet, the adhesive needs to be thoroughly heated for them to be cleanly removed.
- Heat an iOpener and apply it to the feet on the mouse's underside for two minutes.
- Alternatively, you can use a hair dryer on the Low heat setting to soften the adhesive.
- If you're using a hair dryer, only heat the feet a few seconds at a time or you might warp the plastic shell.
- Insert one arm of a pair of angled tweezers underneath the end of one foot.
- Grip the foot and begin to peel it away from the bottom of the mouse.
- Peel slowly, making sure the foot and its adhesive are removed in one piece.
- The foot should come away from the mouse without the need for much force. If it feels stuck, apply more heat and try again.
- Use the tweezers to peel the foot away from the mouse to completely remove it.
- If you're reusing the foot, place it adhesive-side up on a clean surface.
- Repeat the process to remove the other foot.
- To install a new foot:
- If any of the feet got damaged during removal or separated from their adhesive pads, replace them.
- Use a spudger to carefully scrape up and remove any remaining adhesive bits.
- Use isopropyl alcohol and a microfiber cloth to thoroughly clean all adhesive residue from the foot recesses. Allow the surface to completely dry.
- Remove the feet from their backing and firmly press them into place.
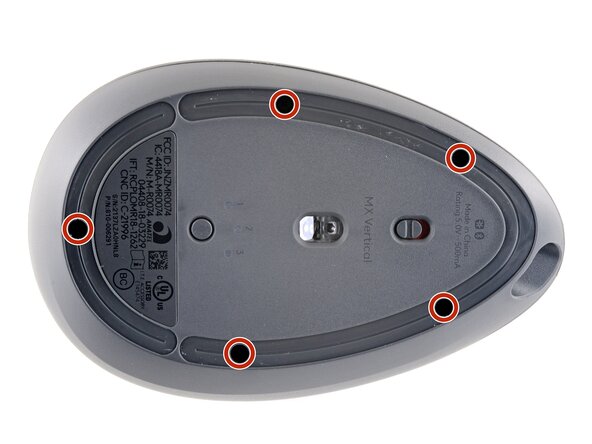
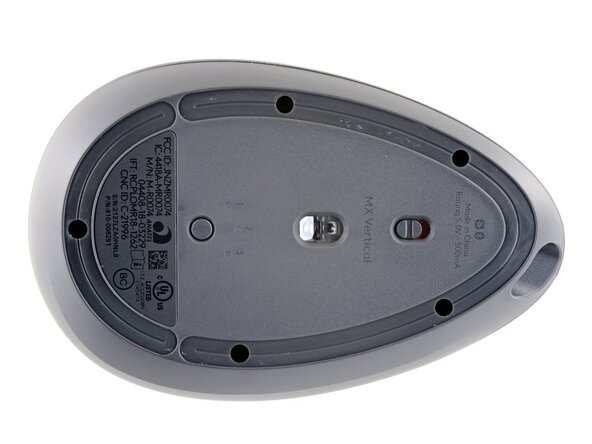
- Use a Phillips screwdriver to remove the five 6.5 mm‑long recessed screws securing the two halves of the mouse casing together.
- Don't try to completely remove the upper half, as the halves are connected with a fragile ribbon cable.
- Lift the top half of the mouse away from the bottom half.
- Lay the top half of the mouse—buttons down—onto your work surface, just to the right of the bottom half.
- Take care to not strain the ribbon cable connecting the two halves.
- Use a pair of tweezers to firmly grip the battery connector.
- Hold the tweezers with your fingers as close to the connector as possible to get a firm grip.
- Gently rock the connector side‑to‑side and pull it straight up and out of the socket.
- Peel the battery away from its shelf.
- The battery is secured with some light adhesive.
- Remove the battery.
- During reassembly:
- Never install a deformed or damaged battery, as doing so is a potential safety hazard. Replace it with a new battery.
- If the battery adhesive is still sticky, you can reuse it. Otherwise, use high-concentration (>90%) isopropyl alcohol and a microfiber or lint-free cloth to remove all the old battery adhesive.
- If your new battery has adhesive pre-installed, remove the plastic liner to expose the adhesive. Otherwise, apply strips of thin, double-sided tape to the battery well (not directly to the battery) where the old adhesive was.
- Make sure the cable is on the side nearest its connector and firmly press the battery into place.