Mac Pro 2009-2012 PCIe Card/GPU Replacement
ID: 145479
Description: Removing a PCIe or GPU from this version of the...
Steps:
- Lift the side panel latch upwards until you hear an audible click.
- Remove the side panel but pulling it towards you.
- The screws are spring-mounted and will stay attached to the cover. You can remove them by hand, although a screwdriver may be needed to start.
- When reassembling, pay attention to the notch at the top. The cover should slide into this notch.
- If the card is long enough to reach the slots in the fan casing, or the card is hooked into the lock bar next to the PCI ports, you need to slide the cover on the fan casing over.
- Press the release button and slide the casing to the left.
- This also moves the lock bar.
- Push down on the clip, Not bending the port. to remove the cables.
- If you are adding a more power hungry card, Use 2x mini 6 pin to etc cables. (what ever you may have on your card) This is to avoid burning the power rails of the motherboard.
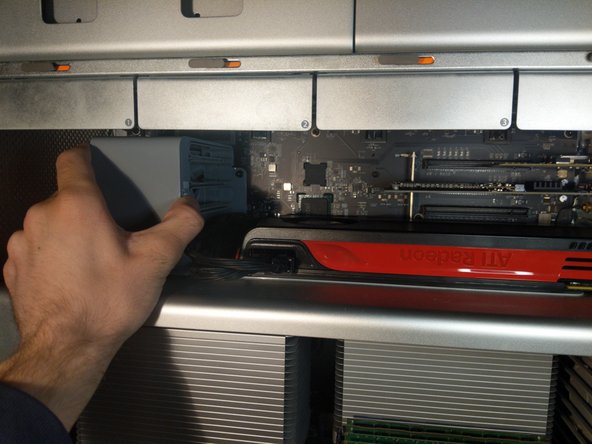
- On some cards, the cables may need to be removed after sliding the card out due to the clip being not able to be accessed, In that occasion. Hold the card carefully, not yanking the cables.
- Pull the card straight out
- When reinstalling the card, make sure the bracket fits over the screw threads.
- Don't wiggle it! if you do so then you might damage the card or the slot