Teddy Bear Nose Replacement
ID: 145485
Description: Over time, a teddy bear’s nose can become worn...
Steps:
- Rip out about five inches of stitches from around the bear's snout.
- Remove stuffing from around the bear's snout.
- Flip the fabric of the snout inside out to expose the back of the plastic nose.
- Remove the plastic backing of the teddy bear's nose (if it's still there). You may have to use pliers.
- Pull the nose out of the front of the teddy bear’s face.
- Push the front of the new nose through the existing hole in the teddy bear’s face.
- Attach the nose backing on the inside of the teddy bear’s nose.
- Restuff the teddy bear’s nose with the stuffing you took out.
- You may need to add more stuffing if the bear’s nose looks flat or deflated.
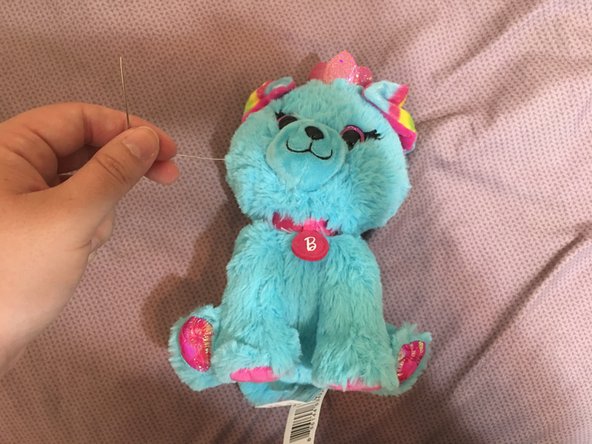
- Thread the needle with about 18 inches of thread the same color as the bear's fur or stitches.
- Sew the teddy bear’s face using a whip stitch until the opening is completely closed.
- For help with sewing a whip stitch, follow this guide: How to Sew a Whip Stitch.
- Once the face is completely sewn shut, knot the end of the thread, and cut off the excess.