Focusrite Scarlett 2i4 (1st Gen) USB Port Replacement
ID: 145492
Description: You will need: (1) Screw Driver Philip (2)...
Steps:
- The screws we all looking for are on the back of the box.
- Use the screwdriver to remove the 8 screws from the back cover.
- Remember where the screws go, this is very important when trying to reassemble the device.
- Next, unscrew the TRS outputs. Then put them to the side.
- Take the backplate off, and get your flashlight ready.
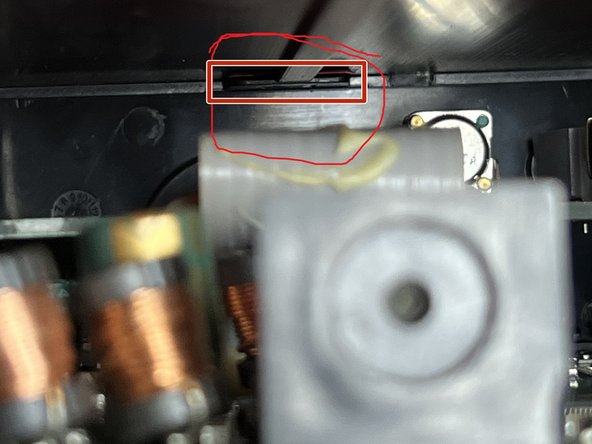
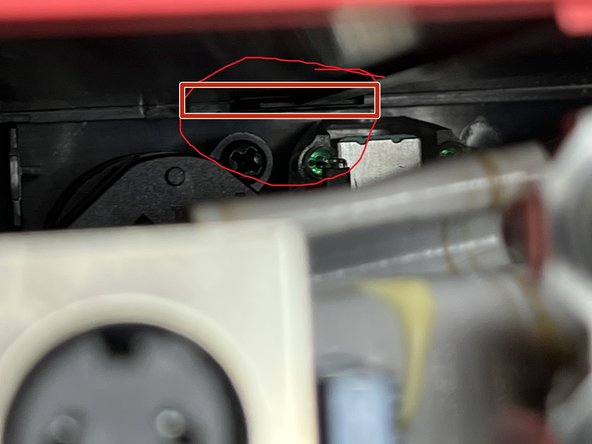
- Use your flashlight to look for the tabs that secure the circuit boards. The tabs should be located on the top inner front part on both the right and left sides.
- Be Careful undoing the tabs* You don't need a lot of force!
- Use a flat-head screwdriver to undo the tabs. Just slide the screwdriver in from the side, and rotate the screwdriver a bit to undo it.
- Once both tabs are undone, you should be able to slide the board out from the front.
- Like I said in the last step, slide the board out the front.
- Notice the tabs.
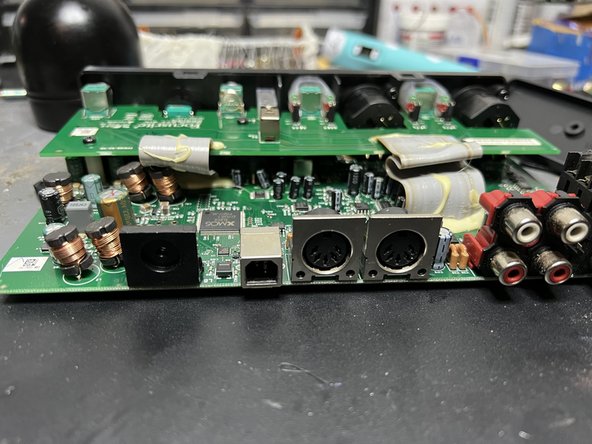
- Ok, now that the board is free, you can see more of the inner-workings.
- Next, look for the soldering points for the USB Type B.
- Should be under the Type B USB.....
- Next, use a heat gun or soldering iron and remove the port.
- After desoldering or just resoldering the new Type-B, just follow the step to open the box backward. If done right everything should be good to go!