HP Pavilion 15-n210dx Hard Drive Replacement
ID: 146623
Description: WARNING: The computer should be off (no power...
Steps:
- Turn the laptop over.
- Push the pins towards each other using your thumbs. The battery will pop out a little bit. Remove it using your hand.
- Turn over the laptop and remove the single screw using a Tri-point Y0 screwdriver.
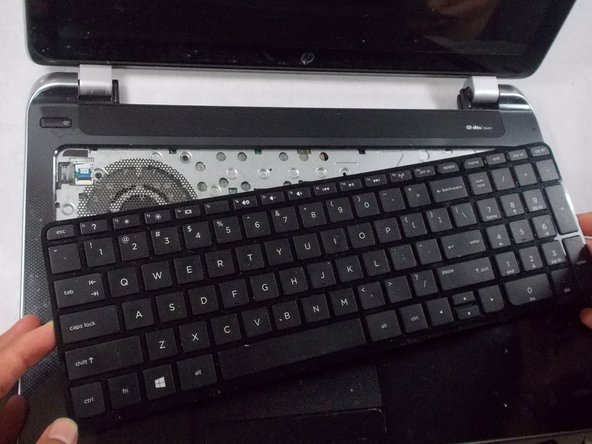
- Open the laptop and use a spudger gently to get under the keyboard. Loosen the keyboard on all sides and then lift it up.
- Use the spudger to unhinge the fastener and remove the connector.
- The keyboard should be completely detached from the computer now.
- Use the Tri-point Y0 screwdriver to remove all screws on the metal sheet, then remove the metal sheet.
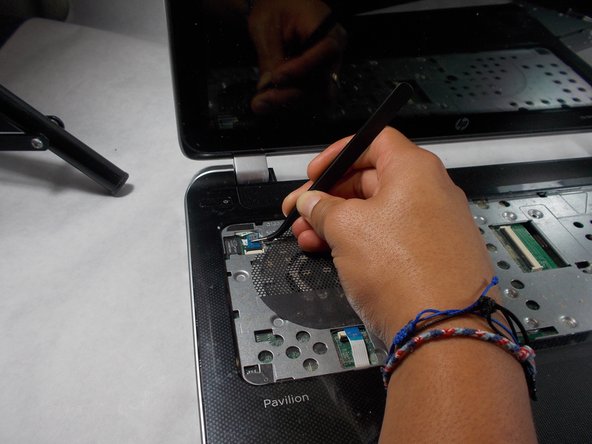
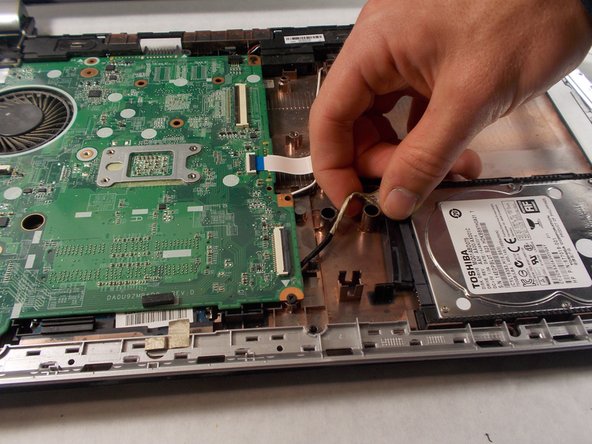
- Remove the two blue wire connectors using the reverse tweezers and lift up on the two wires to disconnect them.
- Using the Phillips #0 screwdriver, remove the twelve (12) screws from the back panel.
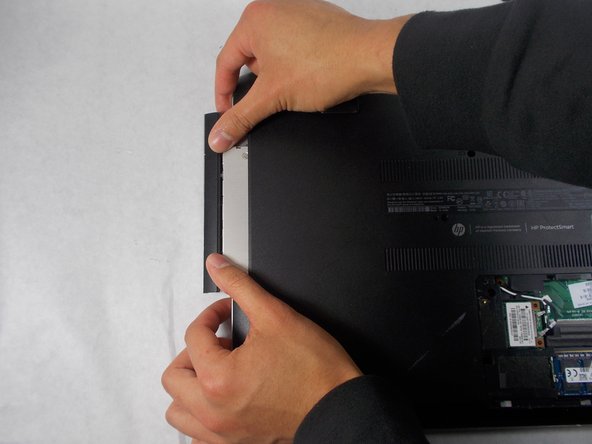
- Remove the optic drive by pushing the edge with your thumbs to open it. Once open use two hands to remove it entirely.
- Remove the screws that become exposed after removing the optic drive using a Phillips #0 screwdriver.
- Wedge the metal spudger between the black and silver plastic.
- Slide the spudger along the edge of the laptop to help in ease of separation. Next use your hands to separate the black plastic from the silver plastic.
- Avoid using the metal spudger unless it's for serious prying power. If used incorrectly, the metal spudger can damage the internal components of the device.
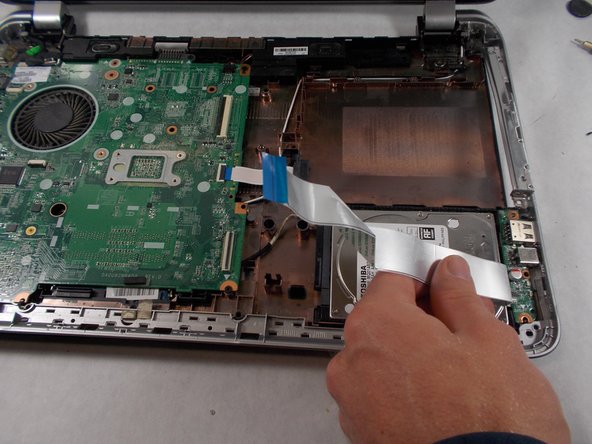
- Remove the two connectors that are attached to the hard drive by lifting up and away from the connected port.
- Remove the hard drive by lifting up on the back side of it.