HP Pavilion 15-n210dx Speaker Replacement
ID: 146628
Description: WARNING: The computer should be off (no power...
Steps:
- Turn the laptop over.
- Push the pins towards each other using your thumbs. The battery will pop out a little bit. Remove it using your hand.
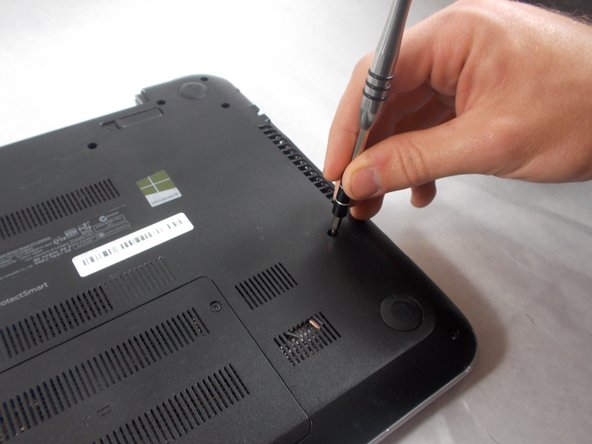
- Turn over the laptop and remove the single screw using a Tri-point Y0 screwdriver.
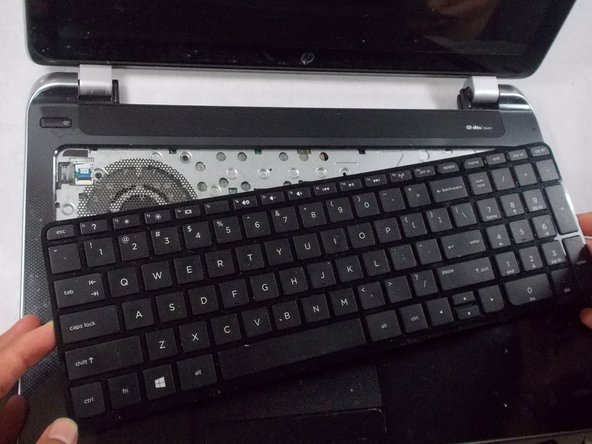
- Open the laptop and use a spudger gently to get under the keyboard. Loosen the keyboard on all sides and then lift it up.
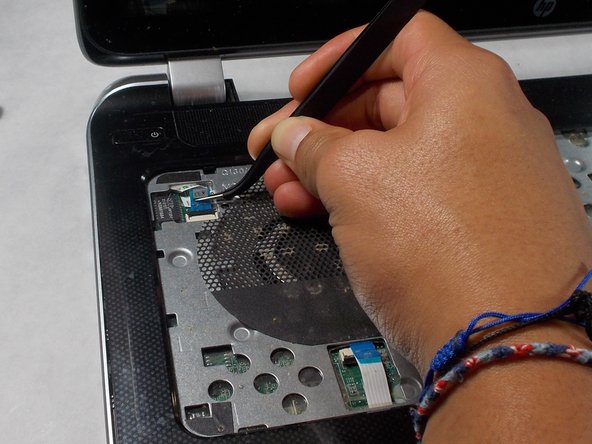
- Use the spudger to unhinge the fastener and remove the connector.
- The keyboard should be completely detached from the computer now.
- Use the Tri-point Y0 screwdriver to remove all the screws on the metal sheet.
- Lift up flaps to disconnect the blue connectors.
- You can use your fingers or a tweezer to lift up the flap.
- Using the Phillips #0 screwdriver, remove twelve (12) screws from the back panel.
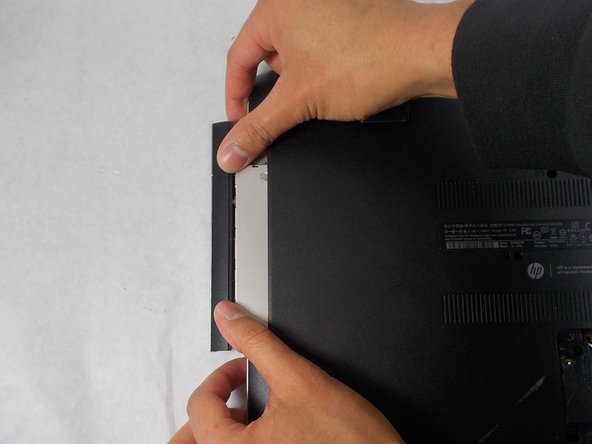
- Remove the optic drive by pushing the flap with your thumbs. Once enough of the optic drive is exposed for fingers to grasp it, remove it entirely by using your hand.
- A spudger can assist in initiating the separation. Insert the spudger between where the flap meets the body of the computer and push the spudger against the flap.
- Using the Phillips #0 screwdriver, remove the screws that become exposed after the removal of the optic drive.
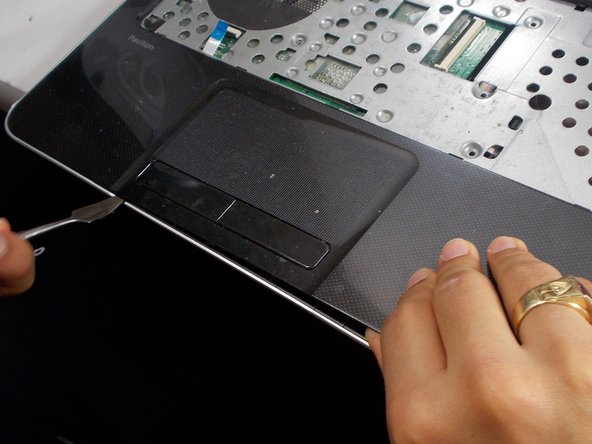
- Insert a medal spudger between where the black plastic meets the silver plastic to loosing and eventually separate the two plastic parts.
- Slide the spudger along where the two plastics meet to increase the separation. Use your other hand to stabilize the computer.
- Avoid using the metal spudger unless for serious prying power. If used incorrectly, the metal spudger may damage the internal components of your device.
- After separating the two parts, they should look like this.
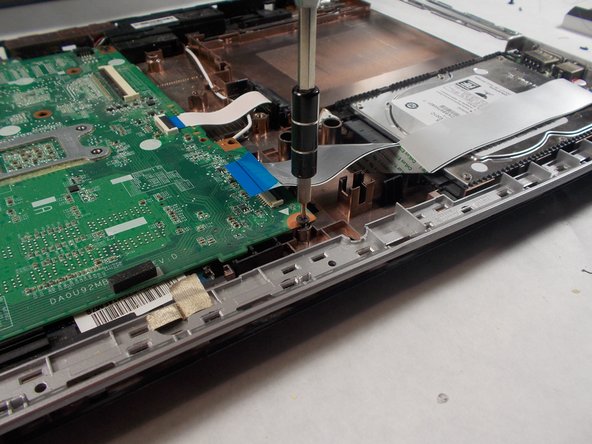
- Using the Phillips #0 screwdriver, remove the four black screws.
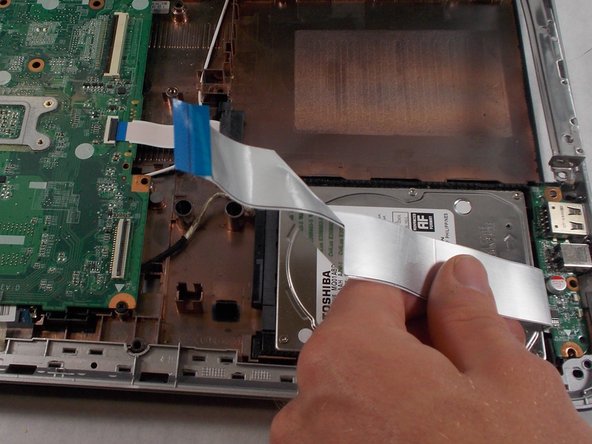
- Flip the black flap up to sperate the strap.
- Lift up the blue flaps with a finger and detach the sliver straps.
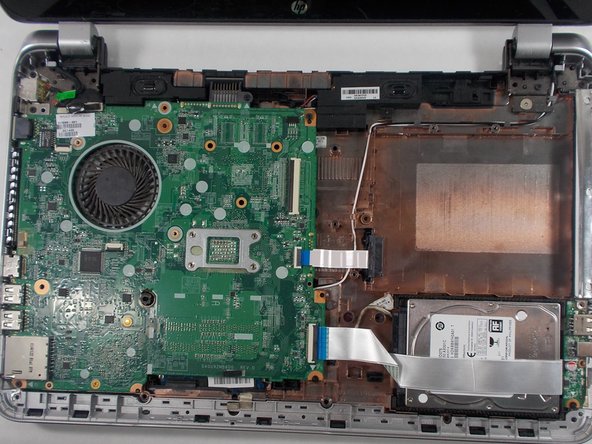
- Lift the motherboard up.
- You might have to jiggle it around to loosen it before lifting it up and removing it from the base of the laptop.
- Pull the black plug-in to detach it from the bottom of the motherboard.
- The motherboard should be completely detached from the computer.
- Remove the speaker cables from the routing channel on the speaker.
- Remove the speakers off of the alignment pins.
- They should snap off.