Lenovo Yoga 710-15ISK Motherboard Replacement
ID: 146632
Description: This guide will show you how to replace the...
Steps:
- Flip your laptop over so the bottom is facing upwards.
- Remove ten 2 mm screws securing the back cover to the laptop using a Phillips #0 screwdriver. The location of the screws is encircled in the photo.
- Gently remove the back cover of the laptop with your fingers.
- Remove the four 2 mm screws from the battery using a Phillips #0 screwdriver.
- Remove the connector between the battery and the motherboard by gently pulling the black plastic-coated part of the wires.
- Remove the battery from the laptop.
- Remove the four 1.5 mm screws from the fans with a Phillips #00 screwdriver.
- Unplug the wire connecting the fan to the motherboard by gently pulling the white head from the port.
- Lift both fans to remove them from the laptop.
- Remove the sticker from the SSD to gain access to the screw underneath.
- Remove the screw holding the SSD in place using a Phillips #0 screwdriver.
- Gently pull on the plastic clip next to the screw until the stick is freed and bounces up.
- Slide the SSD out of the laptop.
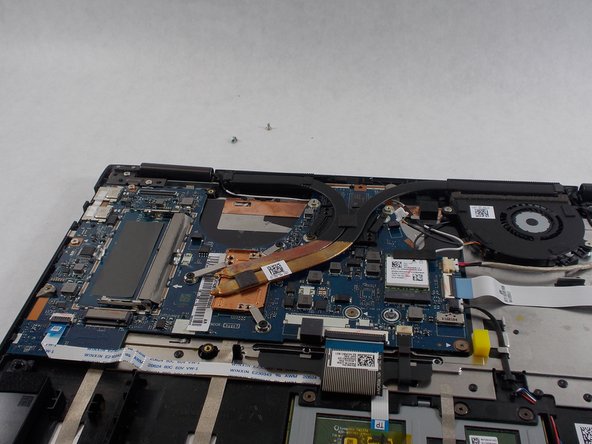
- Remove seven 2 mm screws from the motherboard using a Phillips #0 screwdriver.
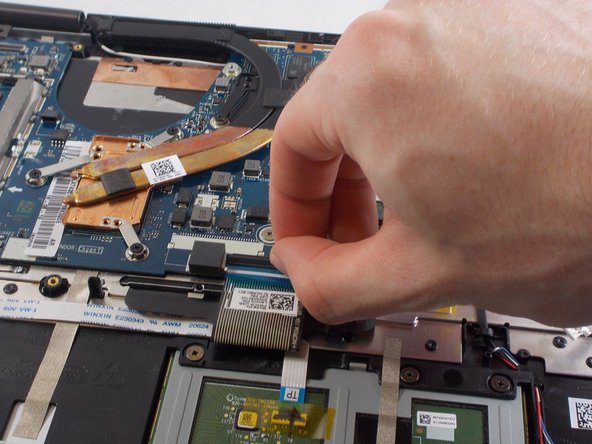
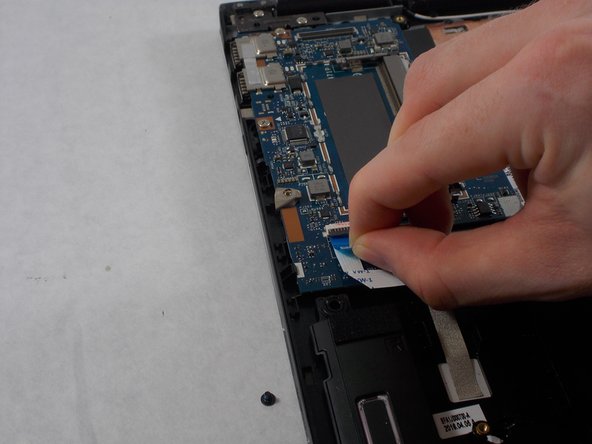
- Unplug four cables attached to the motherboard.
- For the flat ribbon wires, lift the black tabs holding them in place before removing them.
- Carefully lift out the motherboard to remove it from the laptop.