Drum Head Replacement
ID: 146746
Description: If your drum head is starting to look worn out...
Steps:
- Loosen the tension rods until all rods are free from the drum.
- The tension rods are universal for all drums and drum sets.
- Remove the rim and drum head.
- Keep track of the tension rods by leaving them in their holders on the rim.
- Put on the new drum head first.
- Put the rim on, making sure that the tension rods are properly aligned.
- Tighten the tension rods with your fingers until you begin to feel tension.
- You do not want them completely tightened yet. You just want to make sure the head is not wrinkled.
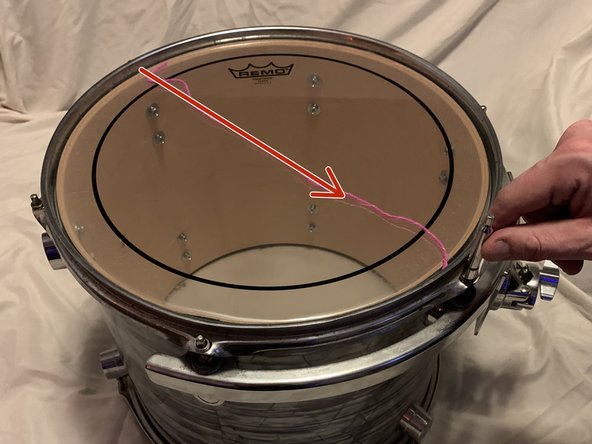
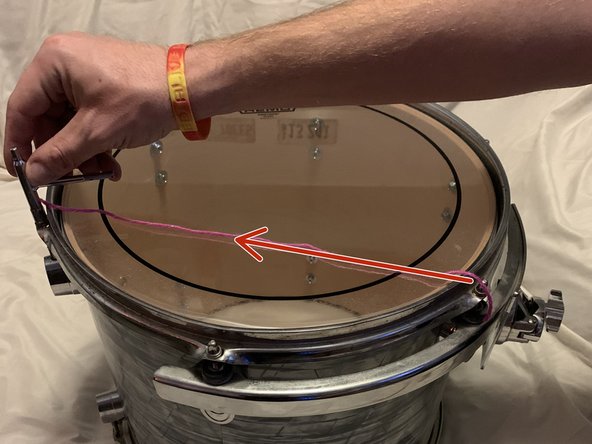
- Begin to tighten the tension rods in a star pattern using a drum key.
- Do not tighten the tension rods in a clockwise or counter clockwise pattern.
- Tighten the rods until you find the sound you want from the drum.
- While tightening the tension rods, tap a drumstick on the drum head about an inch from the tension rods.
- This is how you will determine which tension rods need to be tightened, loosened, or left alone.
- Once you have found the sound you like and the drum is in tune, push around the middle of the drum head, moving around the drum.
- Repeat Steps 6 and 7 until the drum is in tune again.