Xiaomi Redmi Note 10 Pro Rear Glass Replacement
ID: 146940
Description: Use this guide to replace a damaged rear glass...
Steps:
- Prepare an iOpener and apply it to the rear glass for at least two minutes to loosen the adhesive underneath.
- A hair dryer, heat gun, or hot plate may also be used, but be careful not to overheat the phone—the display and internal battery are both susceptible to heat damage.
- If the rear glass is cracked, the suction handle may not stick. Try lifting it with strong tape, or superglue the suction handle in place and allow it to cure so you can proceed.
- The surface of the rear glass is not completely smooth. For a better grip of the suction handle, apply tape to the rear glass or moisten the suction handle.
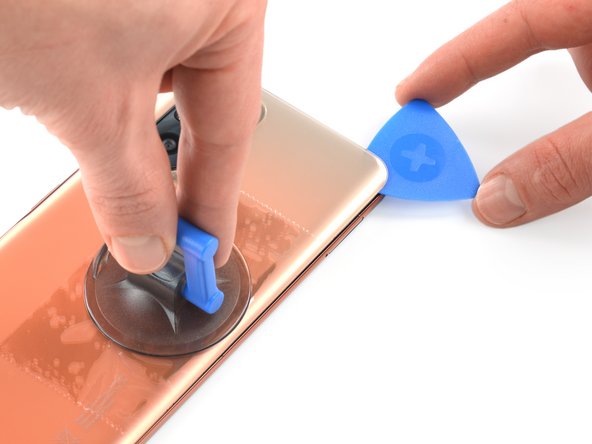
- Secure a suction handle to the right edge of the rear glass, as close to the edge as possible.
- Lift the rear glass with the suction handle to create a small gap between the rear glass and the frame.
- In case you have trouble creating a gap, apply more heat to further soften the adhesive. Follow the iOpener instructions to avoid overheating.
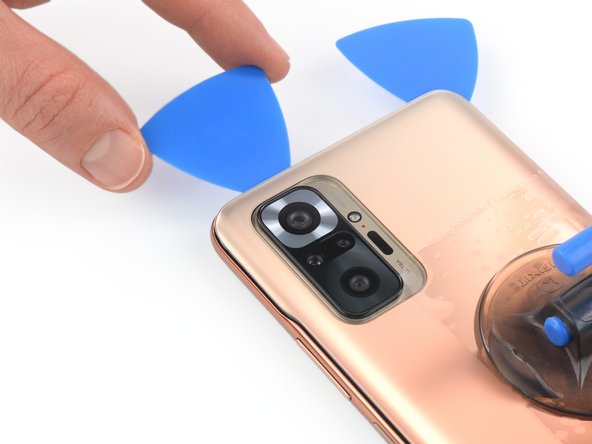
- Insert an opening pick into the gap you created.
- Slide the opening pick to the top right corner to slice the adhesive.
- Leave the opening pick in place to prevent the adhesive from resealing.
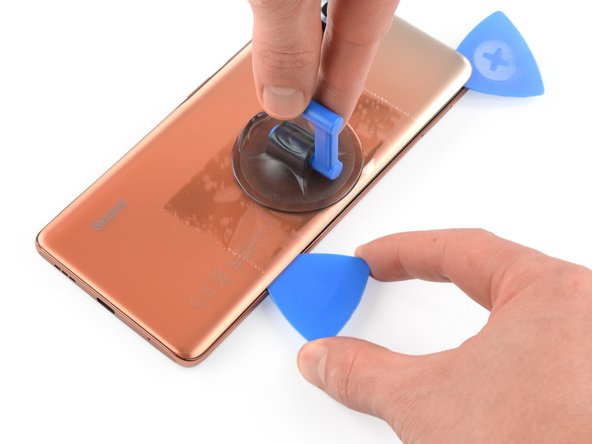
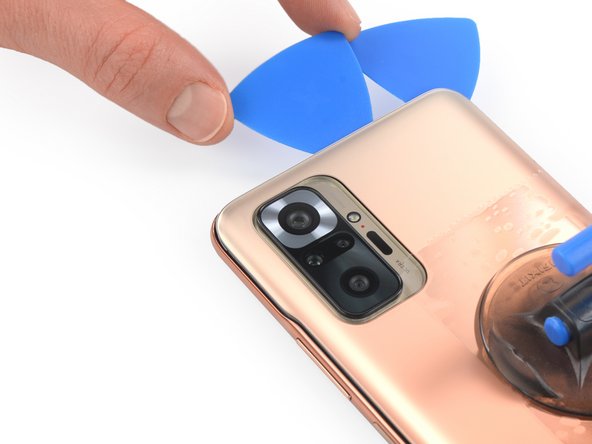
- Insert a second opening pick next to the top right corner.
- Slide the opening pick to the bottom right corner to slice the adhesive.
- Leave the opening picks in place to prevent the adhesive from resealing.
- If the adhesive becomes hard to cut, it has most likely cooled down. Use your iOpener to reheat it.
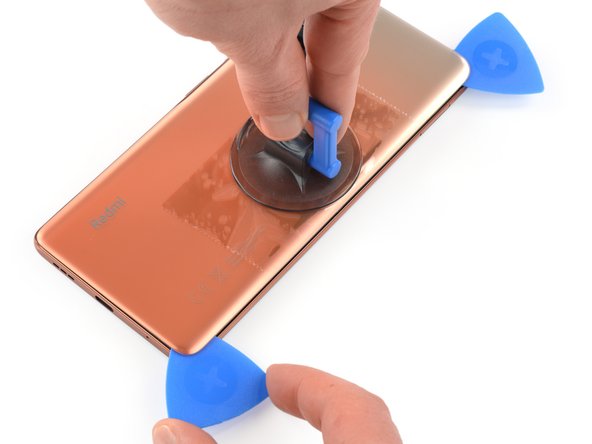
- Insert a third opening pick at the bottom right corner of your phone.
- Slide the opening pick along the bottom edge of your phone to slice the adhesive.
- Leave the opening pick in the bottom left corner to prevent the adhesive from resealing.
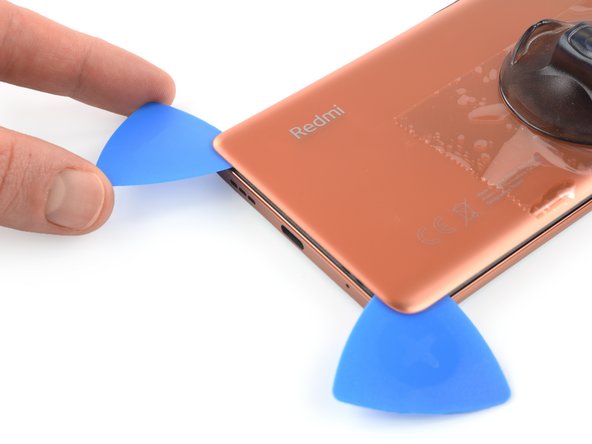
- Insert a fourth opening pick underneath the bottom left corner of your phone.
- Slide the opening pick up to the volume button.
- Don't slide the opening pick any further! A flex cable runs next to the volume button.
- Insert a sixth opening pick at the left edge of your phone next to the top end of the power and volume button cut out.
- Slice the remaining adhesive of the left edge.
- Slide the opening pick around the top left corner and along the top edge to cut the remaining adhesive.
- Remove the rear glass.
- Apply new adhesive where necessary after cleaning the relevant areas with isopropyl alcohol (>90%).
- Secure the new rear glass with pre-cut adhesive or double-sided adhesive tape. After installing the rear glass, apply strong, steady pressure to your phone for several minutes to help the adhesive form a good bond—a stack of heavy books works well.