MacBook Pro 16" 2019 Speaker Replacement
ID: 146943
Description: My speakers made a cracking sound and it was...
Steps:
- First step is opening up the MacBook. This was the most challenging step and maybe because it got me by surprise. The process works a bit different then older MacBooks. Watch this video if you are not aware of the process: https://www.youtube.com/watch?v=mHutSzIk...
- Hint - Try pulling the bottom cover forward.
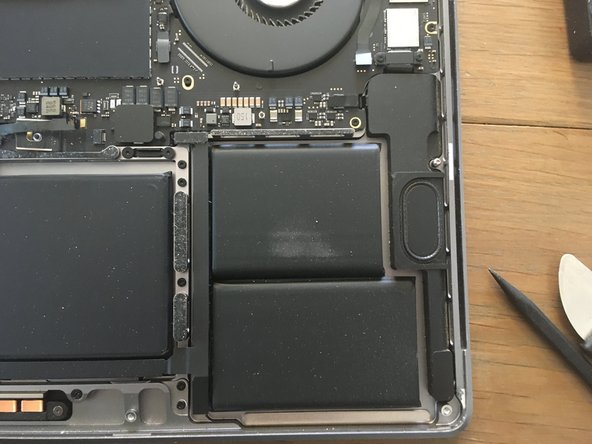
- After opening up, disconnect the battery. Remove the cable and take out the big screw; this is to make sure there is no power running through.
- I'm going to replace the left and right speaker. I bought a few on AliExpress, since they were sold out on iFixit, however they arrived damaged. Hopefully they work.
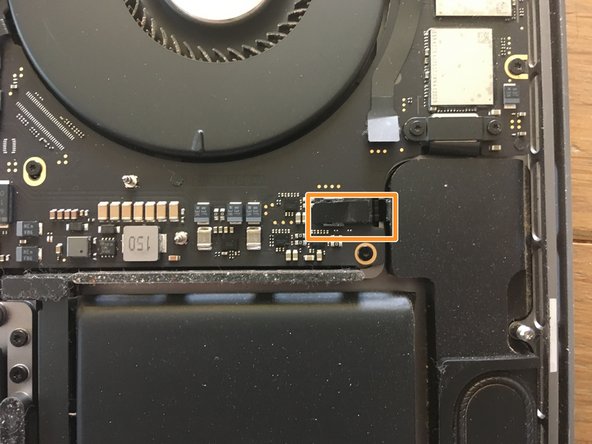
- On both sides, open up the connector and take out the cable.
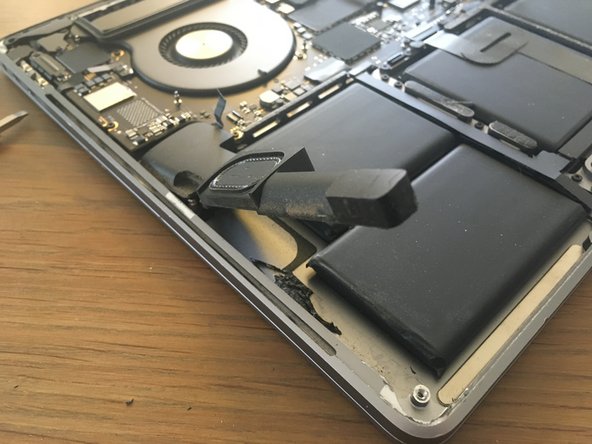
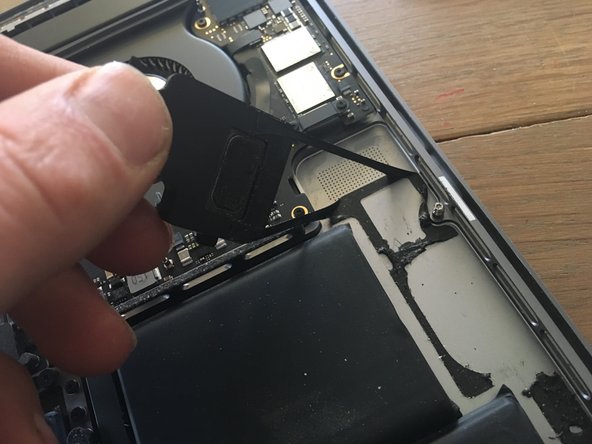
- Taking out the speaker is where it gets sketchy. It's hanging in there with VERY strong adhesive. Luckily, I'm going to replace the speakers and am not going to keep them so I can be rough. If you want to keep the speaker, I would advise another approach.
- Same story on the other side. Wiggle your tool underneath and force it out.
- Removing the adhesive and pulling it out is easy. If you can't pull it out, use a tool to carefully scratch it off the surface.
- When cleaning the leftover adhesive, it's best to use an alcohol pad to clean it up as well as the general area.
- Let the area dry before installing the speaker.
- After removing both speakers, your MacBook should look like the one in the photo.
- If you cleaned off adhesive in the previous step, make sure the area is clean/dry before moving on.
- This step is optional if your replacement speaker does not have any adhesive.
- Put adhesive around the outside of the speaker; use the glue sparingly.
- Make sure you are using a glue that is specifically designed for computer repair or speaker repair. Here is a solvent that can be used for this guide.