Lenovo IdeaPad 530S-14IKB Screen Assembly Replacement
ID: 146947
Description:
Steps:
- Unscrew all 10 T5 screws. The screws are all the same length.
- Remove the bottom cover carefully. Maybe it is necessary to use a pick or spudger.
- Disconnect the battery off the main board.
- Disconnect antenna cable 1 and 2 und pull them out of their holding.
- Open the black lever on the display connection and carefully pull out the ribbon cable parallel to the mainboard. Do NOT pull upwards!
- Open the laptop in a 90 degree angle. Unscrew the 4 PH0 screws (all the same length).
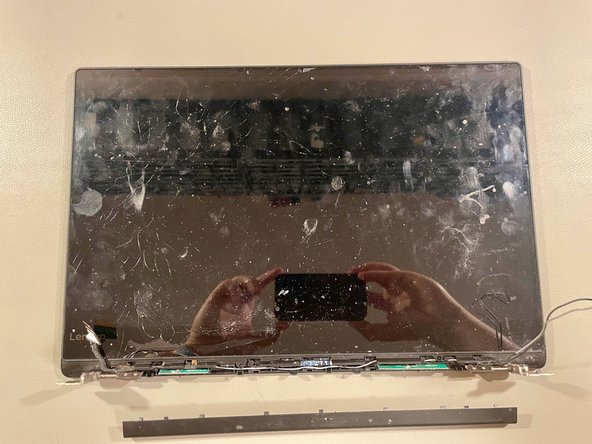
- Carefully separate the display and chassis. Take special care with the antenna cables and display ribbon cable.
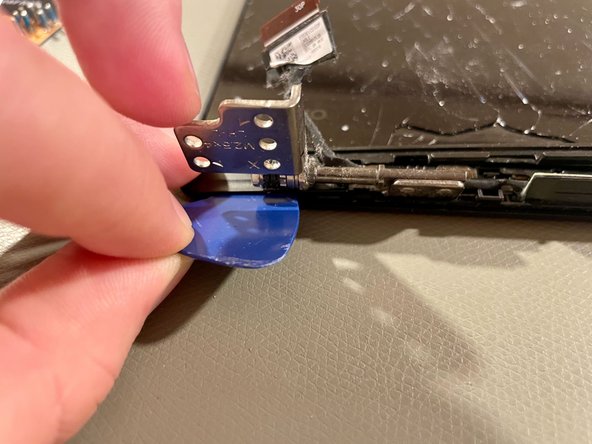
- Move the plastic cover from left to right. This might take a little bit of force.
- It clicks and is easily removed afterwards.
- The coverstrip underneath can be removed with a spudger.
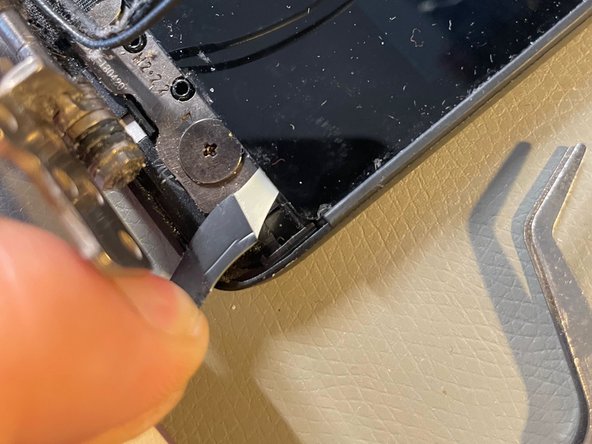
- Unscrew the highlighted two PH000 screws (same length).
- Pull out the pull tabs from underneath the display assembly. Take your time and pull very carefully and even.
- ATTENTION: Always grasp the pull tab as near to the display as possible. Like this you avoid tearing it.
- Carfully push down on the display while pushing it in the direction of the arrows.
- Lift up the display assembly just a few millimeters and then push it further in the direction oft the arrows to unclick the display assembly from the enclosure. Finally you can without force lift up the display in a 90 degree angle.
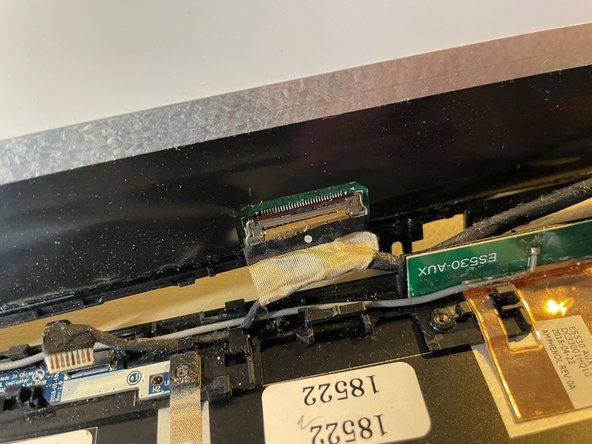
- Disconnect the 30 pole ribbon cable of the display assembly. To do that you have to open the connection with the small metal lever. After opening it you can pull the ribbon cable straight down.
- Apply the new pull tabs so that you can easily replace the screen again.
- To reassemble your device, follow these instructions in reverse order.