Epson VS250 Shell Replacement
ID: 147050
Description: Prerequisite Only.
Steps:
- Place the projector on a flat surface.
- Orient the projector so that the the word "Epson" is facing you.
- Using the Phillips #1 screwdriver, to loosen the screw on the top right corner of the projector. The screw only needs to be loosened.
- Slide the cover to the right and lift the cover up and out to remove.
- Using a Phillips #1 screwdriver, remove the three 6 mm screws that hold the side portion of the projector in place.
- Use the same Phillips #1 screwdriver to remove the single 10 mm screw that is holding the side cover of the projector in place.
- Use a Phillips #1 screwdriver to remove the two 10 mm screws that are holding the side cover of the projector in place.
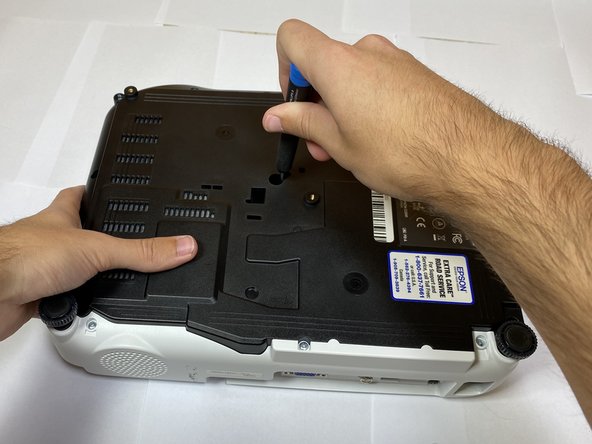
- Flip the projector so that it lays upside down.
- Using a Phillips #1 screwdriver, remove the eight 10 mm screws that secure the side portion of the projector.
- Remove the front cover from the projector by pulling it off of the device.
- Use a Phillips #1 screwdriver to remove the two 10 mm screws.
- After completing this step you will be able to remove the back cover from the projector.
- Slowly lift up the top shell up and out of the device.
- Disconnect the ribbon cable from the motherboard and remove the shell from the device.