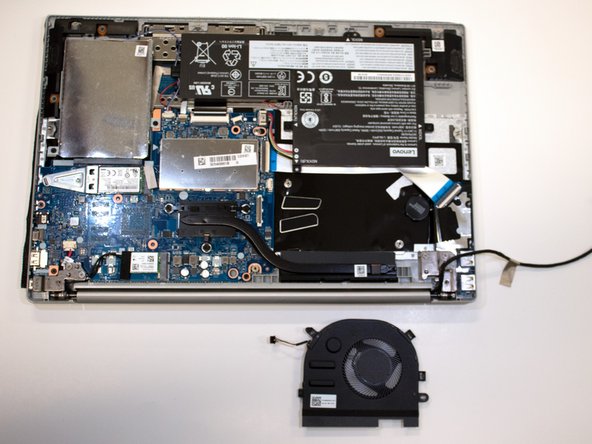
Lenovo IdeaPad S340-15IWL Heat Sink Replacement
ID: 147063
Description:
Steps:
- Power off the laptop and place it face-down on a non-scratching surface.
- Using a Torx T5 screwdriver head, remove all ten 6 mm screws holding the back panel in place.
- Slide a plastic opening tool underneath the back case near the screen hinges.
- Gently pry up on either side of the case.
- You may hear popping sounds as you pry up the back case. This is normal. If the case does not open, try prying at a different angle/position.
- Remove the two 3 mm screws connecting the fan to the casing using a Phillips #0 screwdriver.
- Using a spudger, gently disconnect the fan's cable from the motherboard.
- Carefully unwind the black cable that runs between the top of the battery and the bottom of the fan from the grooves along the side of the fan.
- In order to do so, you will need to pull up the metallic tape that holds the cable in place using either your fingers or a plastic prying tool to lift up the edge.
- If you attempt to remove the device’s fan without removing the battery, the black cable may be wedged underneath the top of the battery. In this scenario, it is recommended that you at least loosen the screws holding the battery in place to allow for the cable to be removed with less resistance.
- Carefully pick up the fan by the corners and detach the small connector wire by pulling parallel to the device.
- Remove the fan from the laptop.
- Remove the three 3 mm screws that secure the black heat sink near the top of the computer using a Phillips #0 screwdriver.
- Lift the heat sink vertically to remove it from the laptop.