Rotor Riot Direction Pad Replacement
ID: 147247
Description: Use this guide to replace the direction pad on...
Steps:
- Use your fingers to remove the screw on the back side of the controller securing the iPhone mount.
- Remove the iPhone mount.
- Use a T6 Torx screwdriver to remove the eight 9.2 mm-long screws securing the back cover.
- Don't try to remove the back cover all the way yet! It's still connected to the mainboard.
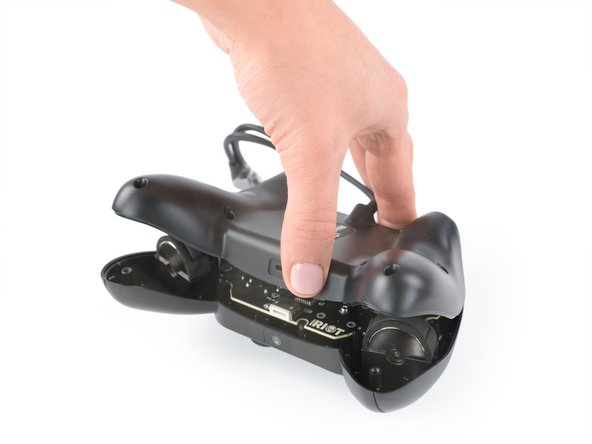
- Lift up the back cover of the controller.
- Lift the back cover to a 45 degree angle and place it next to the controller.
- Don't strain the interconnect cable during this procedure.
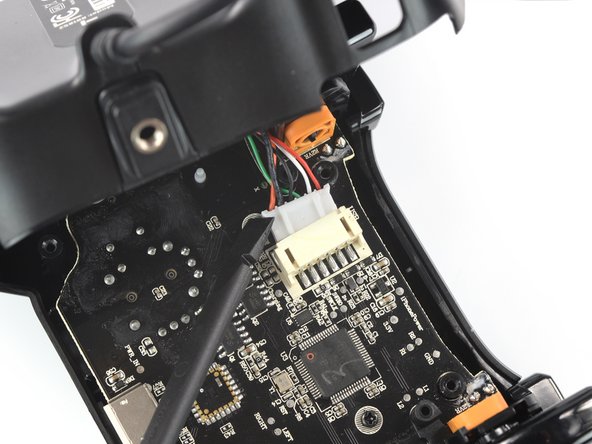
- Use a spudger to disconnect the phone connector cable from the mainboard.
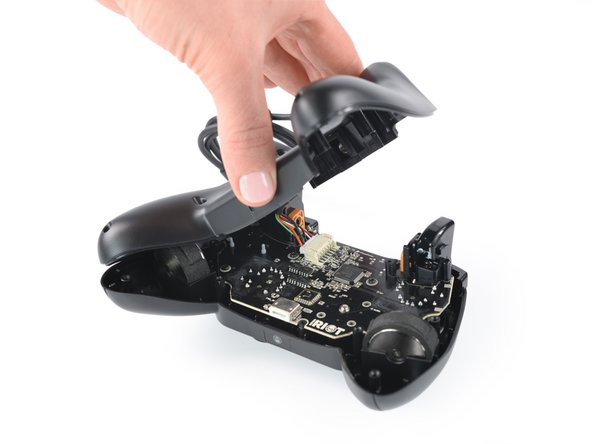
- Remove the back cover.
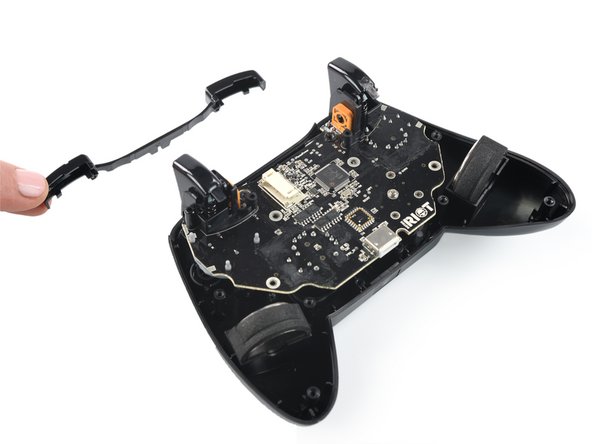
- Remove the shoulder buttons by lifting them out of the case.
- Use a Phillips screwdriver to remove the four 7.0 mm-long screws securing the mainboard.
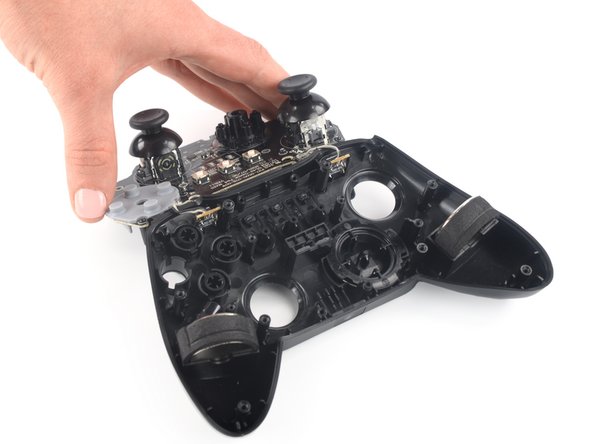
- Flip over the mainboard and place it above the controller housing.
- Avoid tensioning the trigger button cables during this procedure and don't try to remove the mainboard all the way yet! It is still connected to the controller housing.
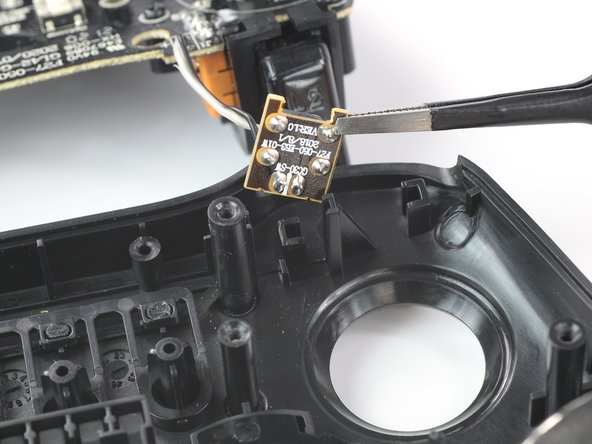
- Use a pair of blunt nose tweezers to remove the left trigger button from the controller housing by lifting it straight out of its recess.
- Repeat this procedure for the right trigger button.
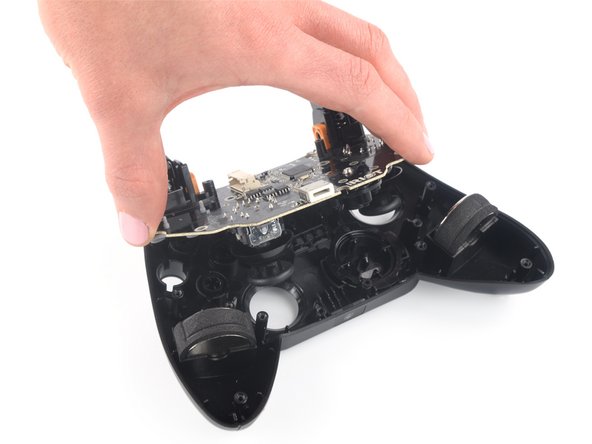
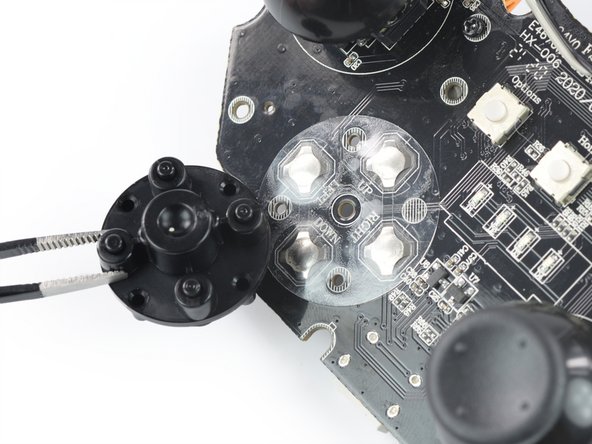
- Remove the mainboard from the housing.
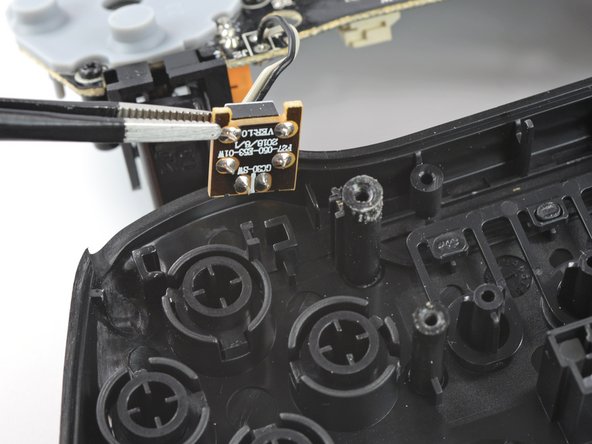
- Use a Phillips screwdriver to remove the 7.25 mm-long screw on the mainboard securing the direction pad.
- Use a pair of blunt nose tweezers to remove the direction pad.