Irest SL A28-1 Massage Chair Jerking Bump Fix
ID: 147321
Description: This guide is about how to fix the jerking...
Steps:
- The chair is one like this.
- Fold backrest forward by pressing the release tab in and under the chair (Arrowed) and push the backrest forward.
- On the two last pictures you can see the release lock and tap after the backrest is folded forward
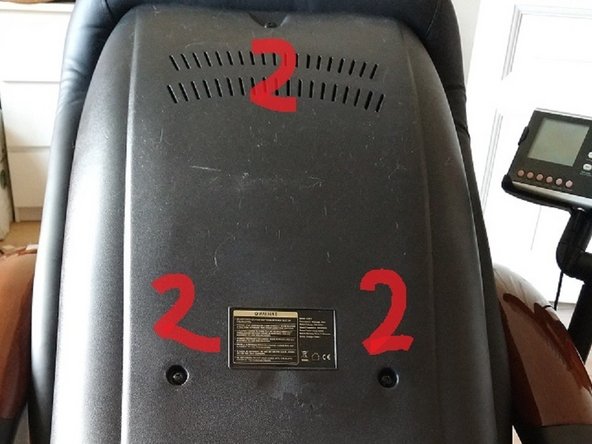
- Remove the screw for the cord inlet (Marked as 1) and remove the cord cover
- Remove the 5 screws (marked 2) for the back cover - Please note they are NOT all the same size, so pay attention to the positions
- With the cord cover (#1 in previous step) removed, remove the two connectors
- The connectors on my model was protected with plastic strips to prevent me from releasing the lock tap - didn't work - I took the picture AFTER I had removed the cover so it was easier to see what the connectors looked like
- Remove the strips or pull them towards the wires (Upwards) and use a flathead screwdriver to prise the lock open and remove the connector
- Remove the back cover
- In my case I looked at the mechanism and saw no immediate failures
- I then noticed that a black strap (Arrowed) was showing signs of being curled/crumbled
- Further examination shows that the strap, which goes from top to bottom, was not aligned 100 % centered between the massage wheels (I try to show that with the red line) and the strap had become a little loose
- The result was the that the right wheel was sort of "picking up" the strap, so both wheels was on the same side of the strap
- At some point the right massage wheel had to cross back again over the strap hereby crumbling it and giving this jerky bump.
- The fix is to tighten the strap - there are two ways
- 1 - Remove the frame with wheels and rollers and re-align + tighten the strap
- 2 - Tighten and partly re-align the strap
- I opted for solution 2
- I tightened the strap at the botton of the frame, because this is where I had space to manouvre
- I positioned the strap more to the left so it got centered
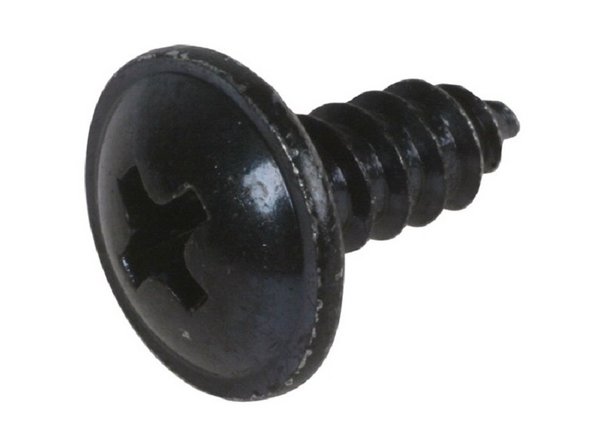
- I used a 1.5 mm drill to prepare a whole in the frame so the plate screw (See picture 2) does not rapture the woodden frame
- I used a plate screw to secure the strap in the new position