2015-2019 Dodge Charger Tail Light Replacement
ID: 147484
Description: This guide details the process of removing and...
Steps:
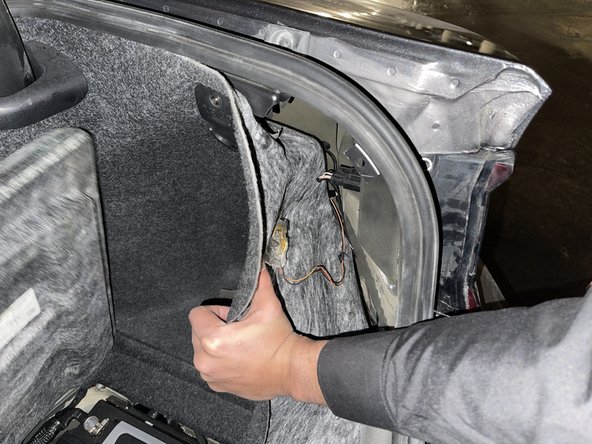
- Remove the rear plastic panel cover located inside the trunk by pushing the panel towards the center of the car.
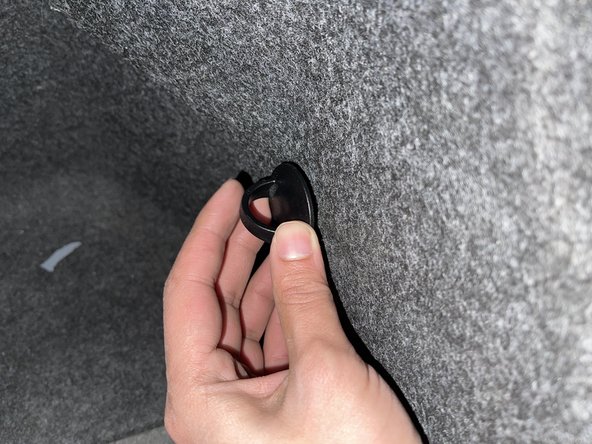
- Remove the plastic screw securing the inner lining of the trunk by pulling outwards.
- Do not use excess force as it can damage the screw.
- Remove the plastic pin by prying it outwards using a pry bar to free the inner lining.
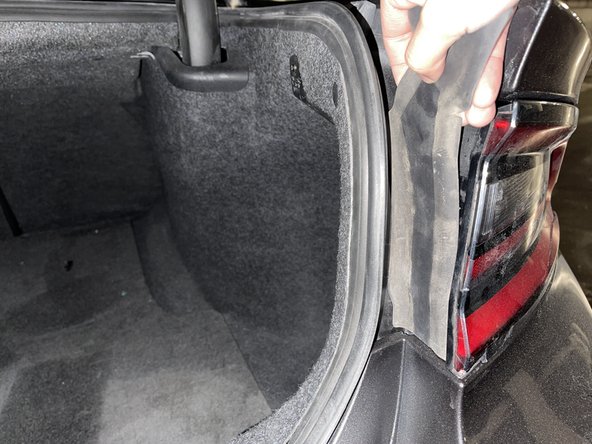
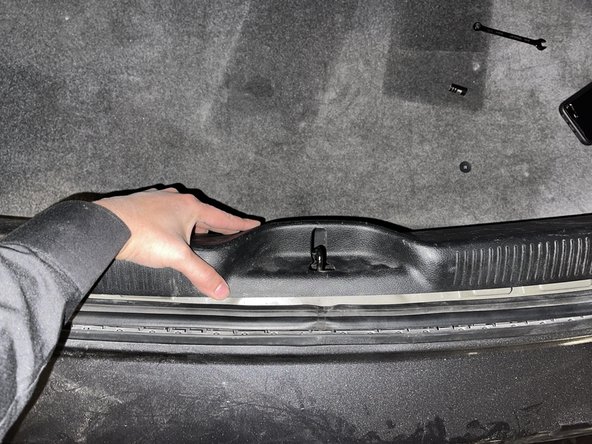
- Pull back the inner lining to gain access to the screws securing the tail lights in place.
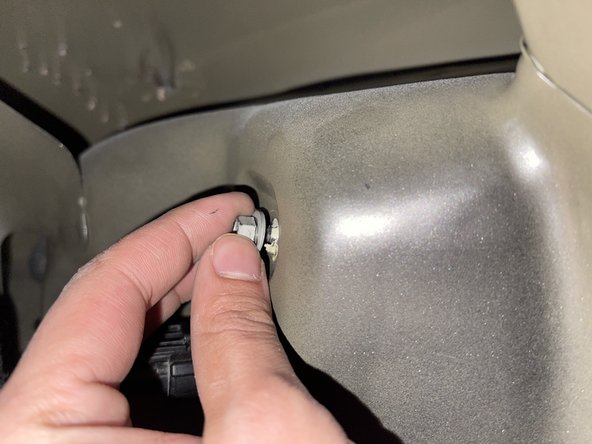
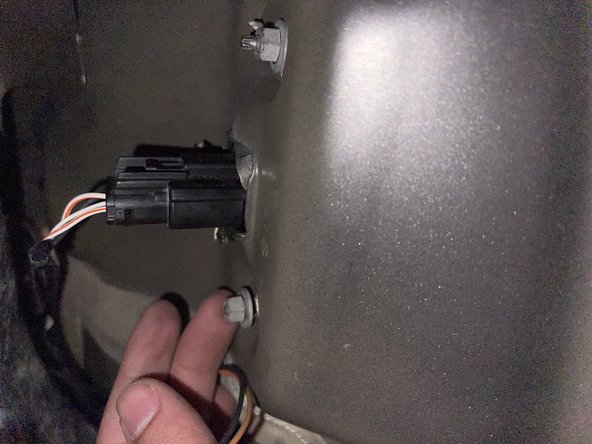
- Remove both 8 mm nuts securing the tail lights in place using an 8 mm wrench.
- Remove the nuts carefully as they may fall between the gaps which can be difficult to reach.
- Remove the connector by squeezing both sides and pulling outwards.
- Remove the plastic cover by pulling outwards so that the tail light can slide out.
- Grab both sides of the tail light firmly and pull it out.
- Slide the replacement tail light back in firmly.
- Insert the connector back to the tail light.
- Screw the 8 mm nuts onto the bolts by hand before tightening with a 8 mm wrench.
- Push the plastic pin back into the hole to secure the side inner lining.
- Push the plastic screw back into the hole to secure the bottom inner lining.
- Push the rear plastic panel cover back on.
- Start the vehicle to test if the tail light works.