GMMK Pro Keyboard Switch Replacement
ID: 147598
Description: This is a guide on how to replace a...
Steps:
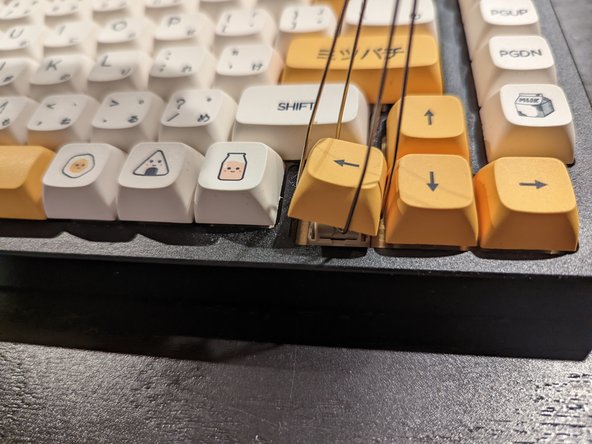
- Set aside your keyboard and tools on a clean, uncluttered workspace.
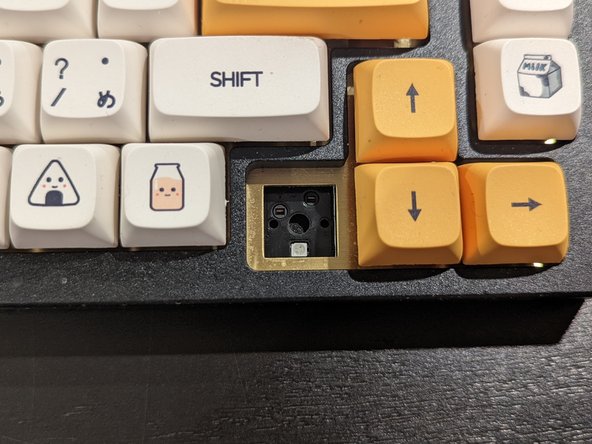
- With the keycap removal tool, grab the keycap by placing the tool's arms underneath two opposing corners, and lift.
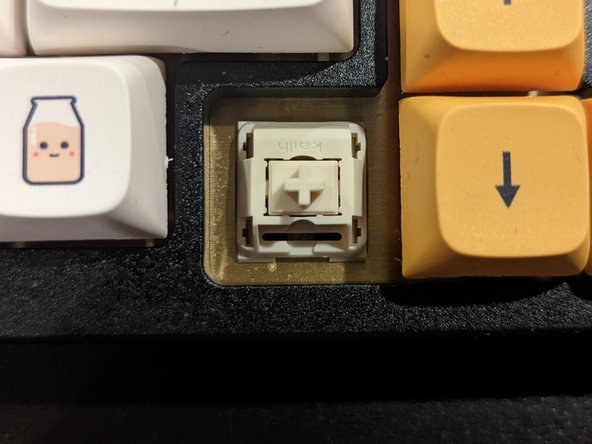
- The exposed switch has two grooves - a notch on the top, and a notch on the bottom.
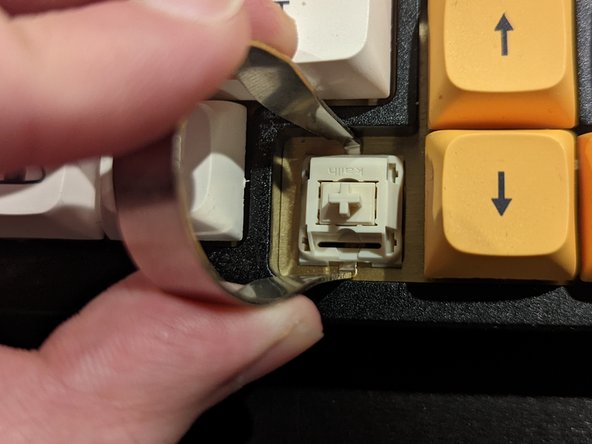
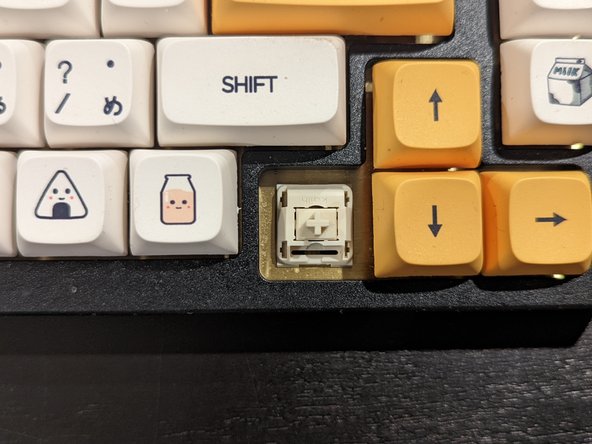
- Using the switch removal tool, slide it onto the switch until it lines up with the notches on the top and bottom, and then pull.
- It is best to pull straight from the keyboard, rather than from an angle, to avoid damage to the pins.
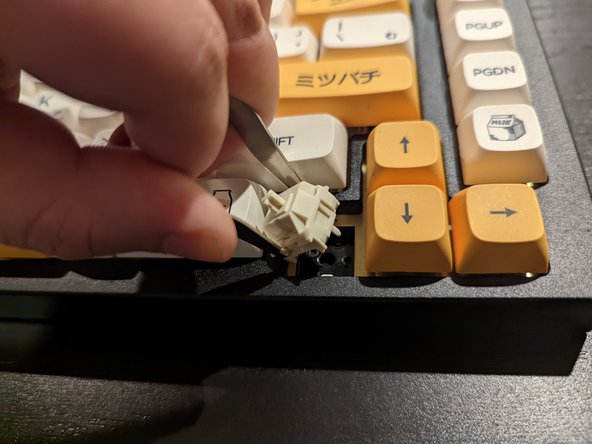
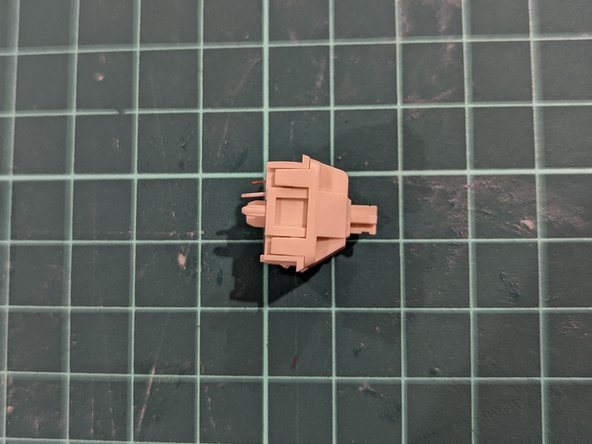
- Set aside the removed switch on a clean surface for access to the pins.
- Bend the pins at a 15° angle downwards.
- It doesn't have to be exact - a very slight bend will help.
- If the keycap was non-functioning, you would replace it entirely at this stage.
- After bending the pins, place the switch back into the empty slot.
- Press firmly until you hear a solid click.
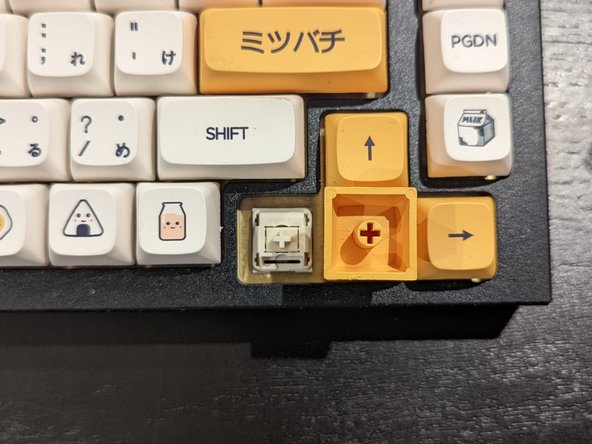
- After the switch has been inserted, it is time to place the keycap back on.
- Line up the plus symbol shown on both the switch and the keycap.
- Press down firmly until the keycap is back in place.