Sony Vaio Duo 13 Battery Replacement
ID: 147681
Description: This is a brief guide for the Li-ion battery...
Steps:
- Please check the appearance before fixing the laptop. For example: The laptop has been spread by the battery inside (up to 5 mm).
- This is an optional step. This step can be skipped when users don't want to know the battery status or don't have the software.
- Check the "cycle times" by battery software.
- Suggested software: (1) BatteryInfoView, (2) BatteryMon.
- Background: The number of "cycle times" depends on battery usage. It usually > 0. A Li-ion battery usually has "cycle times" about 500~1000. REF: https://doi.org/10.31224/osf.io/swcyg
- For example: BatteryInfoView shows that "Number of charge/discharge cycles" is 306 (red box). BatteryMon shows that "Charge cycles" is 306 (blue box).
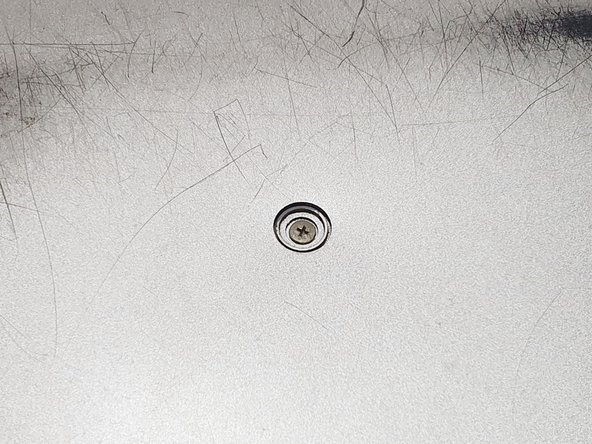
- Go to the back side of the laptop.
- Remove the screw with a "+" screwdriver (the red circle).
- Number of screws: 1
- Go to the front side of the laptop. Behind the LCD monitor.
- Remove the screw with a "+" screwdriver (the red circle).
- Move to the other side and remove the screw with a "+" screwdriver (not shown).
- Number of screws: 2
- Go to the back side of the laptop.
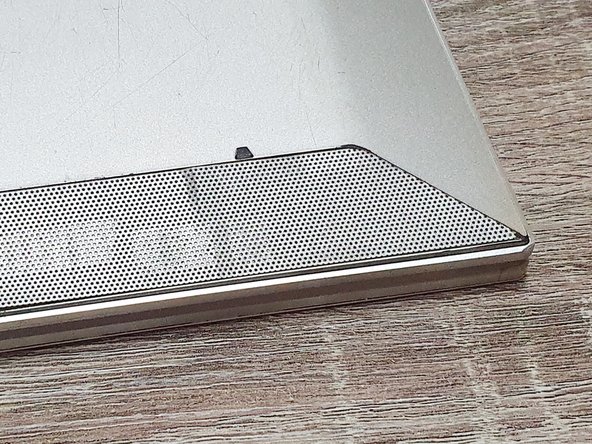
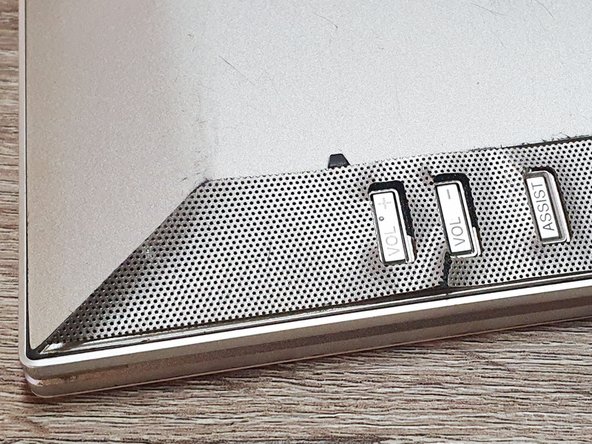
- Lever the plastic part by crowbar gently.
- Suggested tools: (1) Crowbar, (2) "-" screwdriver.
- Rotate the laptop 180°.
- Remove the screws with a "+" screwdriver (red circles).
- Number of screws: 4
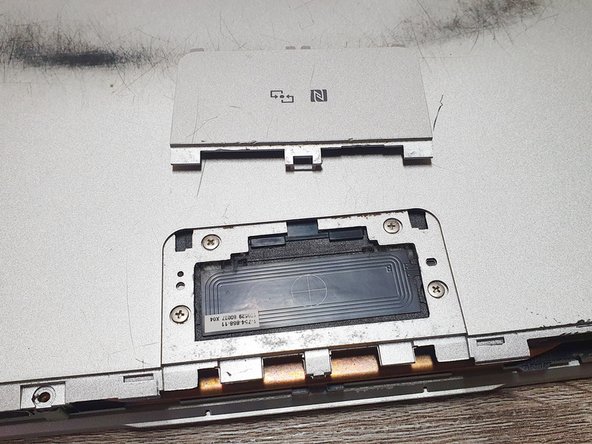
- Remove the "NFC cover" with a lever gently. Do not break the retaining buckle.
- Suggested tools: (1) fingernail, (2) "-" screwdriver.
- NOTE: Do not break the retaining buckle.
- Remove the screws with a "+" screwdriver (red circles).
- Number of screws: 4
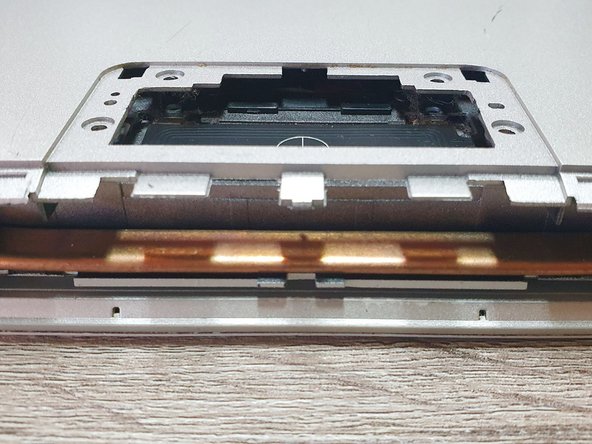
- NOTE: If the battery is severely swollen, you will see the back of the laptop stretched open after the screws are removed.
- Rotate the laptop 180°.
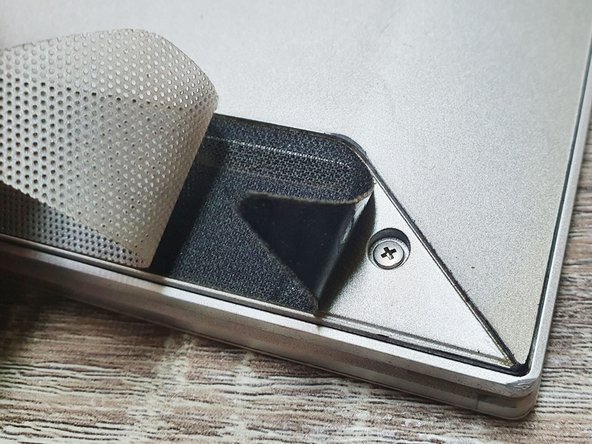
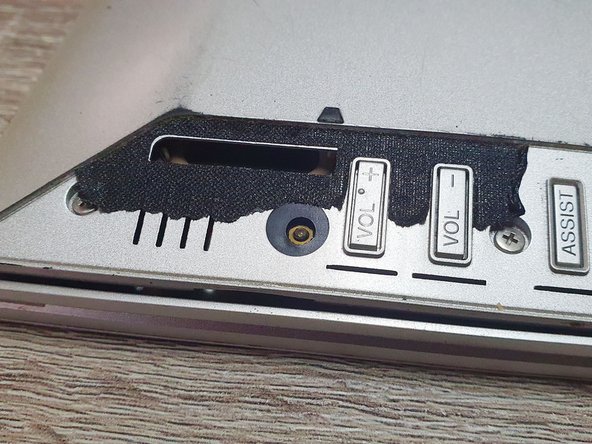
- Tear off the plastic sheet (silver) and double-sided tape (black). The main thing is to let the screws hidden underneath show up.
- NOTE: It is difficult to remove the double-sided tape completely, and some remain on the surface, but it does not affect entire the repair process.
- CAUTION: This step is a "destructive" teardown and cannot be restored to its original state.
- Remove the screws with a "+" screwdriver (red circles).
- Number of screws: 6
- Rotate the laptop 180°.
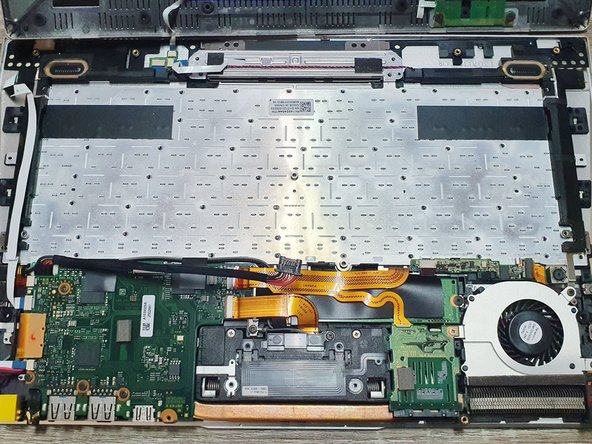
- Follow the direction of the red arrow and open the backside of the laptop from the open side, where the cooling cooper tube can be obviously been seen.
- The swollen Li-ion battery appears (the white package).
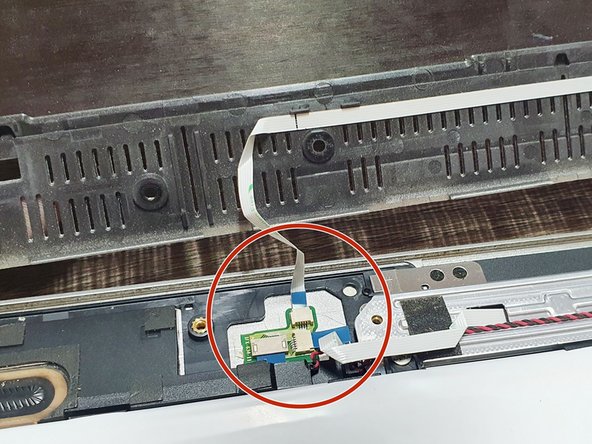
- CAUTION: If the backside is opened from other directions, the flat cable may be broken or the plug may be damaged (the red circle).
- Remove the screws with a "+" screwdriver (red circles).
- Number of screws: 7
- NOTE: Please avoid flat cables when removing screws. For example: see the red box.
- CAUTION: Don't damage the Li-ion battery or something bad will happen, such as gas leakage, electrolyte leakage, fire, and explosion. REF: https://doi.org/10.31224/osf.io/swcyg
- Lift the Li-ion battery gently.
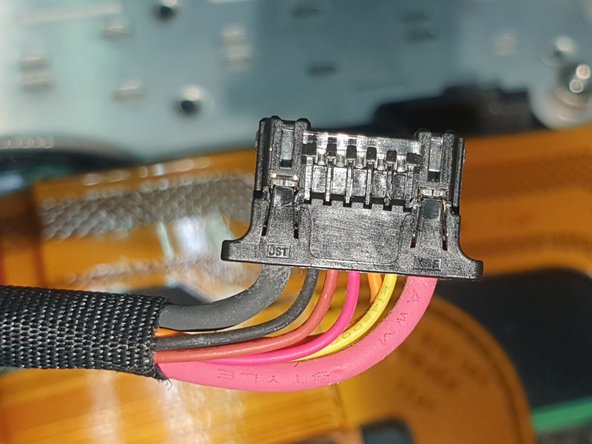
- Pull out the flat cable gently and then remove the Li-ion battery completely.
- Background: About the flat cable. Generally speaking, the red thick line is the "+" power line; the black thick line is the "-" power line; other thin lines are signal lines.
- CAUTION: Don't damage the Li-ion battery or something bad will happen, such as gas leakage, electrolyte leakage, fire, and explosion. REF: https://doi.org/10.31224/osf.io/swcyg
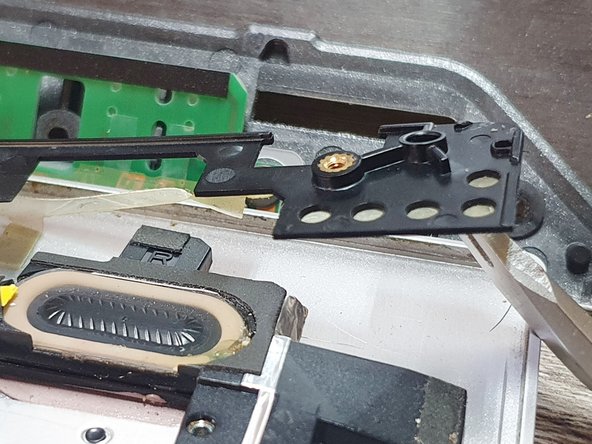
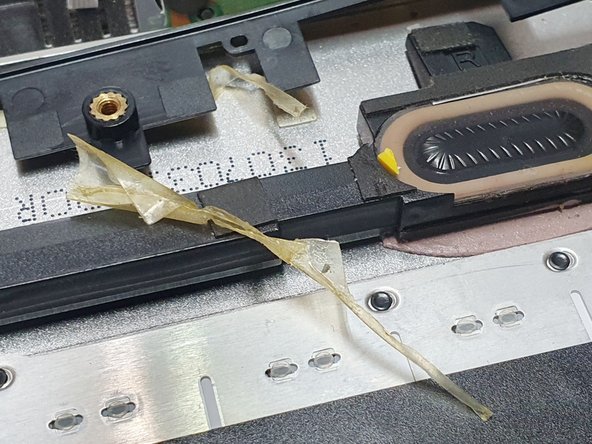
- Condition: The double-sided tape of the plastic part is degummed and has lost its stickiness. The plastic part clearly leaves the surface.
- Remove the double-sided tape that has lost its stickiness.
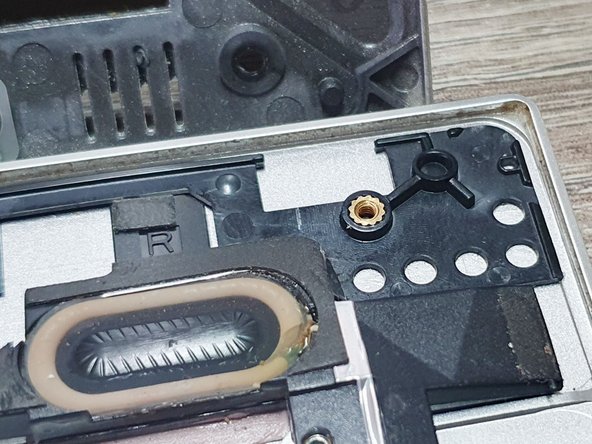
- Use new double-sided tape.
- Paste the plastic part back to its original position.
- Do the same on the other side if necessary.
- Suggestion: Do the same on the other side even though the plastic part sticks right on the surface. Because the old double-sided tape might not provide sufficient stickiness.
- Other methods: The epoxy AB glue can replace the double-sided tape.
- Plug the cable into the new Li-ion battery gently and tightly.
- To reassemble the laptop, follow steps 3~11 in reverse order. Some possible conditions and how to handle them will be described in the following steps.
- NOTE: Make sure the cable is firmly inserted (the red box).
- CAUTION: If the cable is not firmly inserted. Several worse conditions might happen. (1) Power failure (No electricity) and (2) Unstable connection cause an electric arc, fire, and explosion.
- NOTE: Make sure the cable is securely fastened (red circles).
- CAUTION: If the cable is not securely fastened. The cable might be squeezed by other parts, causing an unstable power supply and even safety issues (arc, fire, and explosion). REF: https://doi.org/10.31224/osf.io/swcyg
- Condition: The stickiness of the old double-sided tape (black) is not sufficient to stick back the plastic sheet (silver).
- Use new double-sided tape (white) to stick the plastic sheet and the old double-sided tape.
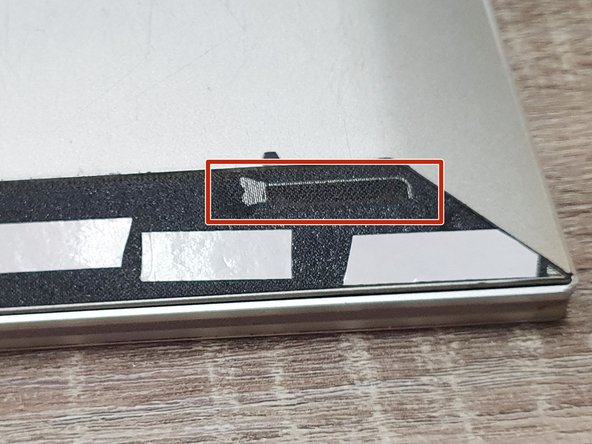
- NOTE: The new double-sided tape should avoid the soundhole (red box).
- Condition: The damaged plastic sheet (silver) is caused by the "destructive" teardown in step 9.
- Condition: If the stickiness of the double-sided tape is not sufficient, causing a spacing.
- Suggested method: Repeat steps 14 and 15.
- Other methods: Use tape to fix the problem. In this case, the yellow tapes are used for the clear demonstration. Users can use other color tapes.
- After replacing the battery, please check the appearance of the laptop.
- Please turn on the laptop and unplug the AC power line to check the functionality of the battery.
- This is an optional step. This step can be skipped when users don't want to know the battery status or don't have the software.
- Check the "cycle times" by battery software.
- Suggested software: (1) BatteryInfoView, (2) BatteryMon.
- For example: BatteryInfoView shows that "Number of charge/discharge cycles" is 0 (red box), indicating that the laptop treats the battery as a new one.