Nook HD+ Volume/Power Buttons Replacement
ID: 149015
Description: This guide shows how to replace the Nook HD+...
Steps:
- Open the plastic frame by wedging the plastic iFixit opening tool under the plastic frame to remove adhesive.
- Pop up all plastic tabs that secure the frame to the chassis.
- Remove twenty 5.0 mm Torx T5 screws that hold the chassis to the back casing.
- Disconnect battery from motherboard.
- Remove back casing.
- Disconnect both ribbons from the motherboard by pulling up on the dark grey flaps and pulling out the ribbons.
- Use tweezers to lift the flaps.
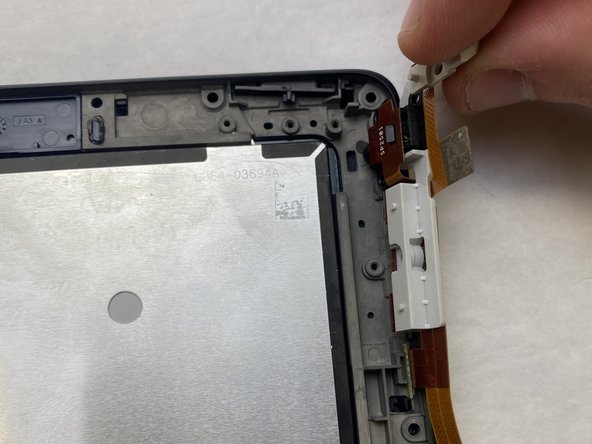
- Remove three 5.0 mm Torx T5 screws that secure buttons to chassis.
- Slide button assembly up and out of the chassis.