How to Repair a Shirt Collar
ID: 149019
Description: A shirt collar that comes unstitched or has...
Steps:
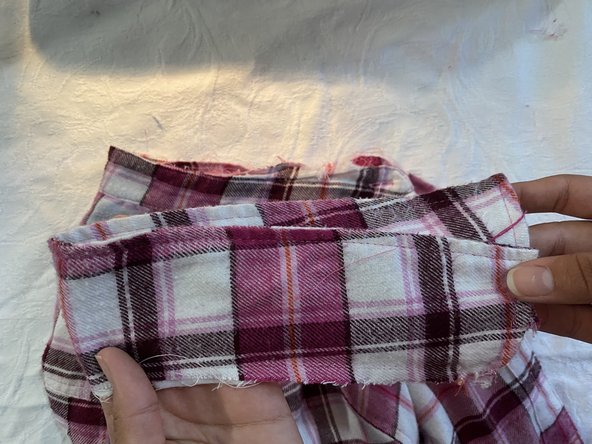
- Use a seam ripper to completely unstitch the collar.
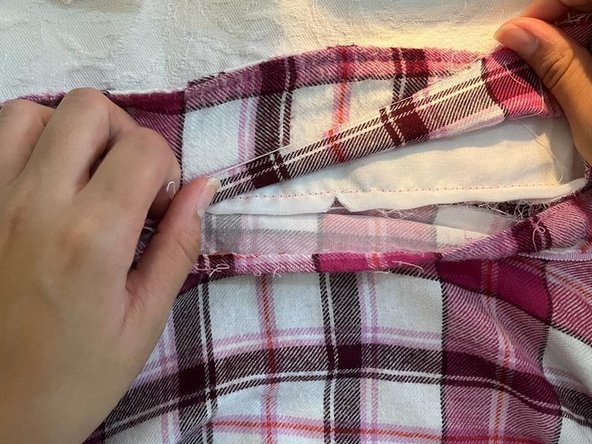
- Cut a piece of fabric the size of the damaged area, and place it over the interior of the damaged section of the collar.
- Sewing machines can be dangerous; be sure to always keep your hands clear of the needle's path.
- Sew the piece of fabric into the collar.
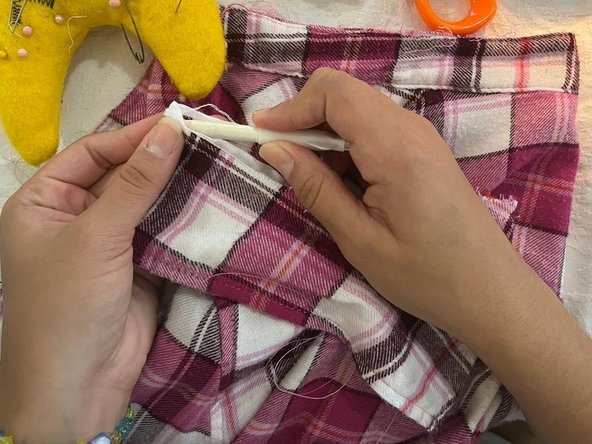
- Fold your shirt and its altered collar in half, then mark the middle of the pieces with a fabric pencil.
- This will be handy when stitching the pieces back together.
- Place the fragment of the collar that was altered, the side facing your neck, in the opposite direction.
- Sewing machines can be dangerous; be sure to always keep your hands clear of the needle's path.
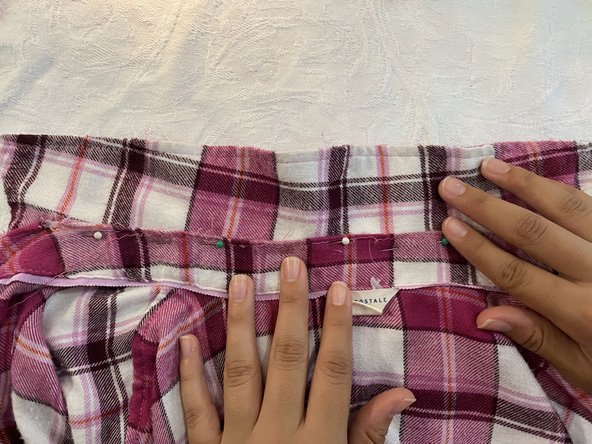
- Stitch the pieces back together.
- To simplify the process, add pins beside the path that will be stitched, or just follow the marks of the previous seams that you unstitched in the first step.
- Steam irons are extremely hot and can cause burns.
- Iron the area to settle the new stitching.