How to Fix a Popped Rubik’s Cube
ID: 149030
Description: This guide is a tutorial on how to reassemble...
Steps:
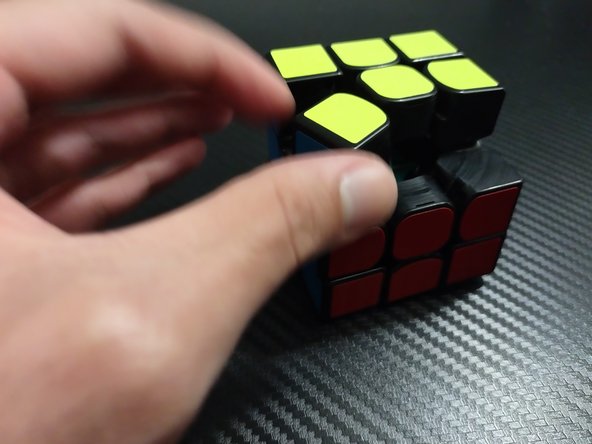
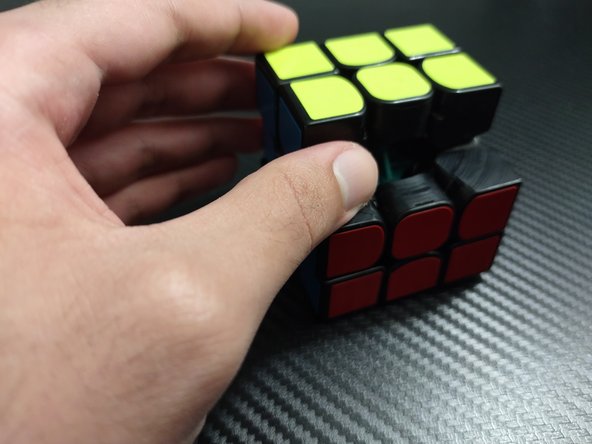
- Place your cube down and look for the popped pieces.
- Collect all the popped pieces and group the corners and the edges separately.
- Place the pieces layer by layer to make it easier to put the cube back together.
- If only pieces that popped are from the second and third layer, start with the edges of the second layer.
- Place the edges and corners that popped from the third layer.
- Twist the third layer 45°.
- Place the corners of the third and last layer.
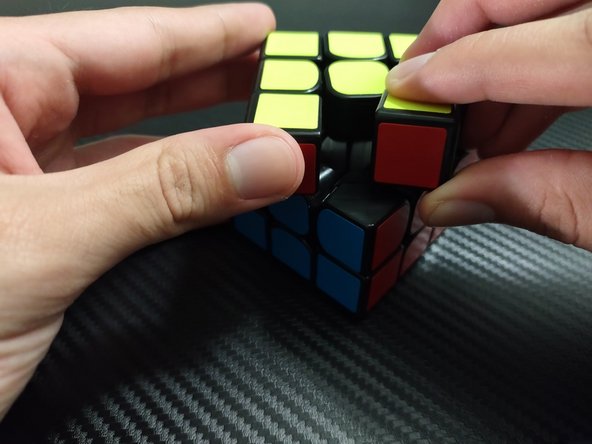
- Last but not least, place the final edge piece.
- To make it easier to place, pull apart the two corner pieces slightly and insert the edge at an angle. Twist it a little bit until it goes in.
- This last step is for cubes with this feature, like many speed cubes.
- Remove the cap to expose the screw attached to the core.
- You can remove the cap with your nails or any prying tool like a spudger or opening tool.
- Tighten the loose screws. (It can be anywhere from 180° to 360°)
- Make sure to tighten the screw enough so that it won't pop easily. Tightening the cube will make it pop less, but may make corner cutting worse. (Corner cutting allows turning with misaligned layers on speed cubes)