Nook HD+ Charging Port Replacement
ID: 149071
Description: This guide shows how to replace the Nook HD+...
Steps:
- Open the plastic frame by wedging the plastic iFixit opening tool under the plastic frame to remove adhesive.
- Pop up all plastic tabs that secure the frame to the chassis.
- Remove twenty 5.0 mm Torx T5 screws that hold the chassis to the back casing using a screwdriver.
- Disconnect battery from motherboard.
- Remove back casing.
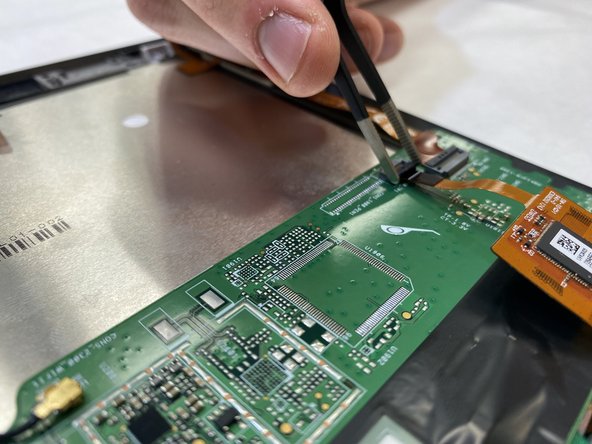
- Disconnect both ribbons from the motherboard by pulling up on the dark grey flaps and pulling out the ribbons.
- Use tweezers to lift the flaps.
- Disconnect the small red and black ribbon connected to the speaker from the white clip on the motherboard.
- No tool is needed. Gently pull on the wires until the piece disconnects.
- Disconnect antenna from motherboard by pulling up with slight force.
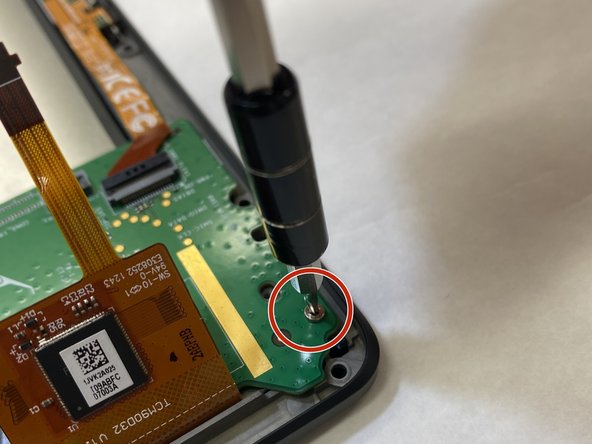
- Remove two 5.0 mm Torx T5 screws attached to the motherboard using a screwdriver.
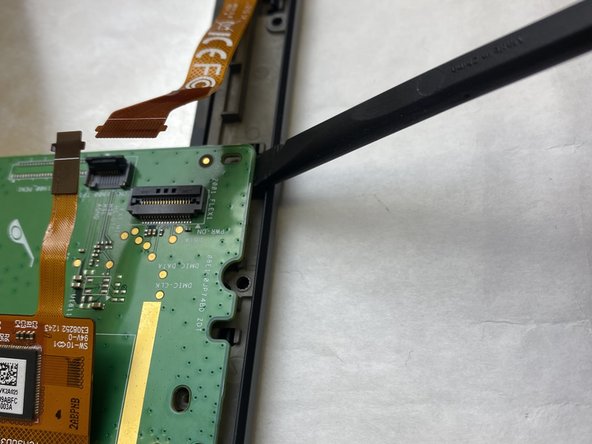
- Lift the small foam piece attached to the black strip on the motherboard and gently pull up.
- With the black strip lifted, carefully snap the motherboard out of the plastic pieces holding it down.
- Remove the motherboard.
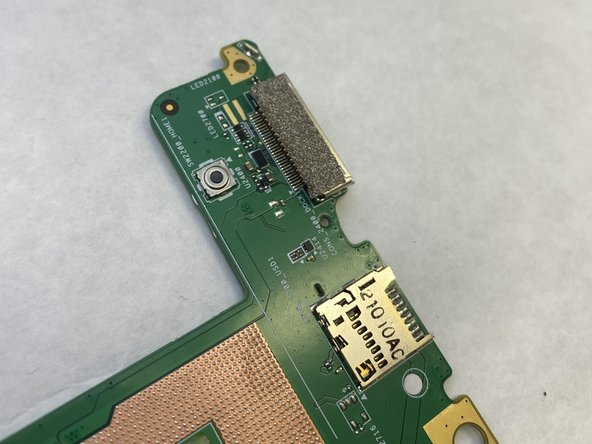
- Once removing the motherboard, flip it over and locate the charging port. Use a soldering iron to disconnect the charging port from the motherboard. If confused here's a reference.
- Since the charging port is attached to the motherboard, it is simpler to replace both.
- Soldering iron will be very hot and can both burn your hand and possibly damage the device.
- Solder the new charging port to the motherboard.